PayPal now available at checkout
Free US Shipping On Orders $99+
Previous slide
Next slide
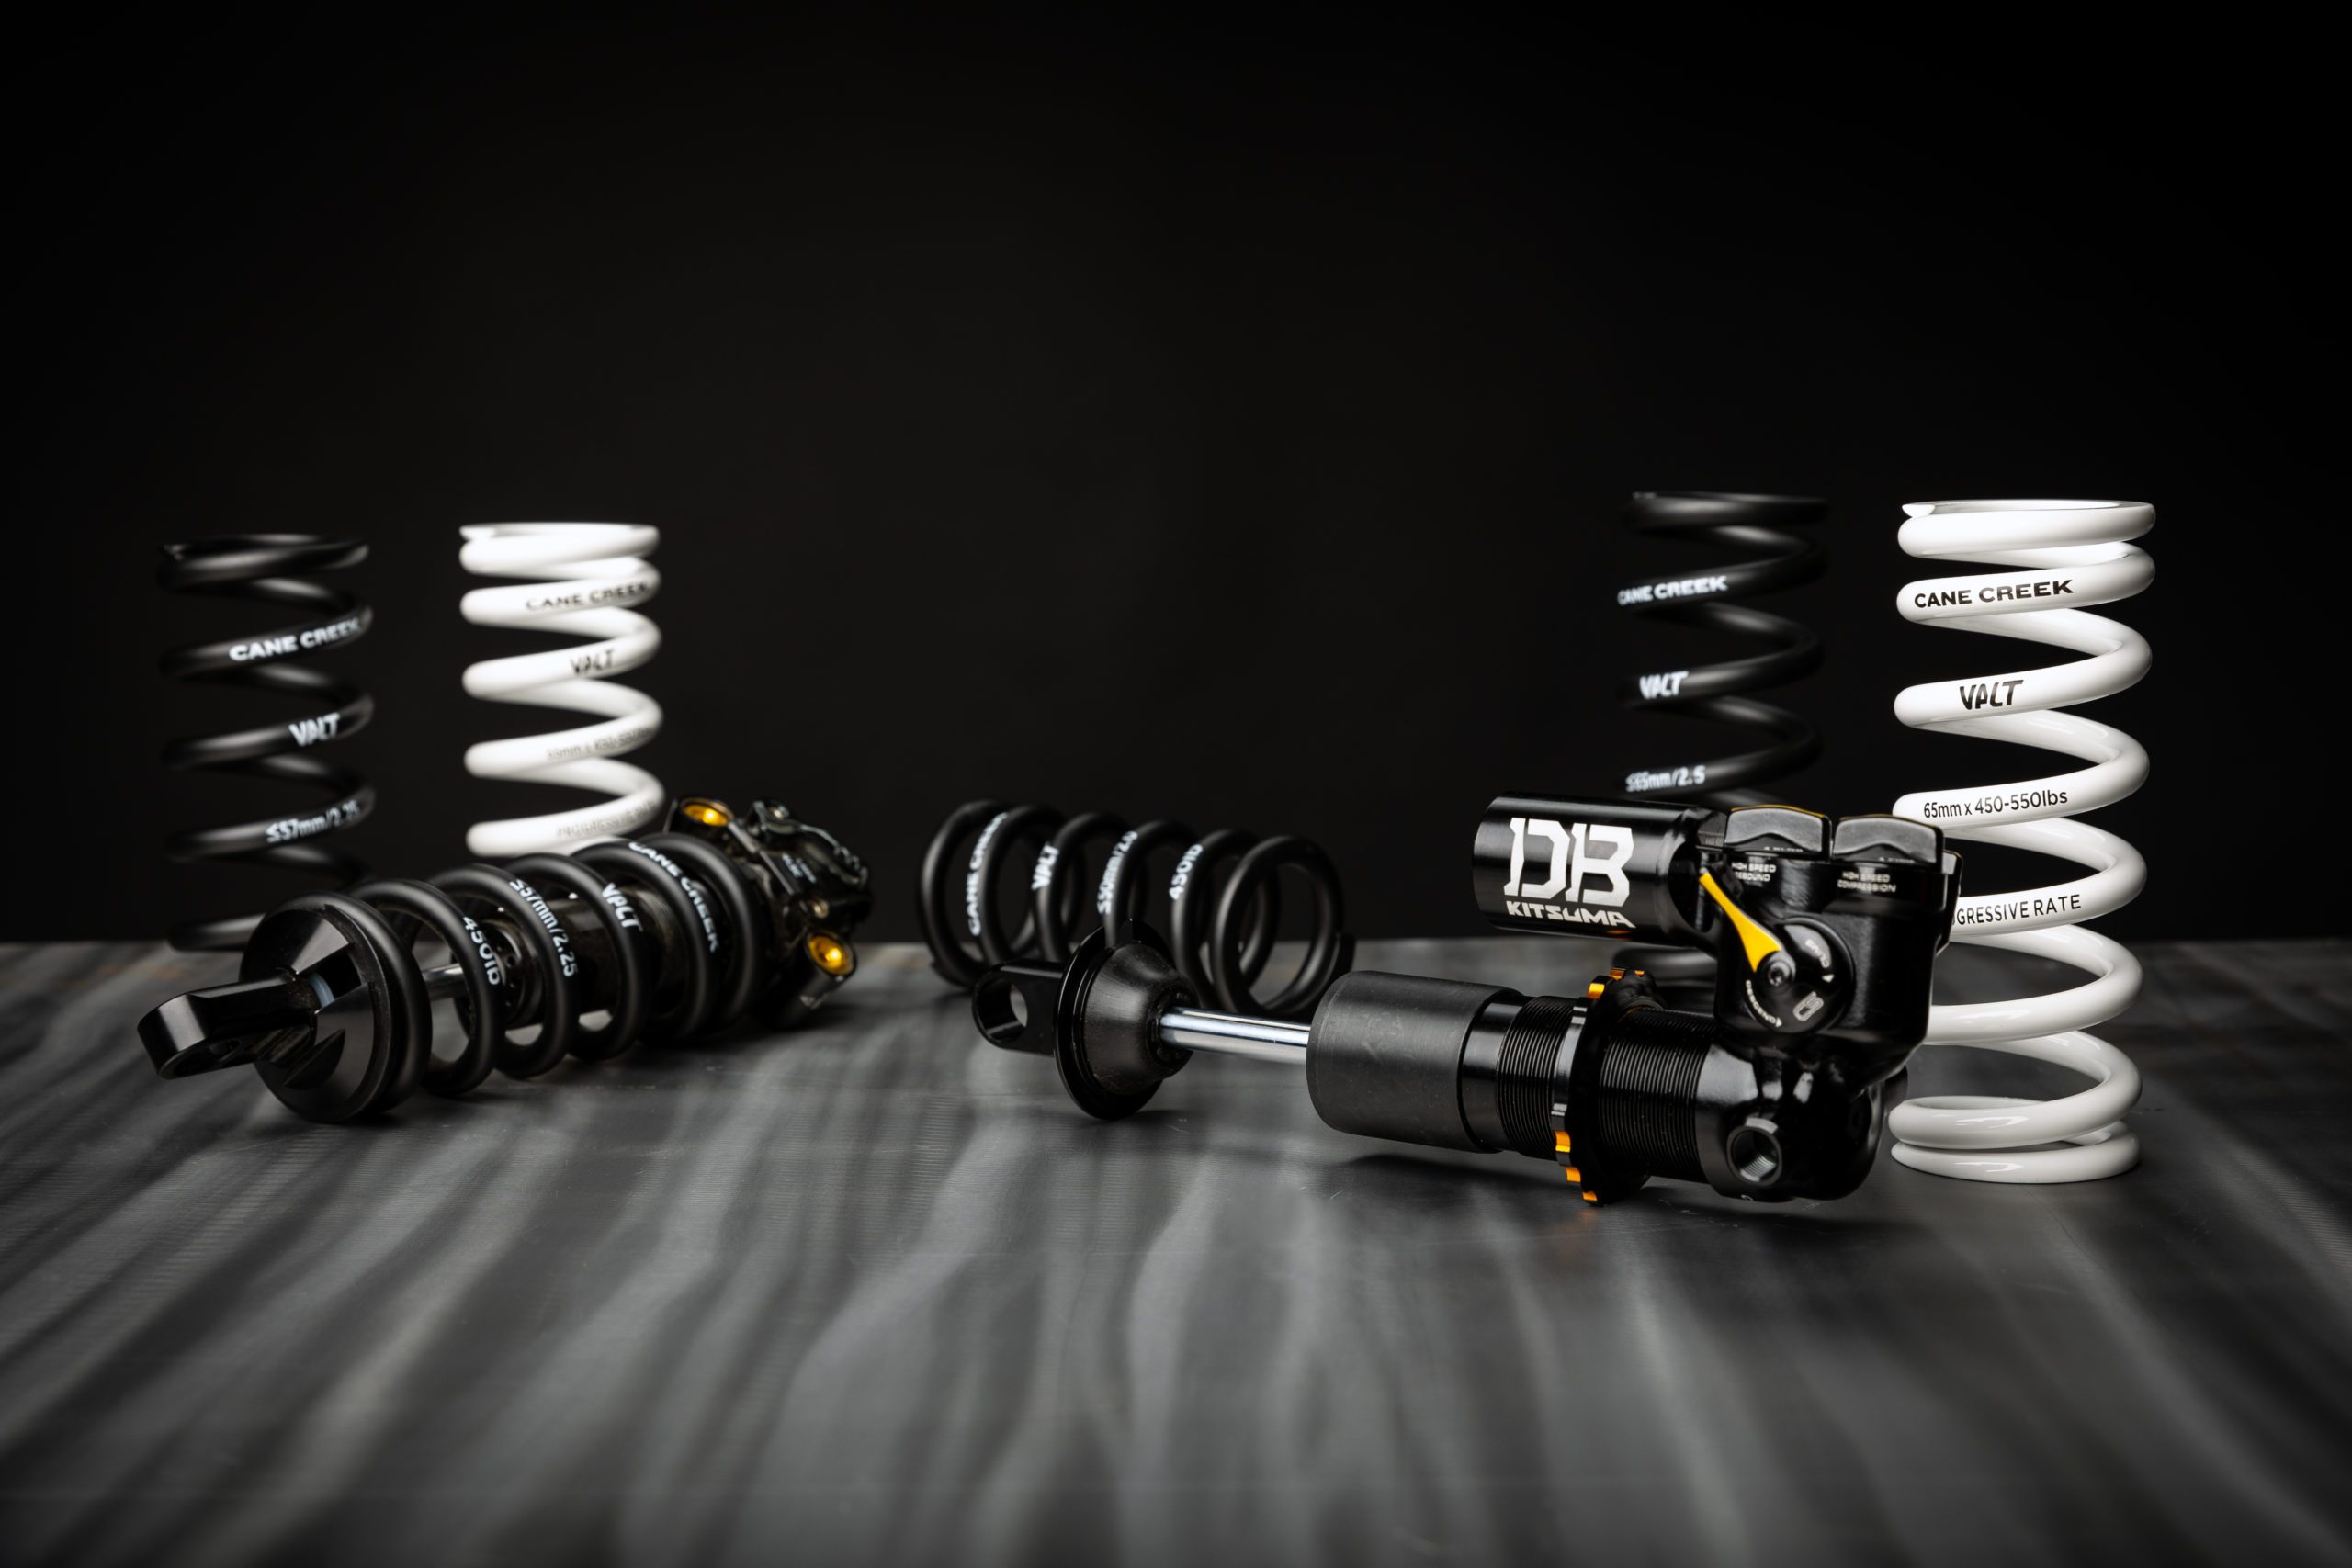
When we first introduced our Double Barrel Coil shock – The DB Coil – back in 2005, you typically only saw coil shocks on bigger travel downhill bikes. These days, coil shocks (and springs) can be found on bikes that range all the way down to 120mm of rear wheel travel. Unlike air shocks, with coil shocks you need to physically change the spring to change the spring rate for different rider weights, which makes choosing the right spring a little more involved. So it’s no surprise we get asked a lot of questions about coil springs.
The goal of this article is to help educate you on some confusing shock terminology, and to help you identify how to determine the correct coil spring rate for any full suspension bicycle.
Finding the correct spring rate is important because it will help you achieve the appropriate sag amount. Sag is the first (and most important) step in tuning a rear shock – other shock adjustments like rebound and compression should not be adjusted without setting sag first. Before we tell you how to set sag, there are some concepts you should familiarize yourself with to help understand this whole process.
This is the amount of vertical movement your rear wheel has, and it is most commonly measured in millimeters. Common trail bicycles range from 130-170mm of rear wheel travel, with some bicycles having as low as 100mm travel and as high as 200mm of travel. If you aren’t sure how much travel your bike has, this information can be found on your bicycle manufacturer’s website.
Stroke Length refers to the amount of movement the shock has, or the total distance the shock can compress. It is important to note that Stroke Length does not refer to the amount of Rear Wheel Travel your bike has, they are two different measurements. For example, you can find a bike that has a Rear Wheel travel amount of 140mm with a shock size of 210 x 55mm. This does not mean that the shock has 140mm of “travel” – it has 55mm of Stroke Length.
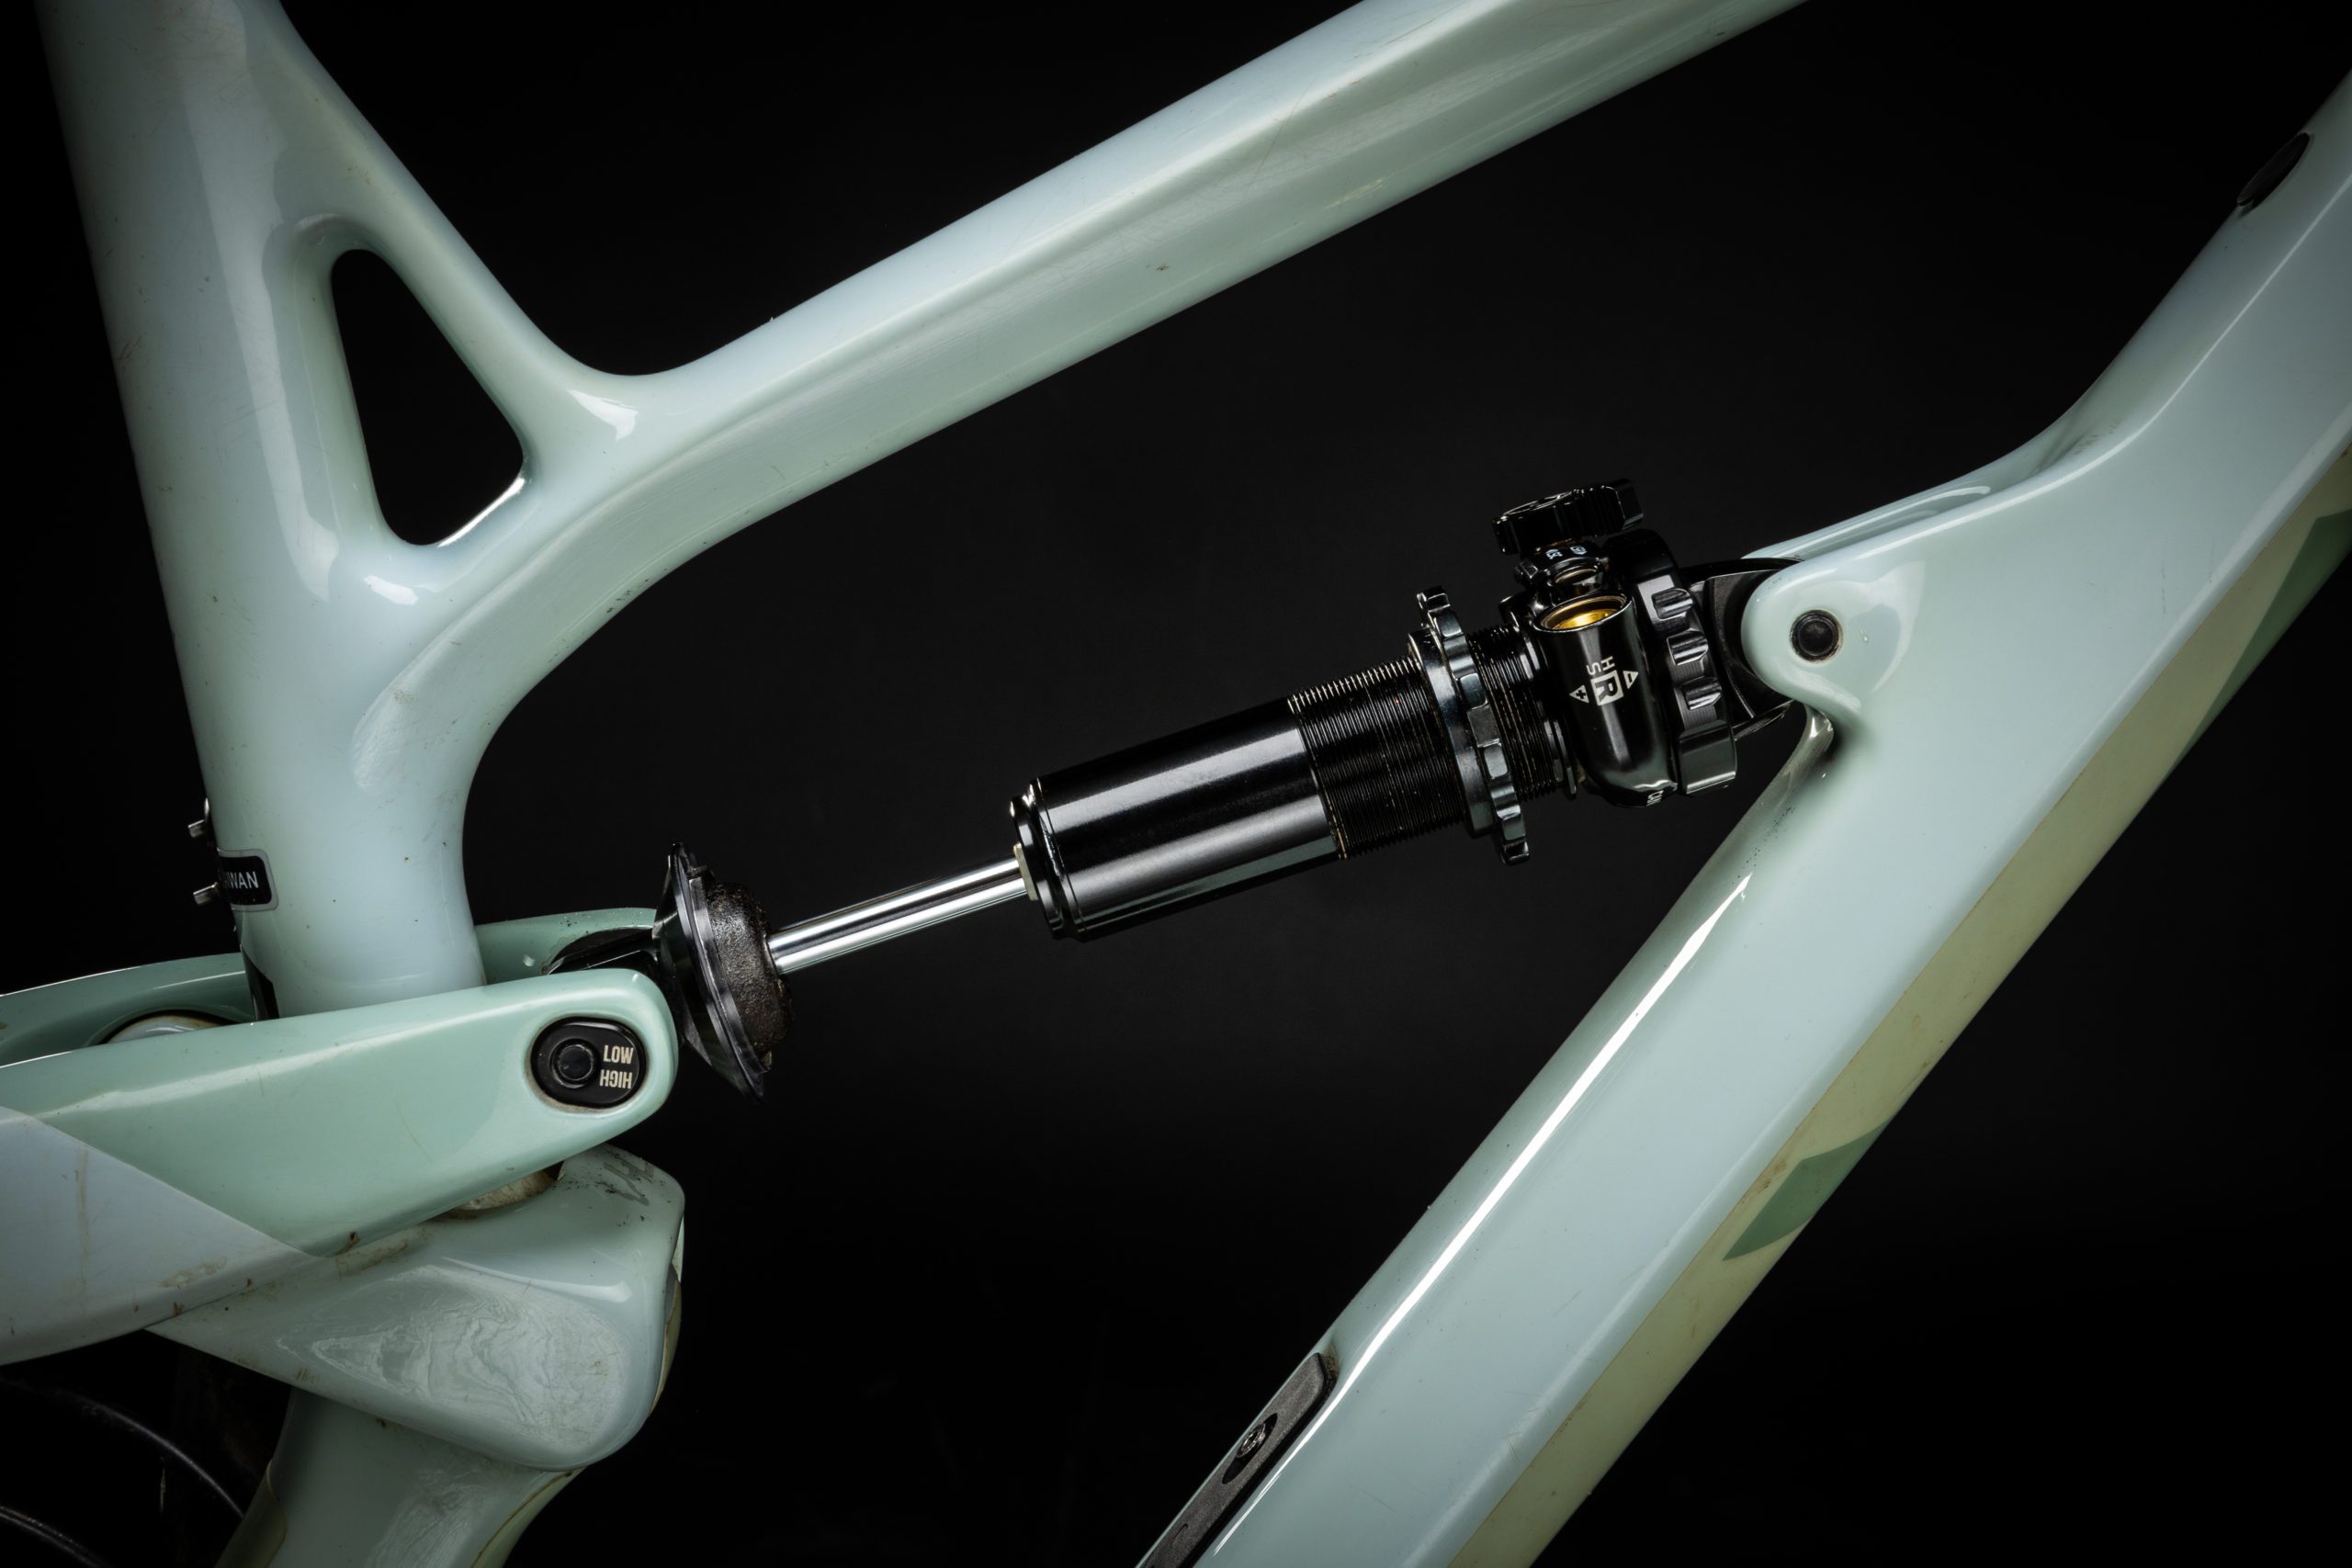
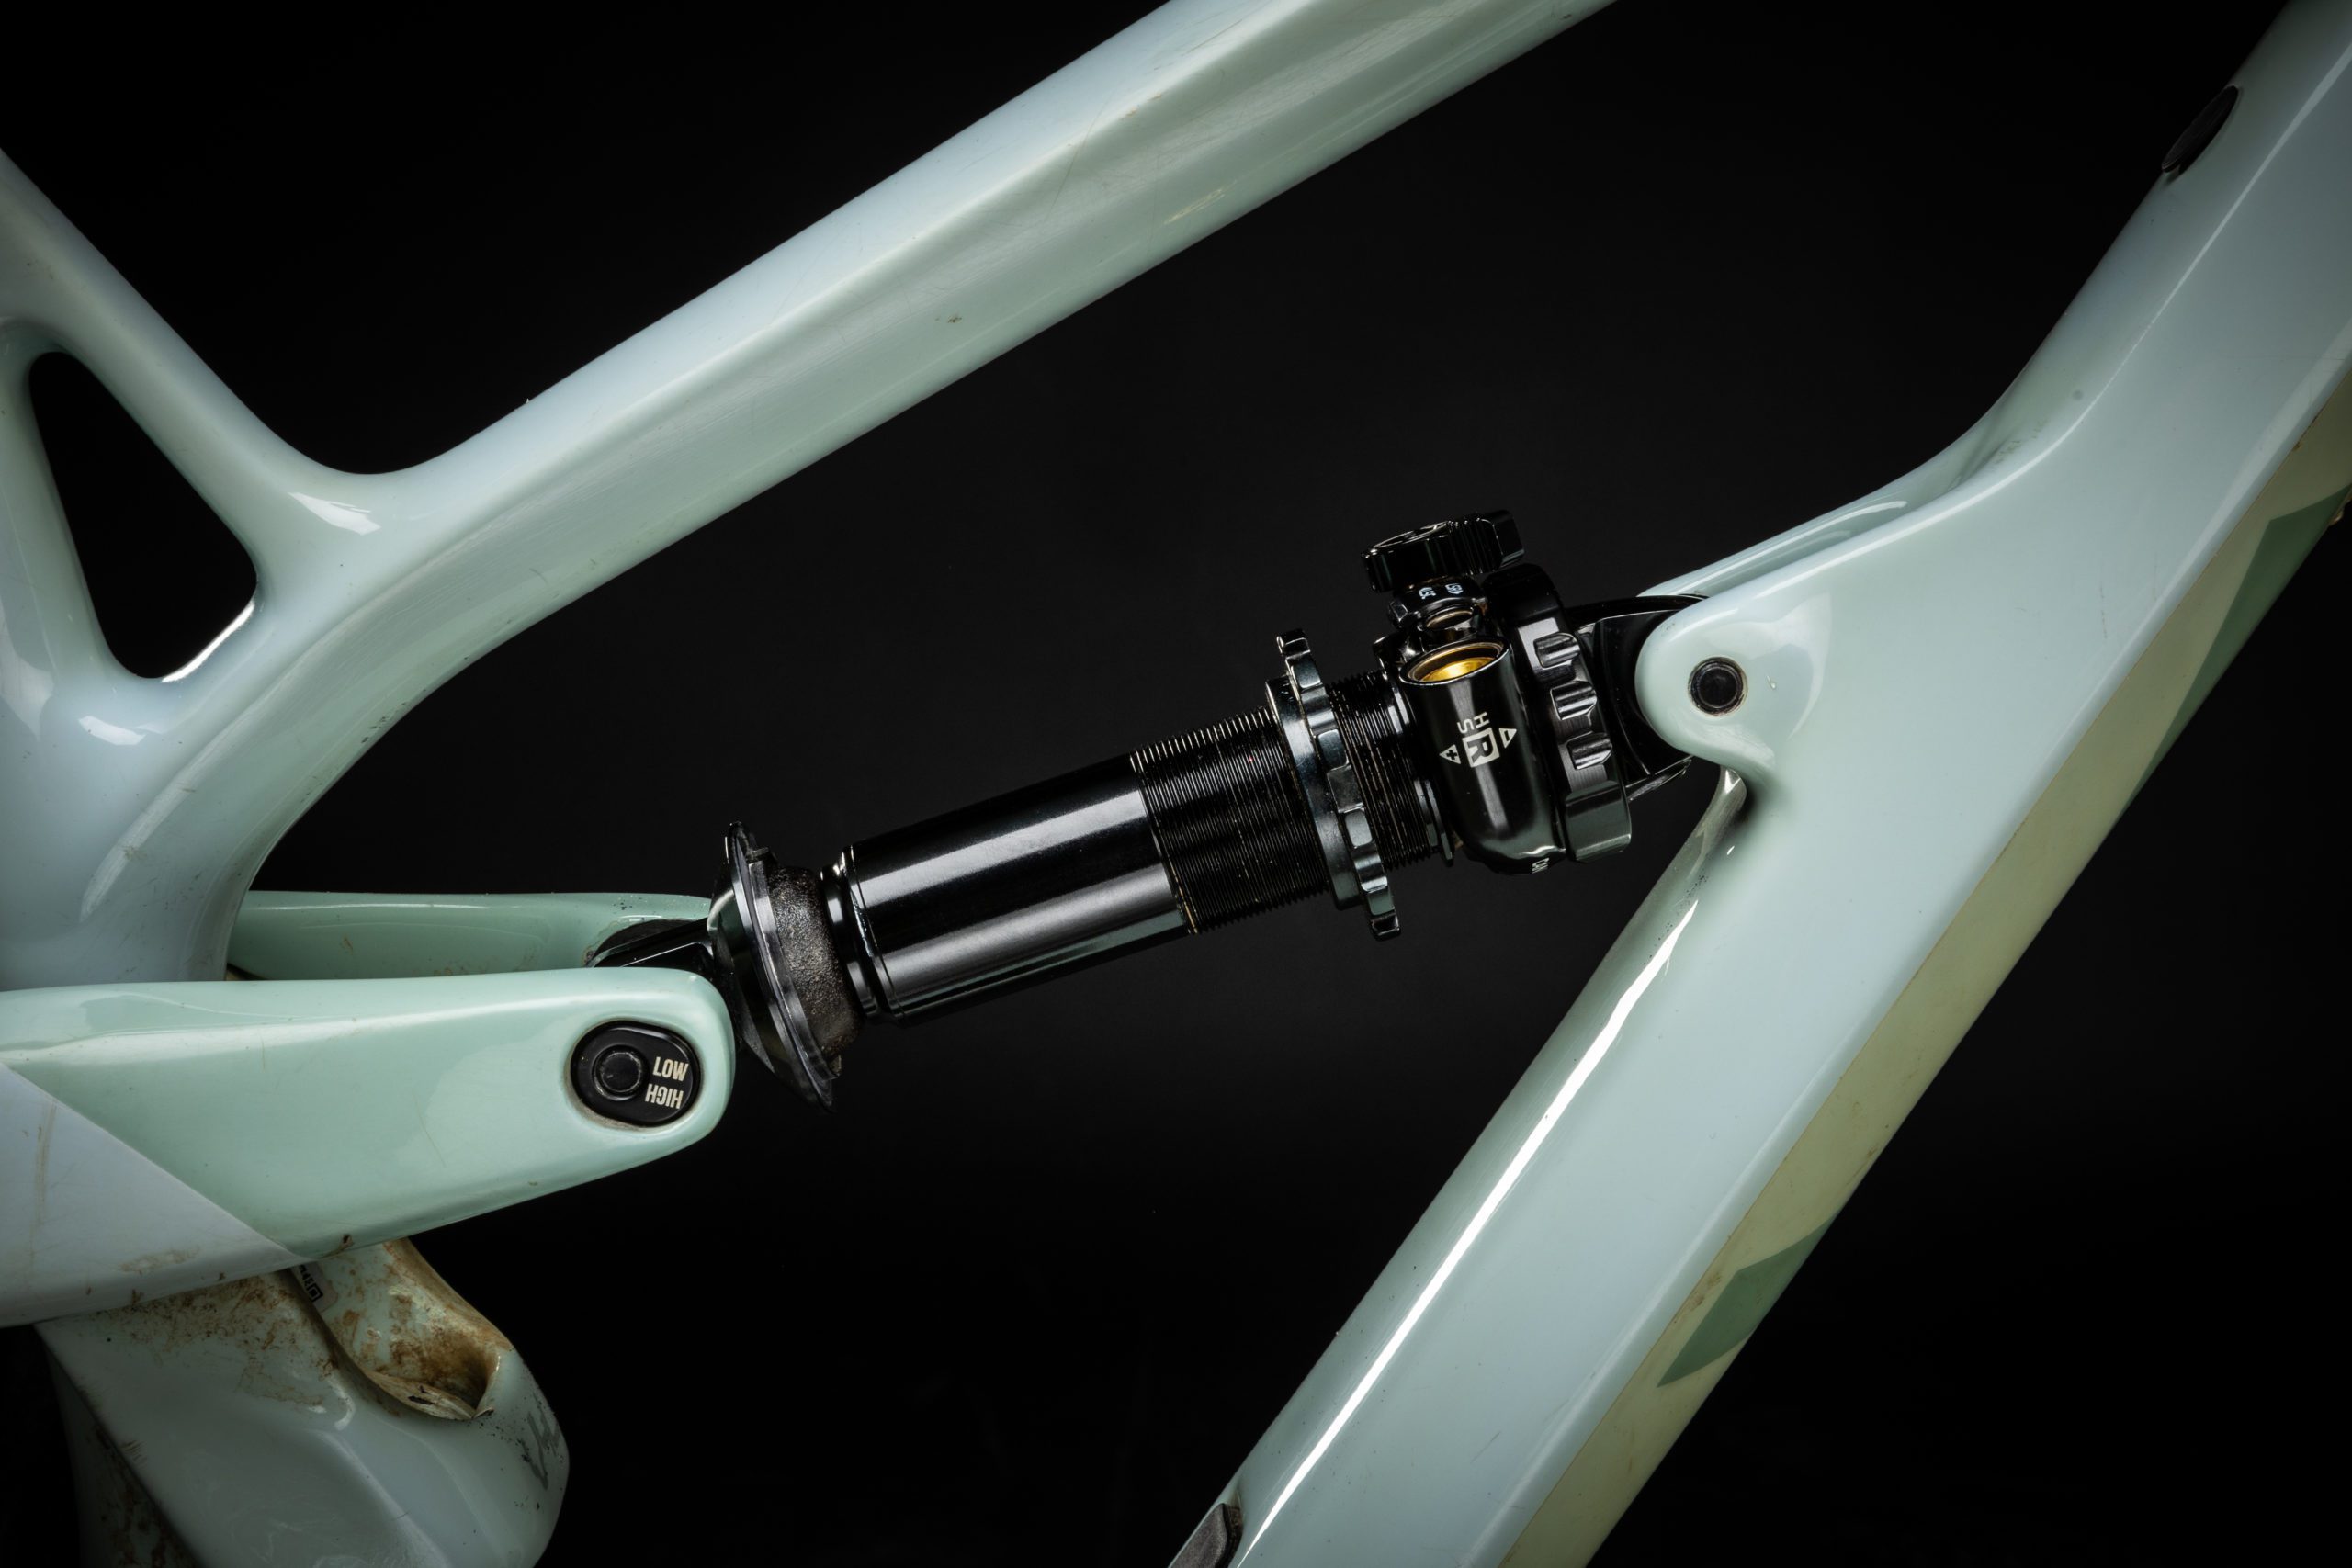
This is where the relationship between Rear Wheel Travel and Stroke Length comes into play. Leverage ratio is the ratio between how much Rear Wheel Travel your bike has per millimeter of Stroke Length
On a full suspension bicycle, the rear shock is connected to a series of linkages that apply leverage to the rear shock. This leverage is applied to the amount of movement that the shock has (Stroke Length) and generates the amount of Rear Wheel Travel.
A good way to imagine this concept would be to think of a lever – you have a rigid bar that rests on a pivot point with one end of the bar that you input force into (your shock), and the other end of the bar is where the output force manifests (your rear wheel).
You can find your bike’s average leverage ratio by dividing the Rear Wheel Travel by the Stroke Length. For example, you have a bike with 160mm rear wheel travel with a shock that has a 60mm stroke length. 160mm wheel travel divided by 60mm stroke length is 2.67. This means your bike has a 2.67:1 average leverage ratio. So, for every 1 mm of movement on your shock, your rear wheel will move 2.67mm (on average).
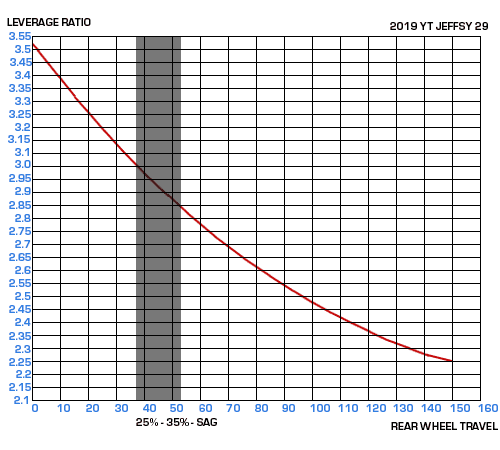
It is important to note that your bike’s average leverage ratio is just that, an average. The leverage ratio will change as the wheel goes through its travel. If you were to plot the different leverage ratios as your wheel goes through its travel on a graph, you would see your bike’s leverage ratio curve.
Rear suspension is designed to incorporate an increase in resistance as you near the end of Rear Wheel Travel to help prevent harsh bottom outs. This increase in resistance can also be referred to as progression. Keep in mind that when we refer to rear suspension, we are referring to the rear shock AND the bicycle together, not one or the other on their own. Both the rear shock AND the bicycle can contribute in preventing bottom out.
It wouldn’t make much sense (or be that much fun) to ride a full suspension bike with no progressive rear suspension because the bike would bottom out on small bumps and provide no support on bigger hits. Think of jumping into a pool with water vs jumping into a pool with no water – with no water there’s nothing to slow down your momentum when you enter the pool, you just slam down to the bottom.
Coil shocks (and coil springs) are linear by nature – this means the amount of force required to compress the spring will increase linearly. A 400lb coil spring will require 400 lbs to compress the spring one inch, and 800 lbs to compress the spring two inches, and so forth.
Air shocks (and air springs) are progressive by nature – this means the amount of force required to compress the air spring will increase exponentially. With air shocks, the air spring is housed inside of an enclosed air chamber. As the air spring compresses, the amount of volume in the air chamber will decrease, which compresses the air molecules making it harder and harder to compress the shock.
In this regard, you could sensibly pair a coil shock with a linear spring with a bike that has a significant amount of progression built into the suspension design, because the progression is occurring through the bike design. And vice-versa, you could sensibly pair an air shock or a coil shock with a progressive coil spring, with a bike that does not have as much progression built into it because you are getting the progression from the air spring or the progressive coil spring.
Sag is the most important suspension setting and is directly affected by rider weight. Sag refers to the amount of rear suspension that compresses due to the rider sitting stationary on the bike. The desired amount of sag usually ranges from 25-35% of the Stroke Length. This amount of sag allows the suspension to absorb bumps on the trail and to make sure the suspension does not feel too soft or too stiff.

Spring rate is the rate at which a spring will compress per inch. For example, a 400lb spring with 2 inches of stroke will take 400 lbs of force to compress the spring one inch, and 800 lb of force to compress the spring to bottom out (2 inches). A 400 lb spring with 3 inches of stroke will take 1200 lbs of force for it to reach bottom out.
By adding preload to your coil spring you are increasing the initiating force required to compress the spring, therefore decreasing the amount of sag you will have.
It is important to note that if you find yourself between two spring rates, in most cases we recommend choosing the lighter spring. This is because with a lower spring rate you can add preload to the spring to get you to an appropriate sag.
Coil shocks have external threads on the damper body with a threaded preload collar attached. The preload collar is meant to secure the spring on the shock and to increase or decrease preload to the spring. To increase preload, you need to twist the preload collar clockwise which will compress the spring (increase preload).
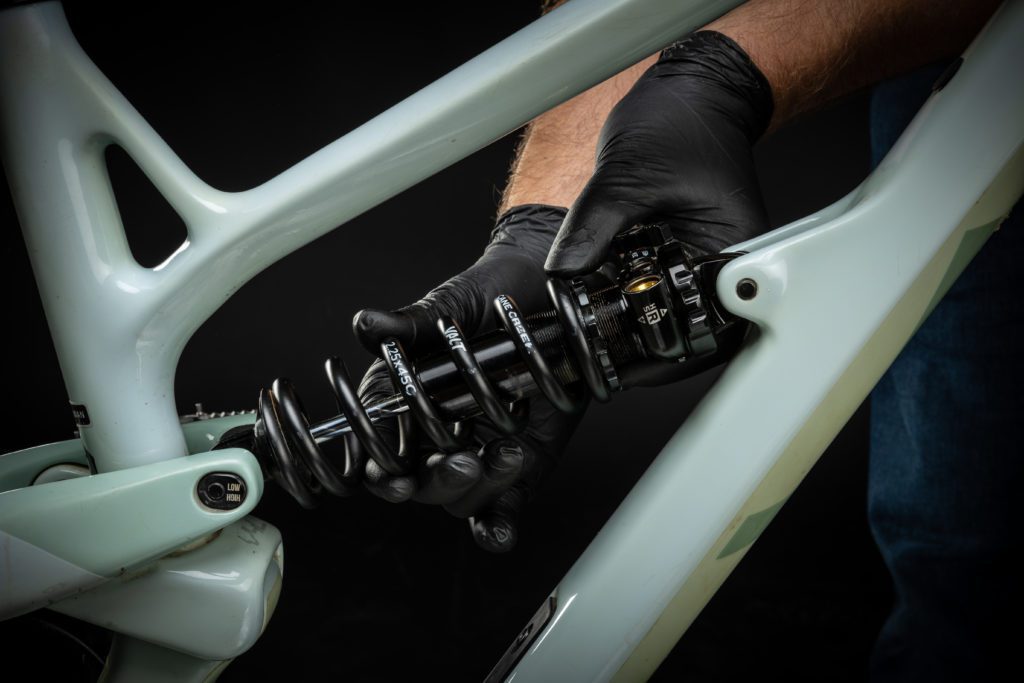
Now we are getting into what you’ve come here to learn! To determine which spring rate you need, there are three main factors to identify: rider weight, the bike’s leverage ratio, and riding style.
It is a good idea to contact the manufacturer of your bike to see if they can recommend a spring rate for your specifications, but you can also calculate this on your own, and below we lay out two ways you can calculate this. Keep in mind riding style is subjective, and the goal of these calculations is to help you determine a spring rate that will get you to correct sag, and it’s up to you to consider your riding style.
These calculations apply to both e-bikes and non e-bikes. A common misconception is that the rider will need to go up in spring rate simply because of the extra weight of the e-bike.
We will describe two different but effective methods to calculate spring rate. The first method is to calculate using your bike’s leverage ratio curve – this is the more accurate of the two methods we will describe because it provides the leverage ratio at the exact point in travel where desired sag is.
You can usually find your bike’s leverage ratio curve on the manufacturer’s website, or other third party sites. We explain what Leverage Ratio Curve means in the section above “What Does Leverage Ratio Mean?”
For this example we’ll use the leverage ratio curve below. This is for a 2019 YT Jeffsy 29, which has 150mm of Rear Wheel Travel, and a rider weight of 170lbs. Below is the leverage ratio curve for that bike.
Step 1 – Choose your desired sag percentage. We recommend anywhere from 25-35% of wheel travel. For DH bikes we recommend 35%, for XC bikes 25%, and for most trail bikes in between, 30%
Step 2 – Multiply Rear Wheel Travel by your desired sag percentage. 150 X .30 = 45
Step 3 – In the graph above, leverage ratio is the Y axis, wheel travel is the X axis, and the YT Jeffsy’s leverage ratio curve is the red line. Determine what the leverage ratio is at 45mm wheel travel = 2.93:1
Step 4 – Multiply 2.93 by your rider weight. 2.93 X 170 = 498.1
In this case, a 500lb standard VALT spring would be a good choice. A 500-610lb progressive VALT spring could also be considered if the bike was in need of more progression (in this case it is not) or if your riding style dedicated the extra progression.
The second way to calculate your Spring Rate would be to use your bike’s average leverage ratio. This method is less accurate, but will still provide a good place to start. You could use this method if you are unable to find your bike’s leverage ratio curve, or reach the manufacturer.
For this example we’ll use a bike that has 150mm of Rear Wheel Travel with a 210X55mm shock size, and a rider weight of 185lbs (175lb rider wearing 10lb of gear)
Step 1 – Determine your bike’s average leverage ratio by dividing Rear Wheel Travel by Stroke Length. 150/55 = 2.72
Step 2 – Multiply the average leverage ratio by your rider weight. 2.72 X 185 = 503.2
Step 3 – Consider your riding ability, locality, and style. This step is the most subjective. Below are some spring rate recommendations based on different types of riders:
Type 1 Rider (you’re new to mountain biking and want to try a coil shock) – Go with the closest spring rate to the spring rate calculation and allow room for preload. In this case a 500lb standard VALT spring would be a good place to start.
Type 2 Rider (you’re an intermediate mountain biker that hits features like drops and jumps with confidence) – A 500lb standard VALT spring would also work in this case – we would recommend increasing your compression damping to help combat harsh bottom outs. A 500-610lb progressive VALT spring could also be considered if the bike was in need of more progression or if your riding style dedicated the extra progression.
Type 3 Rider (You’re an advanced rider, you hit big drops and gaps, you send it) – In this case we recommend that you start with the 500-610lb progressive spring to help support you when landing. You could also consider a 550lb standard VALT spring if you did not need the extra progression, or if your bike was extremely progressive.
Still not sure what spring you need for your bike? No worries! If you purchase a shock and spring directly from canecreek.com, you have 30 days to try out the spring to make sure you made the right decision. If you are not satisfied, we will work with you to find the correct spring free of charge. See below for further details.
We sometimes hear confusion surrounding this terminology – the misconception is that linear leverage ratio bikes would be compatible with linear springs, and progressive leverage ratio bikes are compatible with progressive springs. In fact, in most cases it is quite the opposite. In the section above “What Does Leverage Ratio Mean” we explain that there must be some sort of resistance (progression) incorporated into the rear suspension in order to support your riding and prevent harsh bottom outs.
If you have a linear frame, you can sensibly pair that with a shock that is progressive (an air shock or a coil shock with a progressive spring), and if you have a progressive frame, you can sensibly pair that with a linear shock (coil shock with a linear spring).
With progressive springs the spring rate will actually increase, or become more progressive, at some point throughout the stroke of the spring. This progressiveness is similar to the ramp-up of an air spring. With our Progressive Rate VALT spring, we matched the spring curve of our DBair IL with a normal amount of volume reduction, which was calculated to be an 18% increase in spring rate at the end of stroke.
With linear springs, the spring rate does not change. The amount of force required to compress the spring per inch will increase linearly.
When it comes to choosing between a progressive or linear spring, your bike’s leverage ratio curve will influence the majority of this decision, but you should also consider your riding style. If you have a leverage ratio curve that is extremely progressive towards the end of its stroke, you may not want to choose the progressive rate spring. If you have a bike that does not have as much progression built into it and you want to use a coil shock, then a progressive rate spring could be a good choice.
The advantage of a progressive spring is that you get the off the top suppleness that coil shocks are known for, while still having that extra support / progression at the end of travel. Progressive springs also open up the possibility of using a coil shock on a bike that was previously not very compatible with a coil shock.
If you have done the calculations above and you find yourself in between two different spring rates, we recommend that you round down and choose the lesser of the two rates. You can always add some preload to the spring to get you to the appropriate sag, but you can never lower a coil spring’s spring rate. If your spring rate is too high, you will not be able to achieve the correct sag.
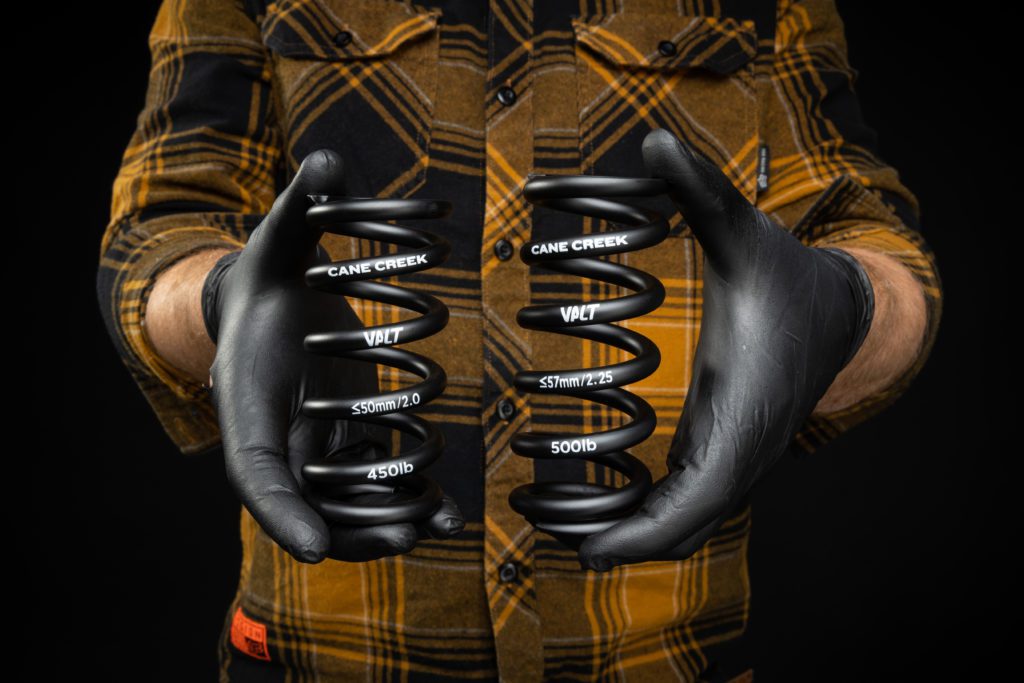
We recommend not needing to apply more than 2 turns of preload on your spring to get you to sag. If you have to apply more than 2 turns, you may want to consider going up in spring rate. Six turns of preload is the absolute max on our springs. If you’re at 6 turns of preload to get to sag, you definitely need to go up in spring rate.
The spring size is directly related to the size of your shock’s Stroke Length. If you have a spring that is too long, it may not physically fit onto the shock without compressing the spring, and if the spring is too short, you risk not being able to use full travel.
Ideally you would use a spring length that matches the shock’s Stroke Length. For example, with a 210 x 55mm shock size, you would use a spring that has a 55mm Stroke Length. In some cases, you might have a Stroke Length that does not exactly match up to the spring length – that’s ok. You can factor in 2-5mm of difference between the labeled spring size and the Stroke Length. (a 200x57mm shock size would work on a 55mm spring).
If you intend on using a different manufacturer’s spring on your shock, The inner diameter of the spring has to be compatible with your shock damper body diameter. A spring with a 30mm inner diameter will not fit on a shock damper body that has a 35mm diameter.
We try to take away the risk of purchasing an inappropriate spring rate with our 30 day coil swap program: Starting May 20th, 2022, if you buy a coil shock and coil spring directly from canecreek.com, you have 30 days after the delivery of your shock to try that spring out and make sure you are satisfied. If you are not satisfied with your spring choice, contact our Internal Sales Group and we will work with you to find the correct spring rate and swap the spring free of charge.
Monday: 10:00 am – 5:00 pm
Tuesday – Thursday: 10:00 am – 7:00 pm
Friday: 10:00 am – 5:00 pm
Saturday – Sunday: Closed