PayPal now available at checkout
Free US Shipping On Orders $99+
Previous slide
Next slide
Feb 2024 orig.
Please dispose of all waste products and materials through proper channels to avoid contamination of the environment.
Any damage or issues resulting from improper service will not be covered by warranty. If you have a shock still in its original warranty period and do not wish to void your warranty, please contact an authorized Cane Creek service center.
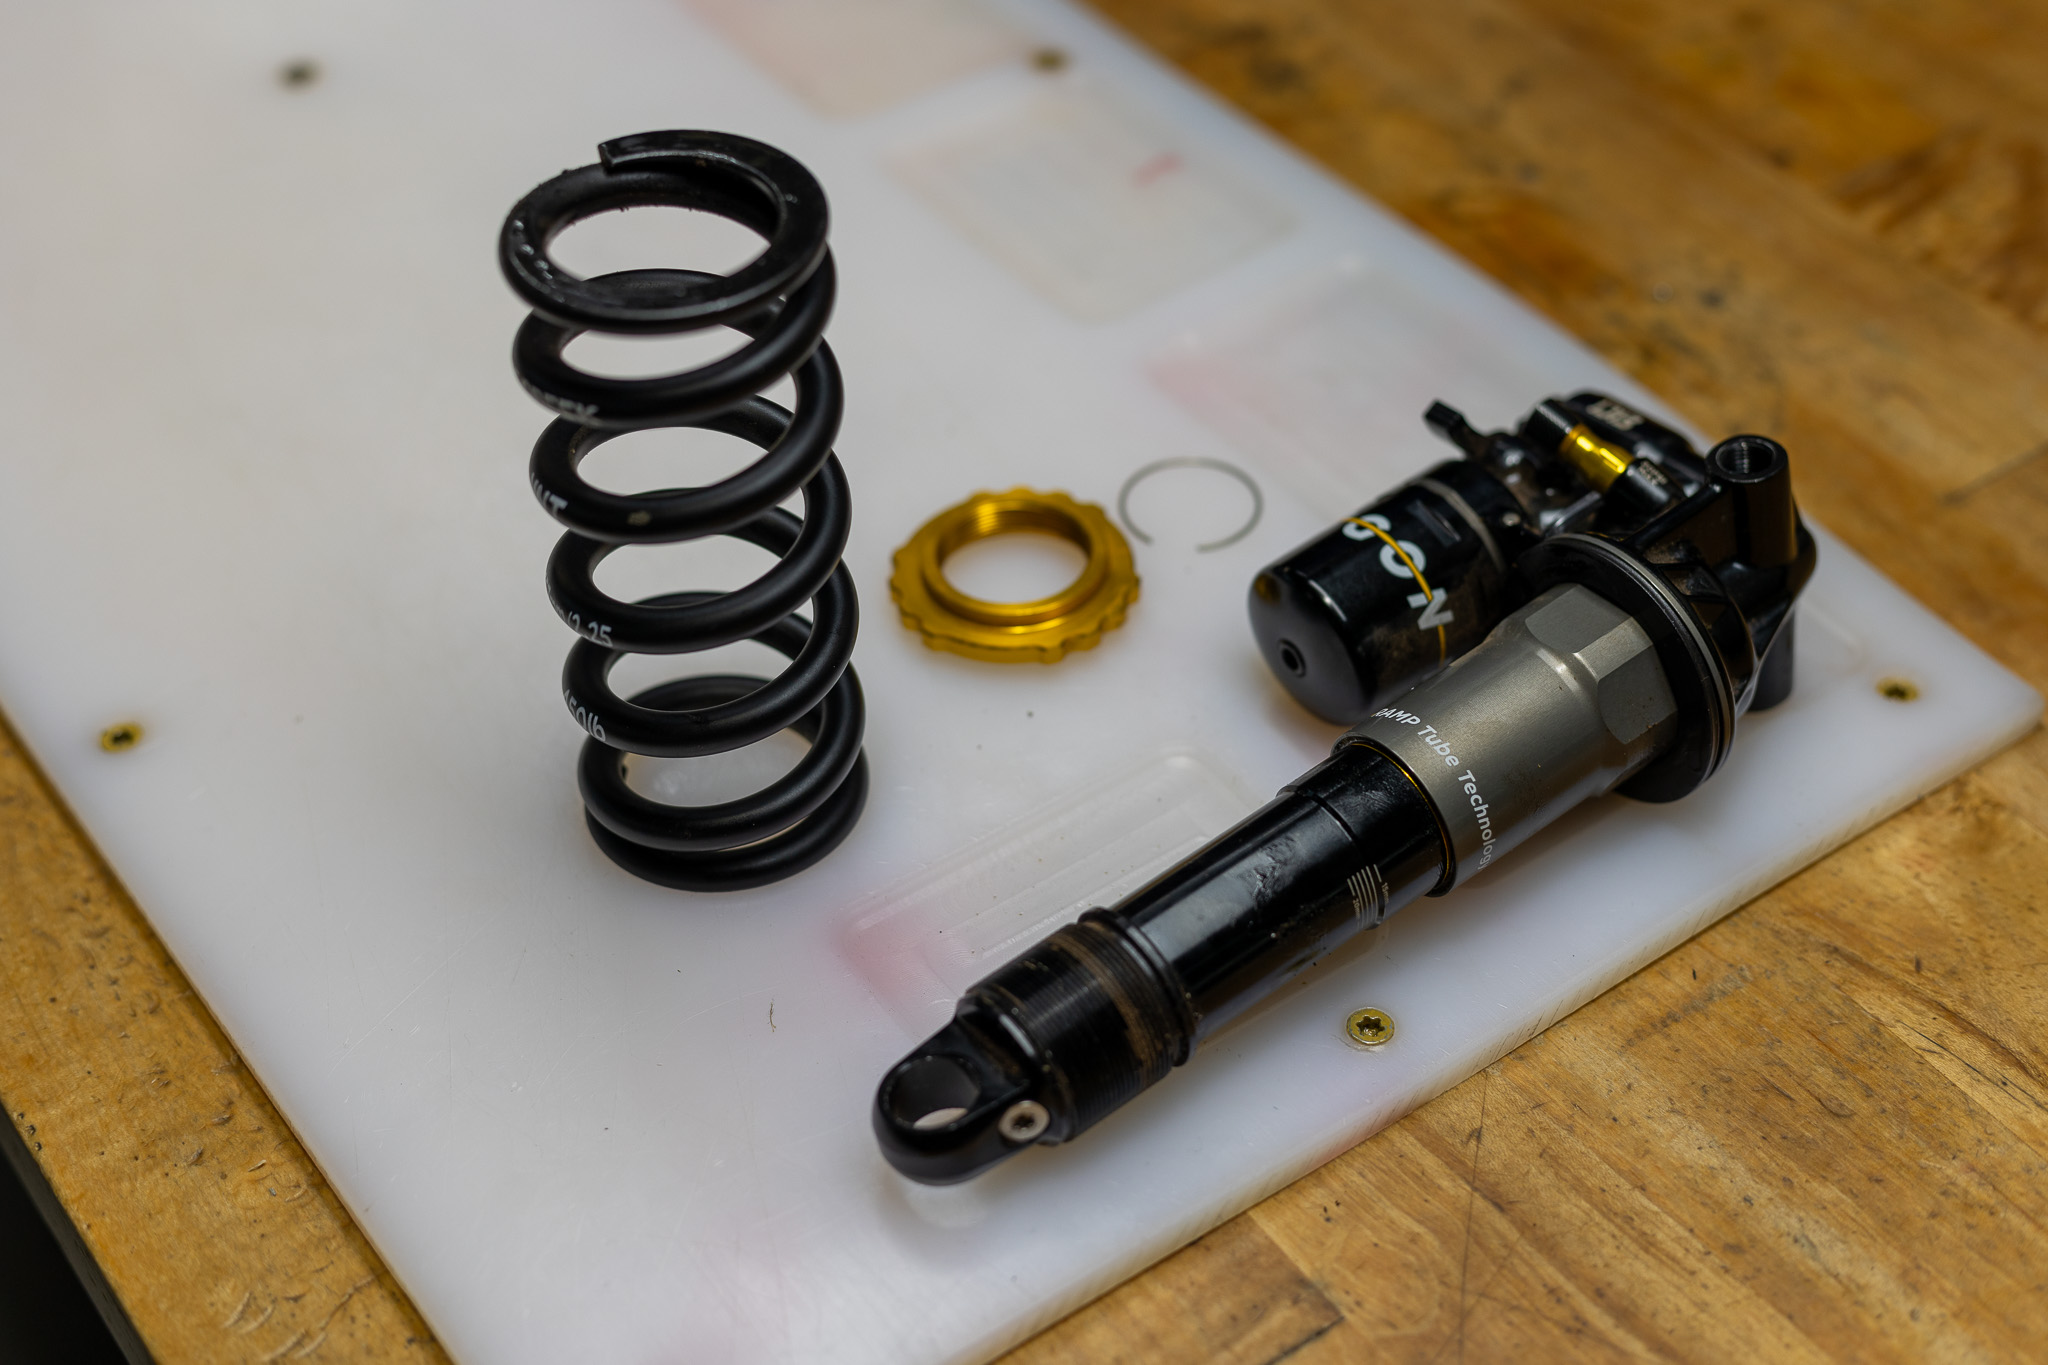
This service covers changing stroke ONLY on a new Tigon shock. As o-rings are considered new as part of this service, they will not be replaced. If this stroke change is being done on an older shock, a full 100 hour service is recommended.
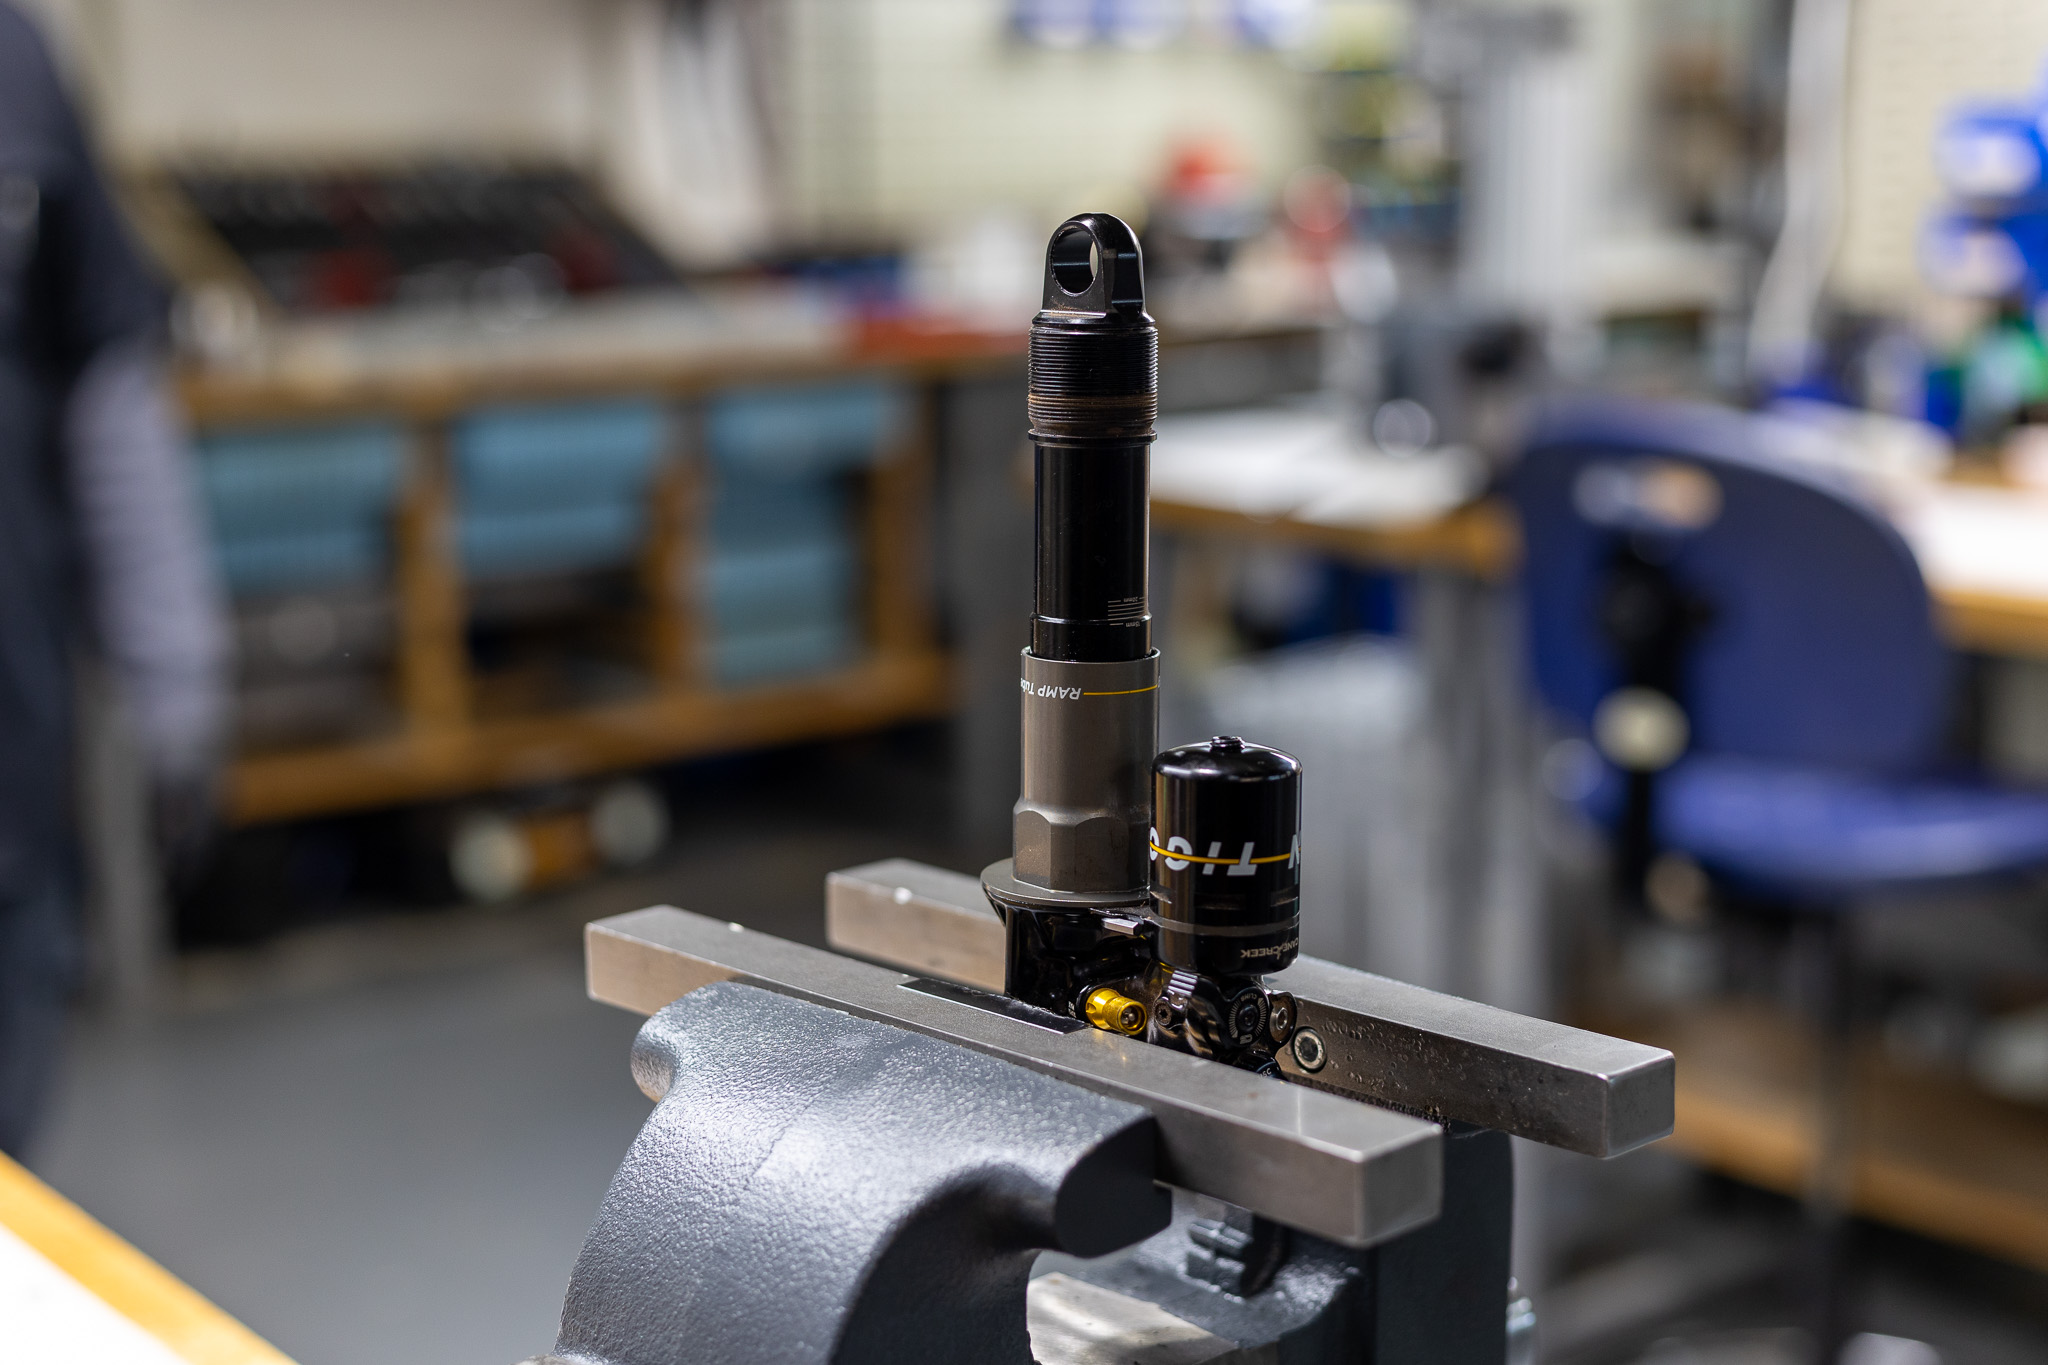
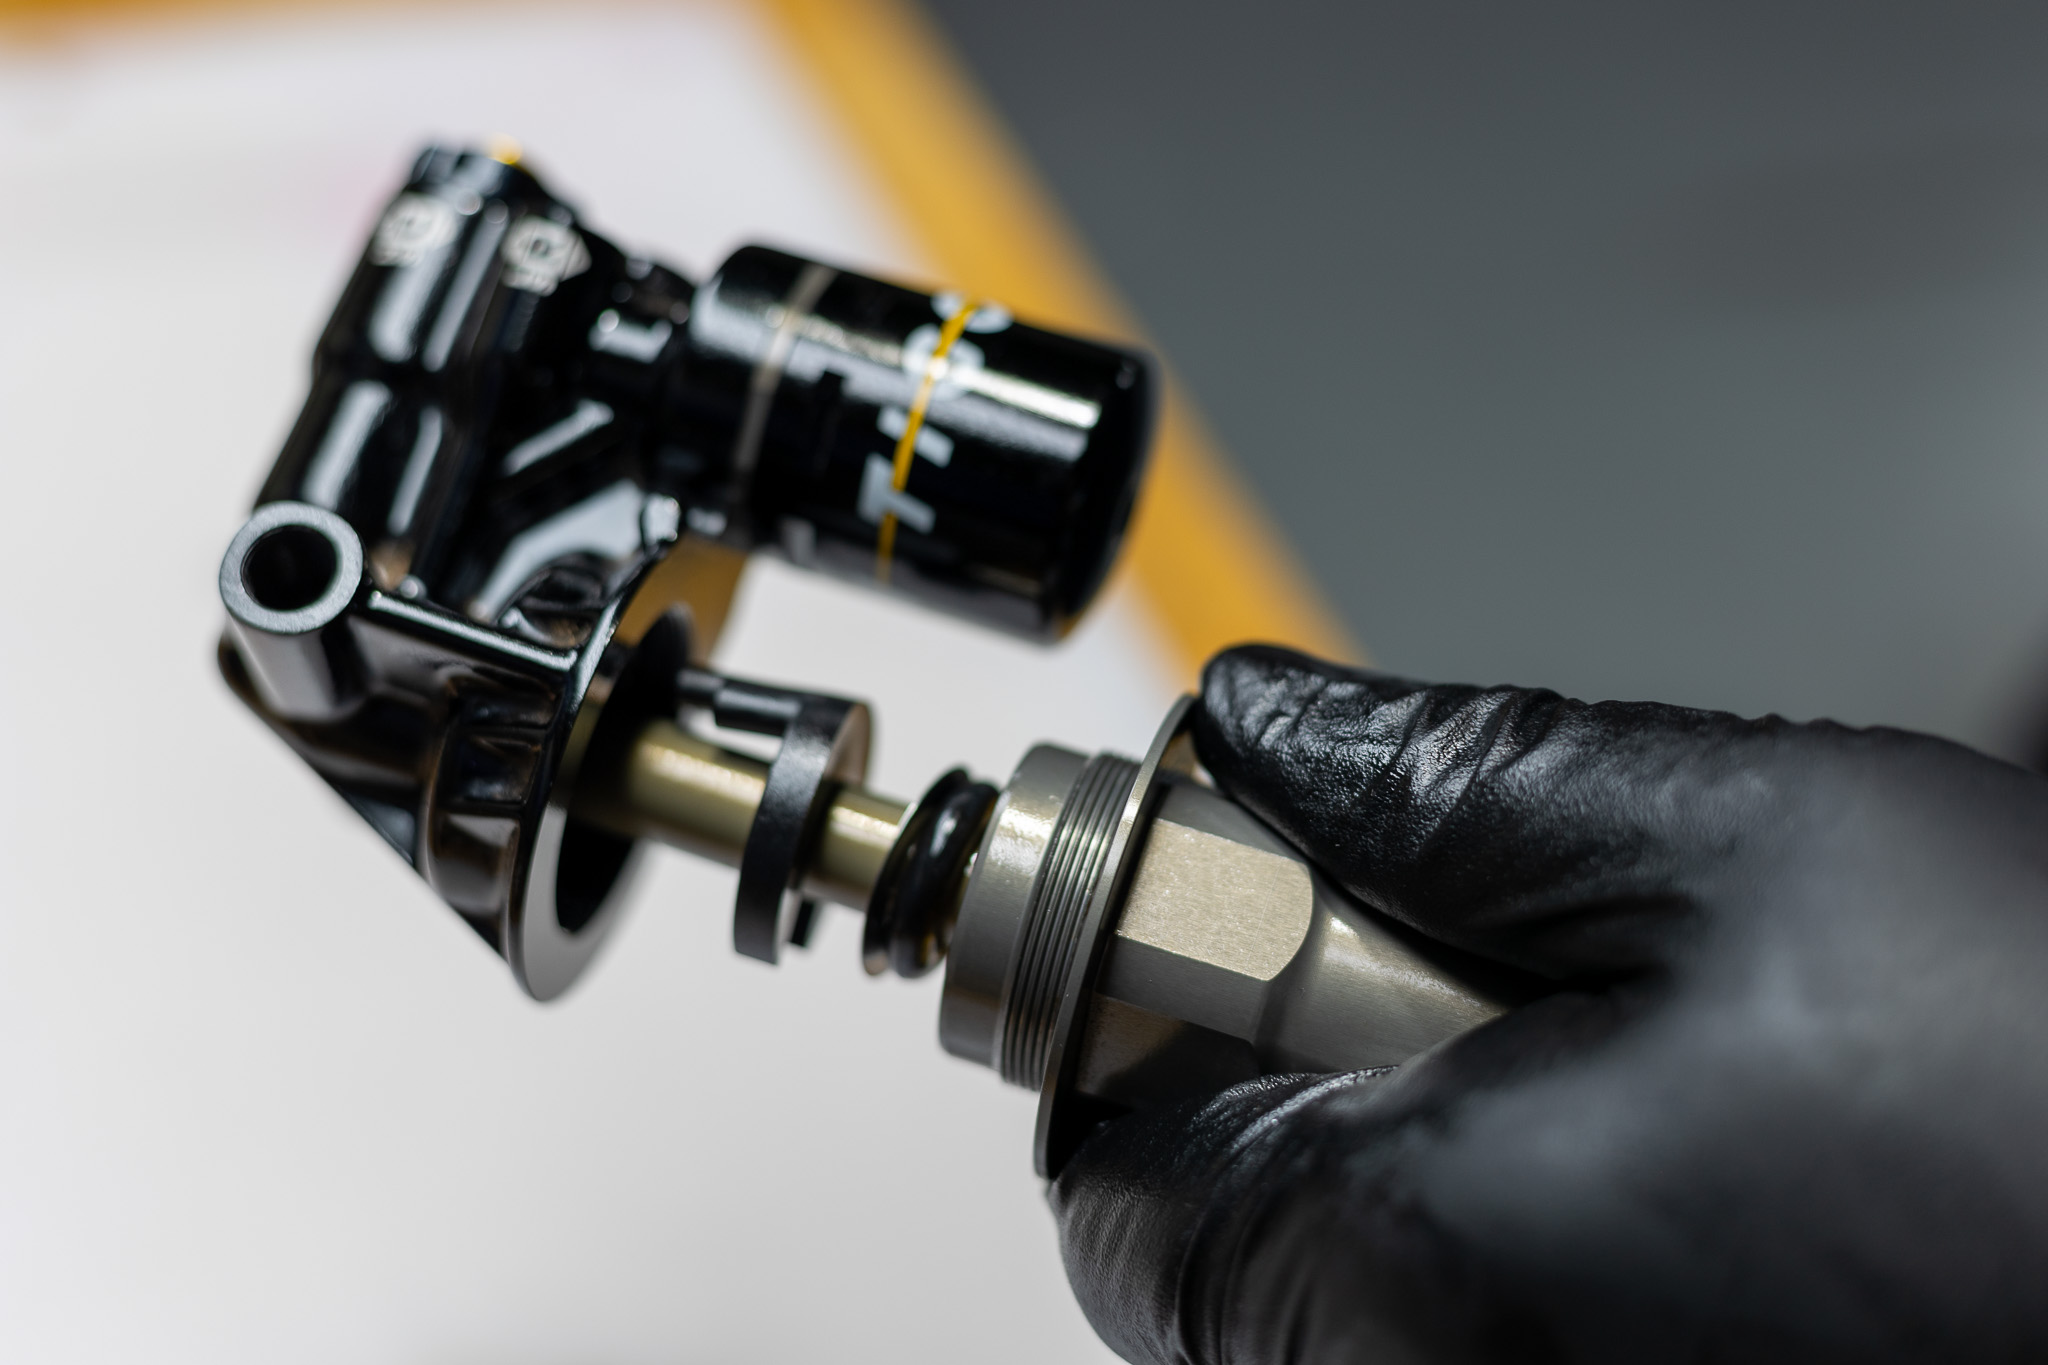
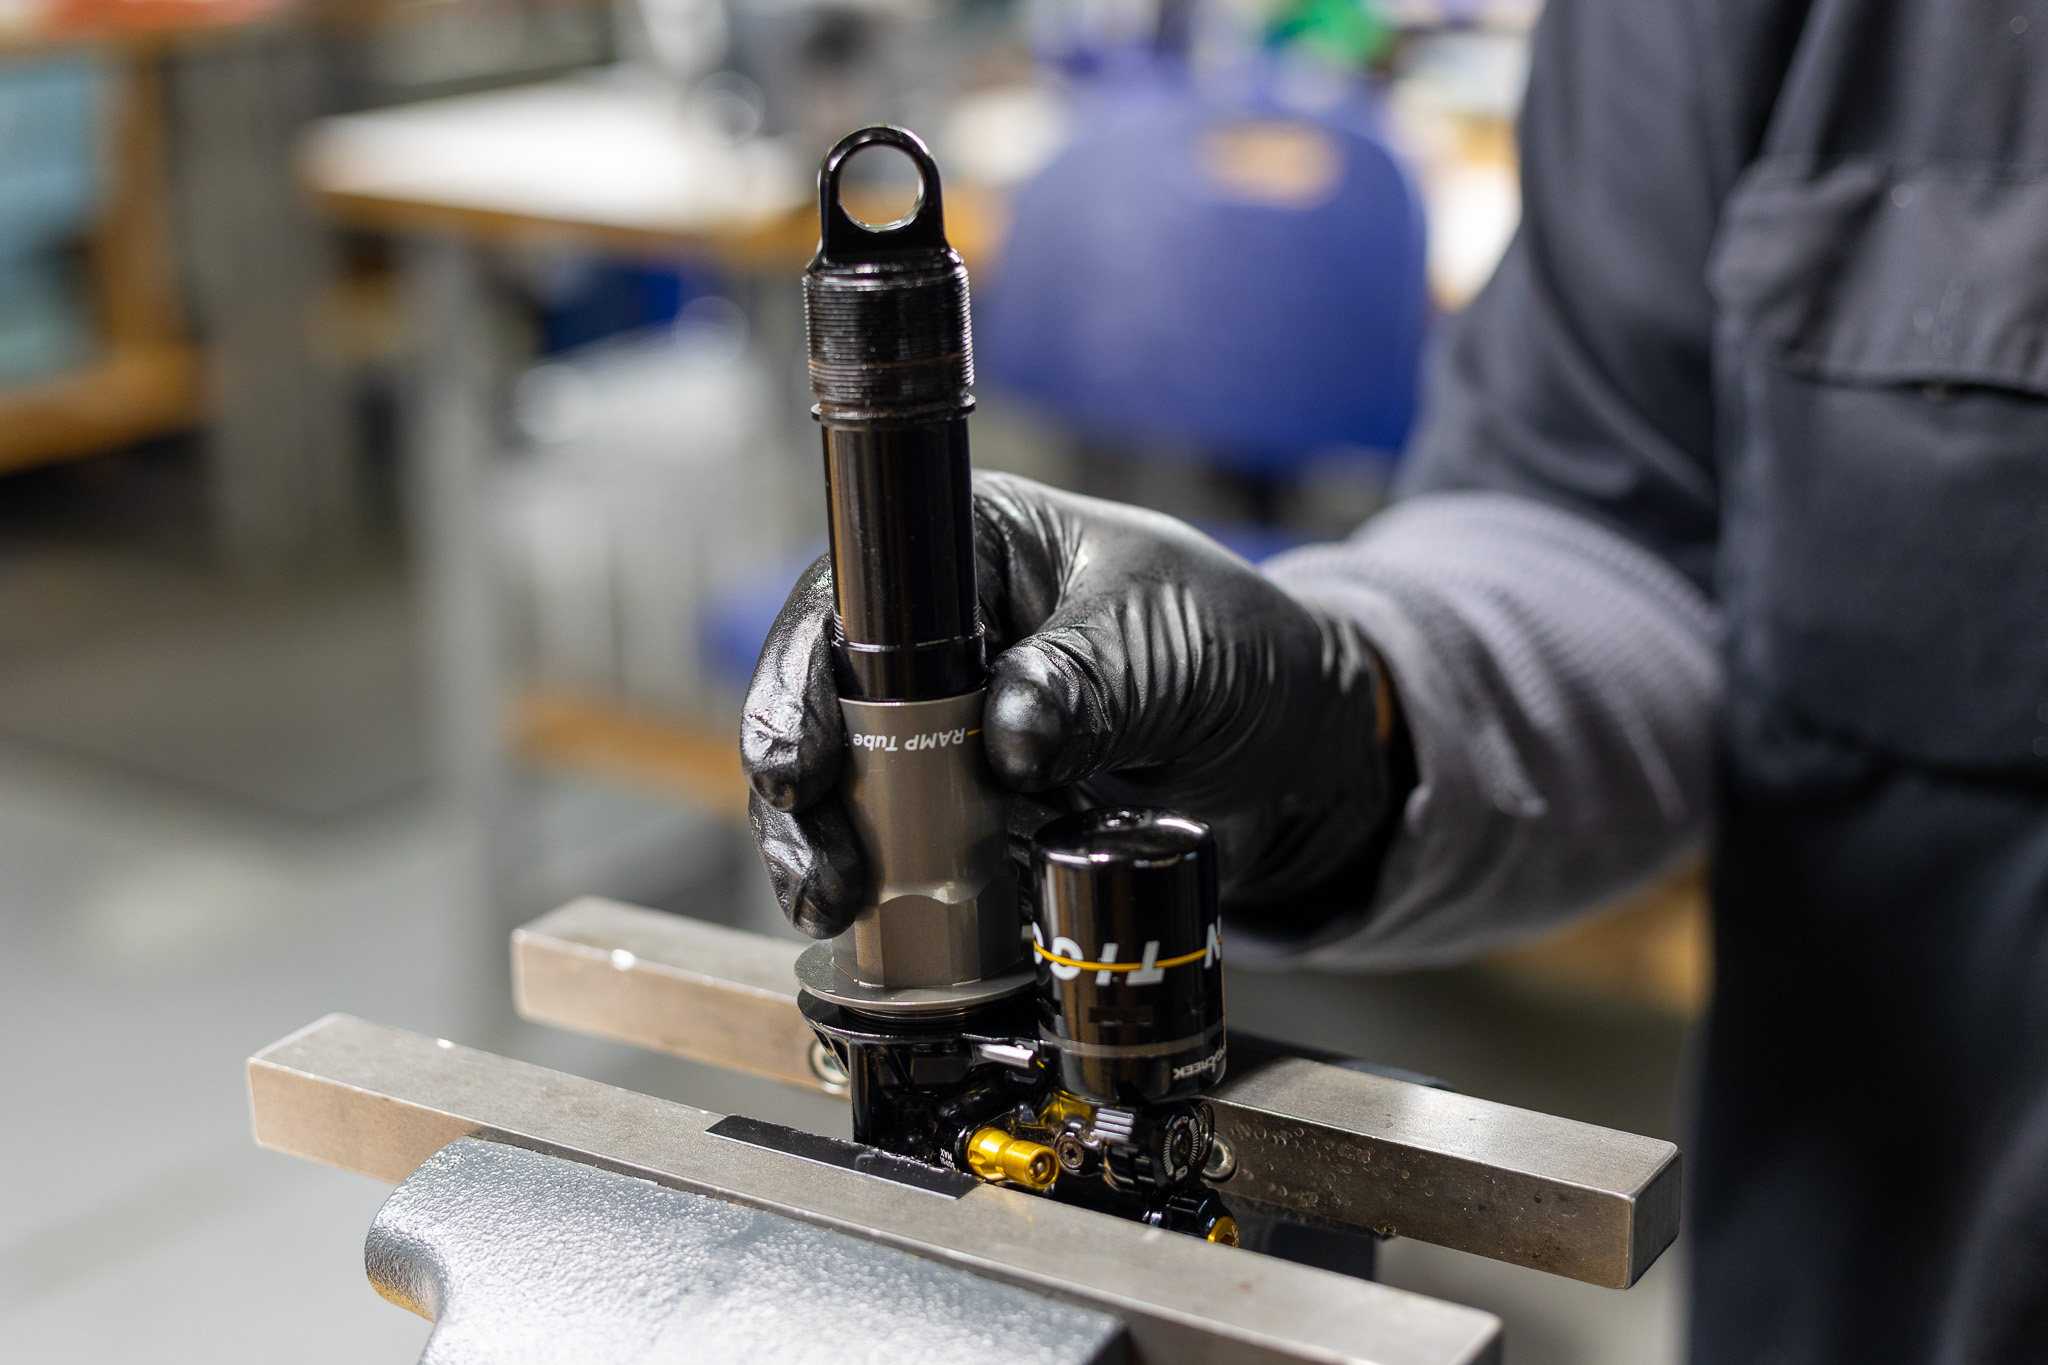
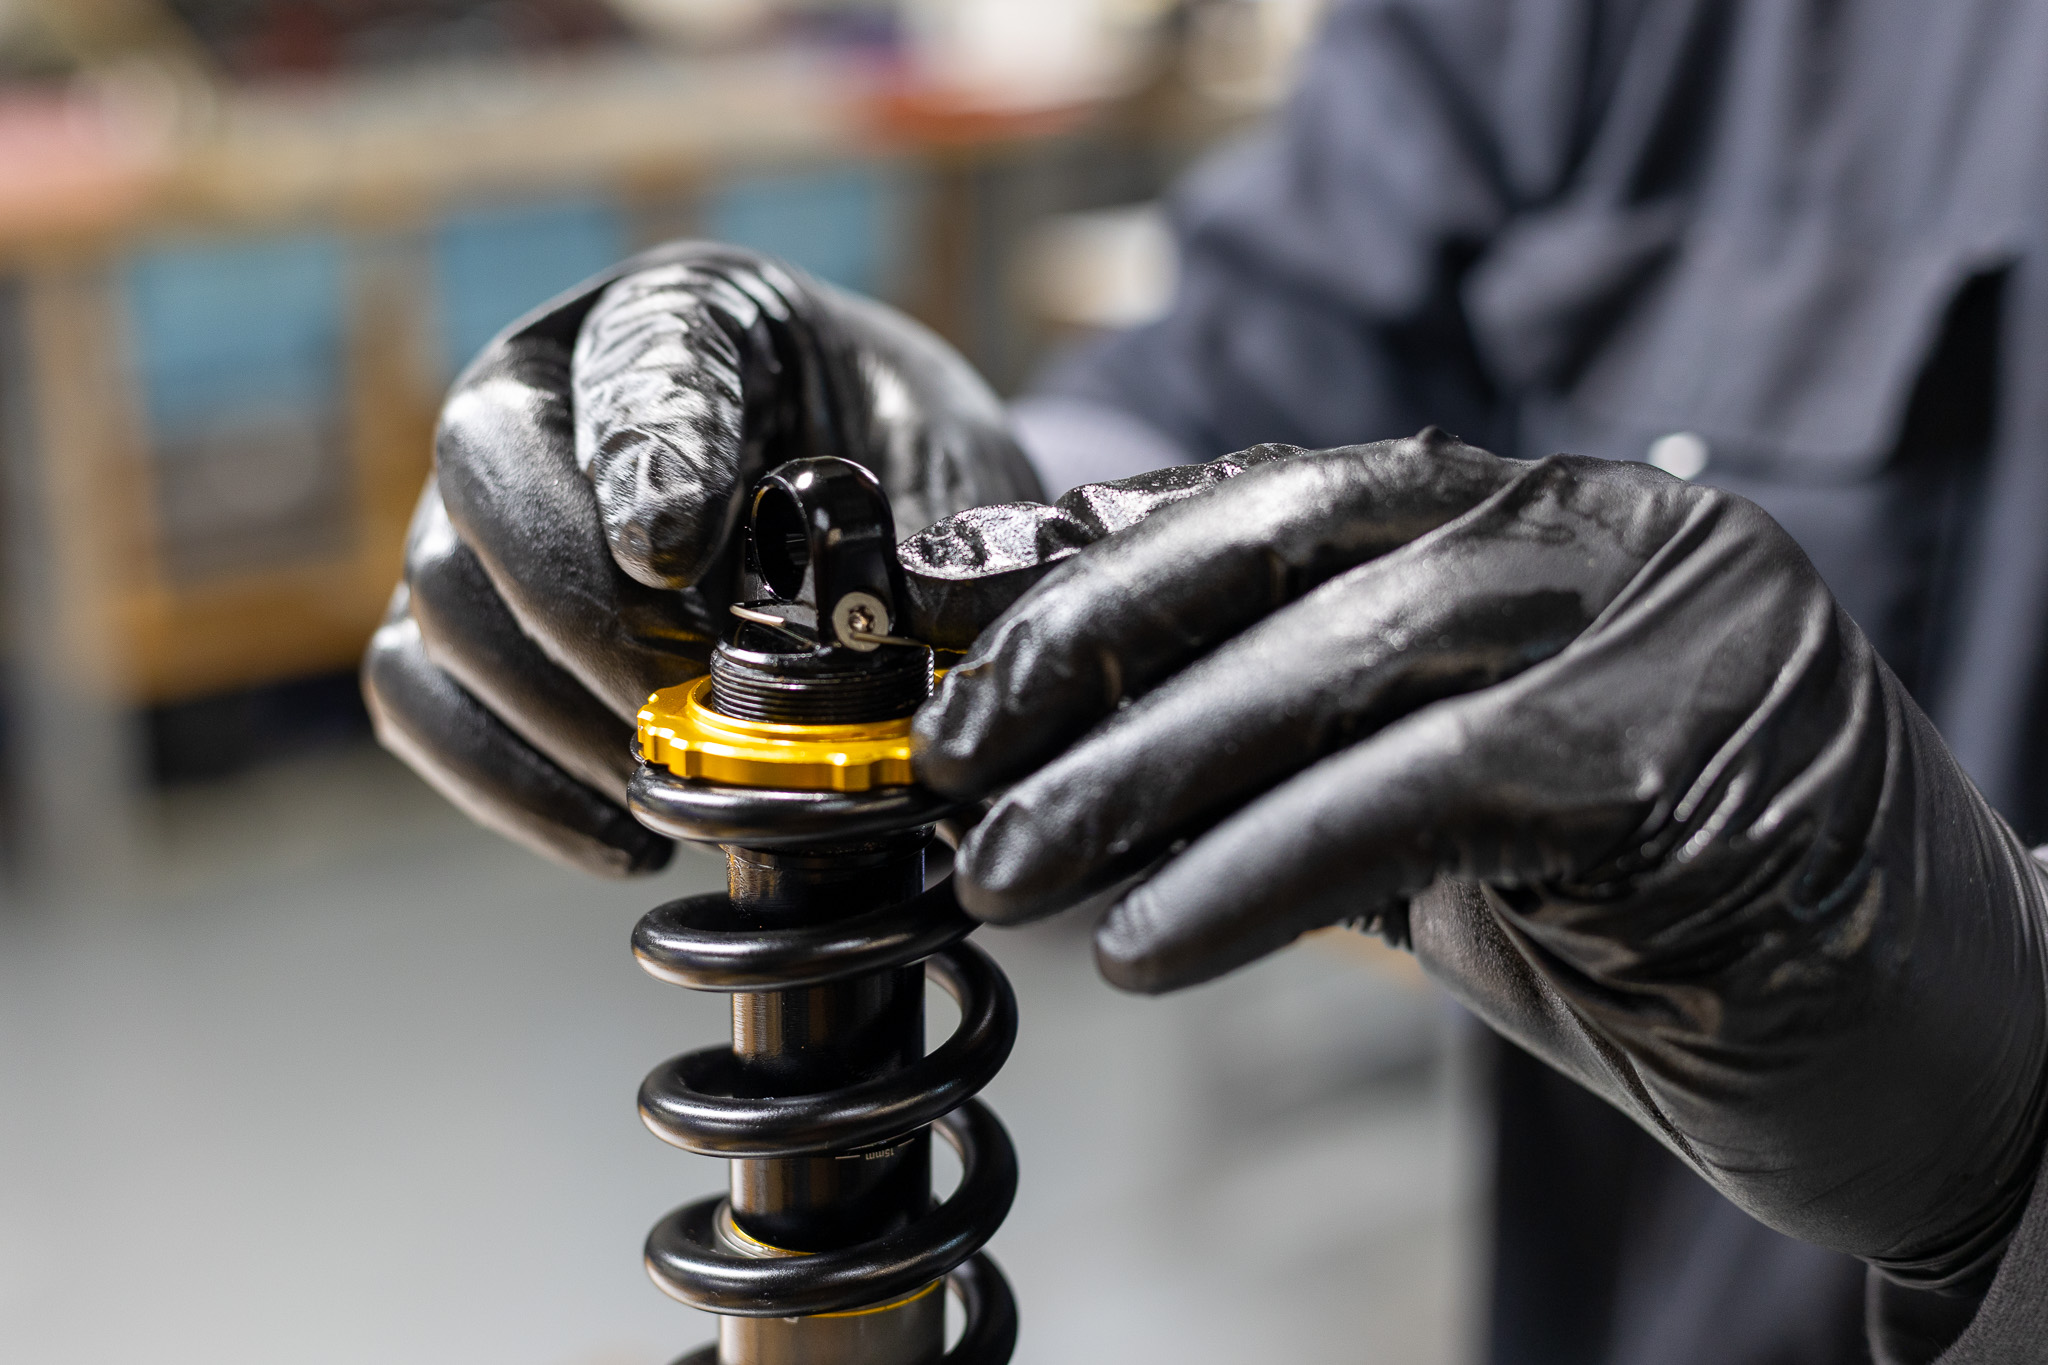
The stroke change procedure is the same for Standard and Trunnion mount shocks. Only where to clamp the valve body varies.
No service kits required. If decreasing stroke, one of the below Stroke Reducers will be required:
ADD0233 – Tigon – 2.5mm Stroke Reducer
ADD0234 – Tigon – 5mm Stroke Reducer
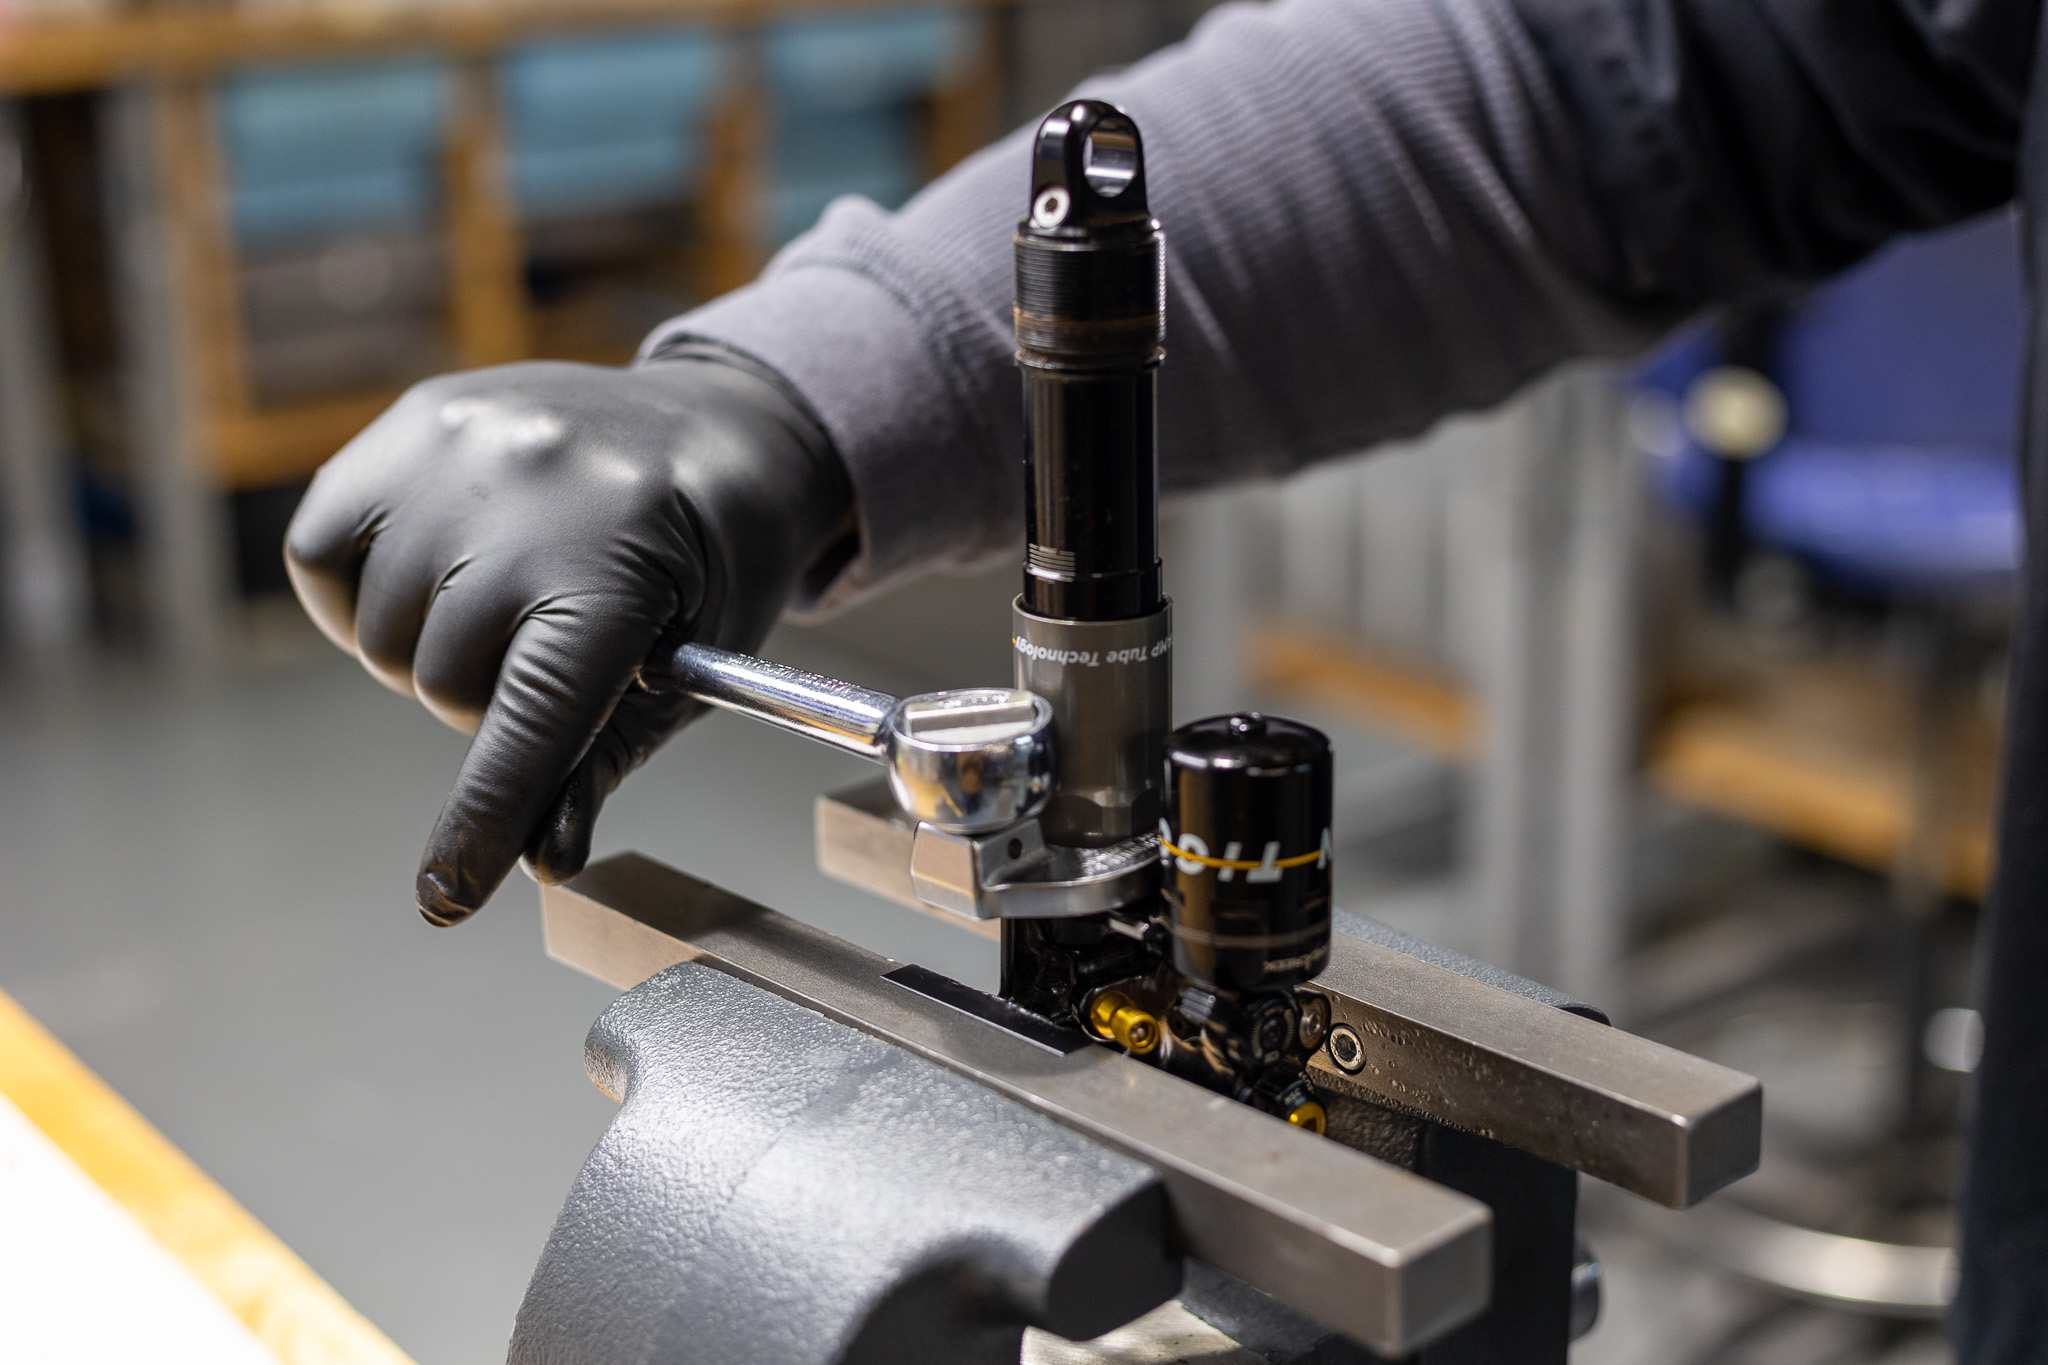
Crowfoot wrench – 34mm
Torque wrench
Pick – metal & plastic
Torque & Loctite Chart
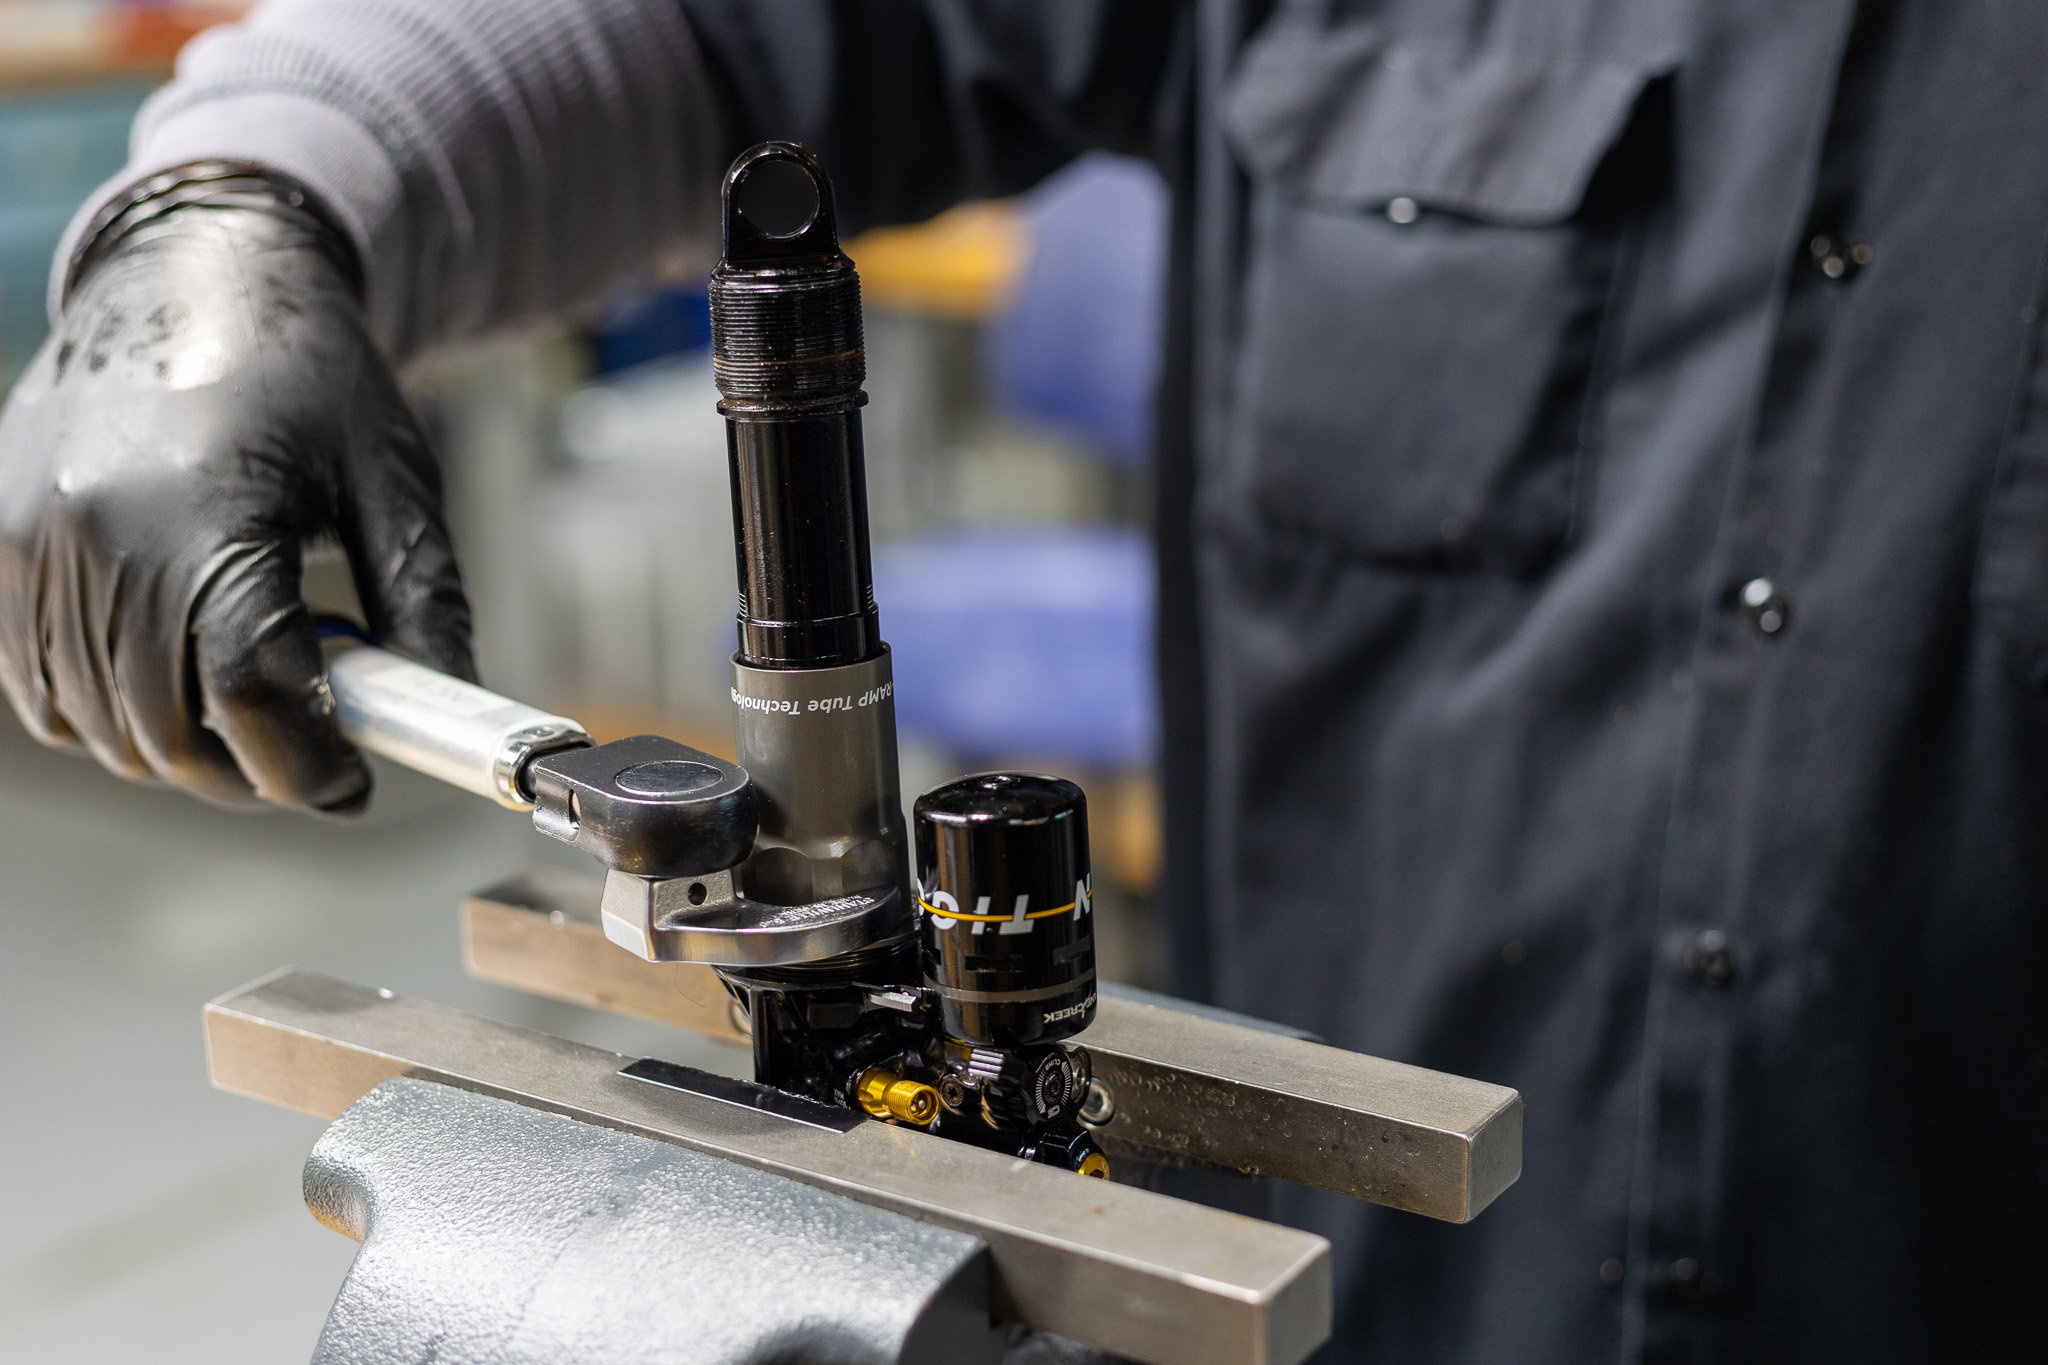
| Part | Torque Spec | Loctite Spec |
| RAMP Tube | 14.5 Nm | none |
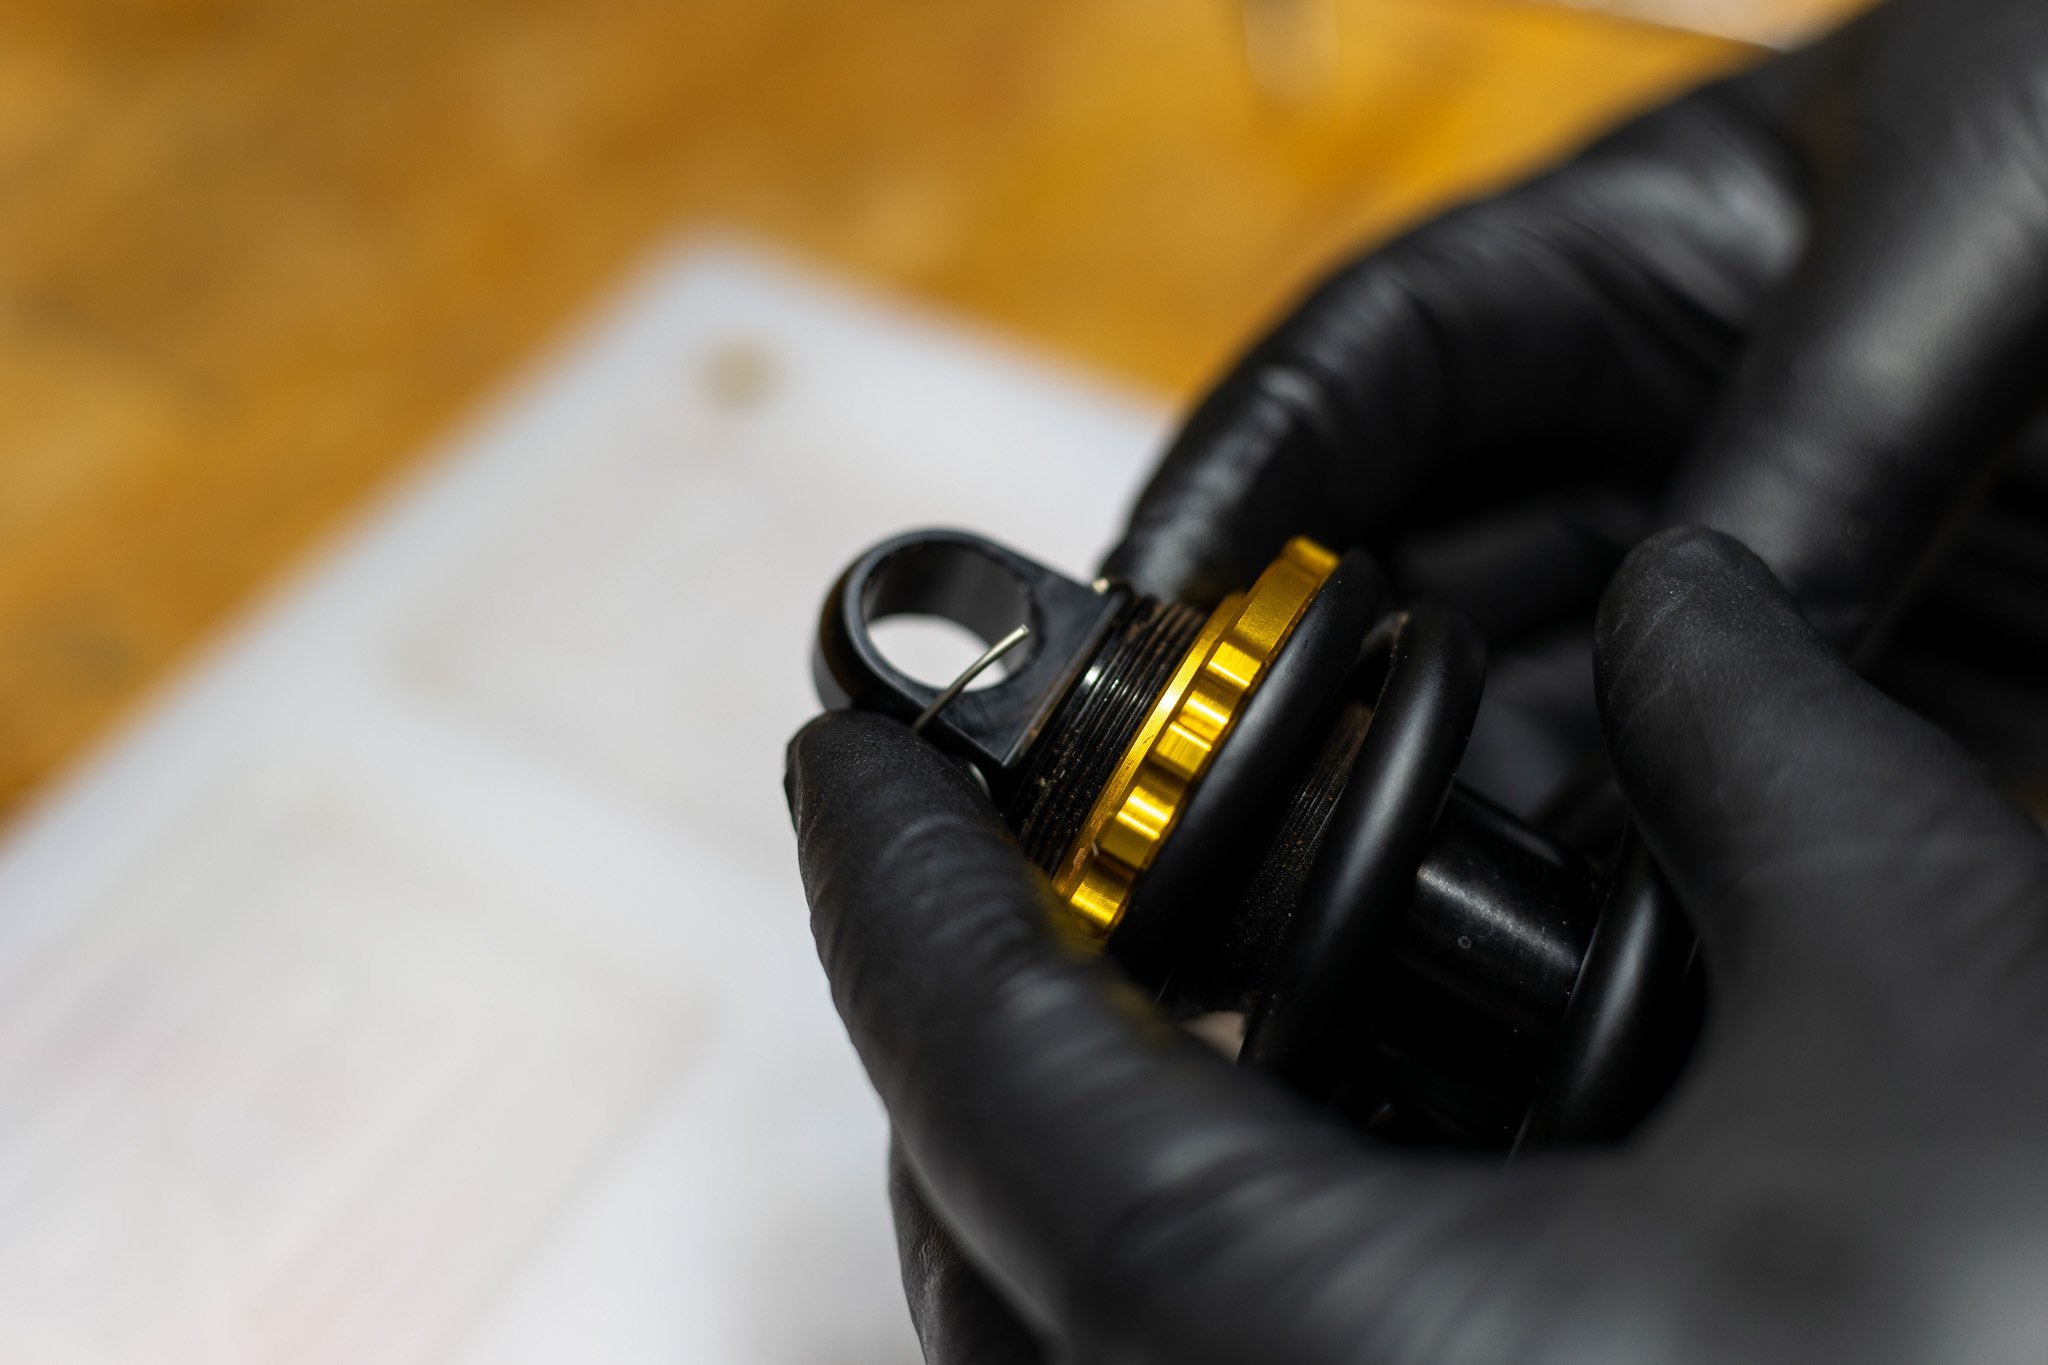
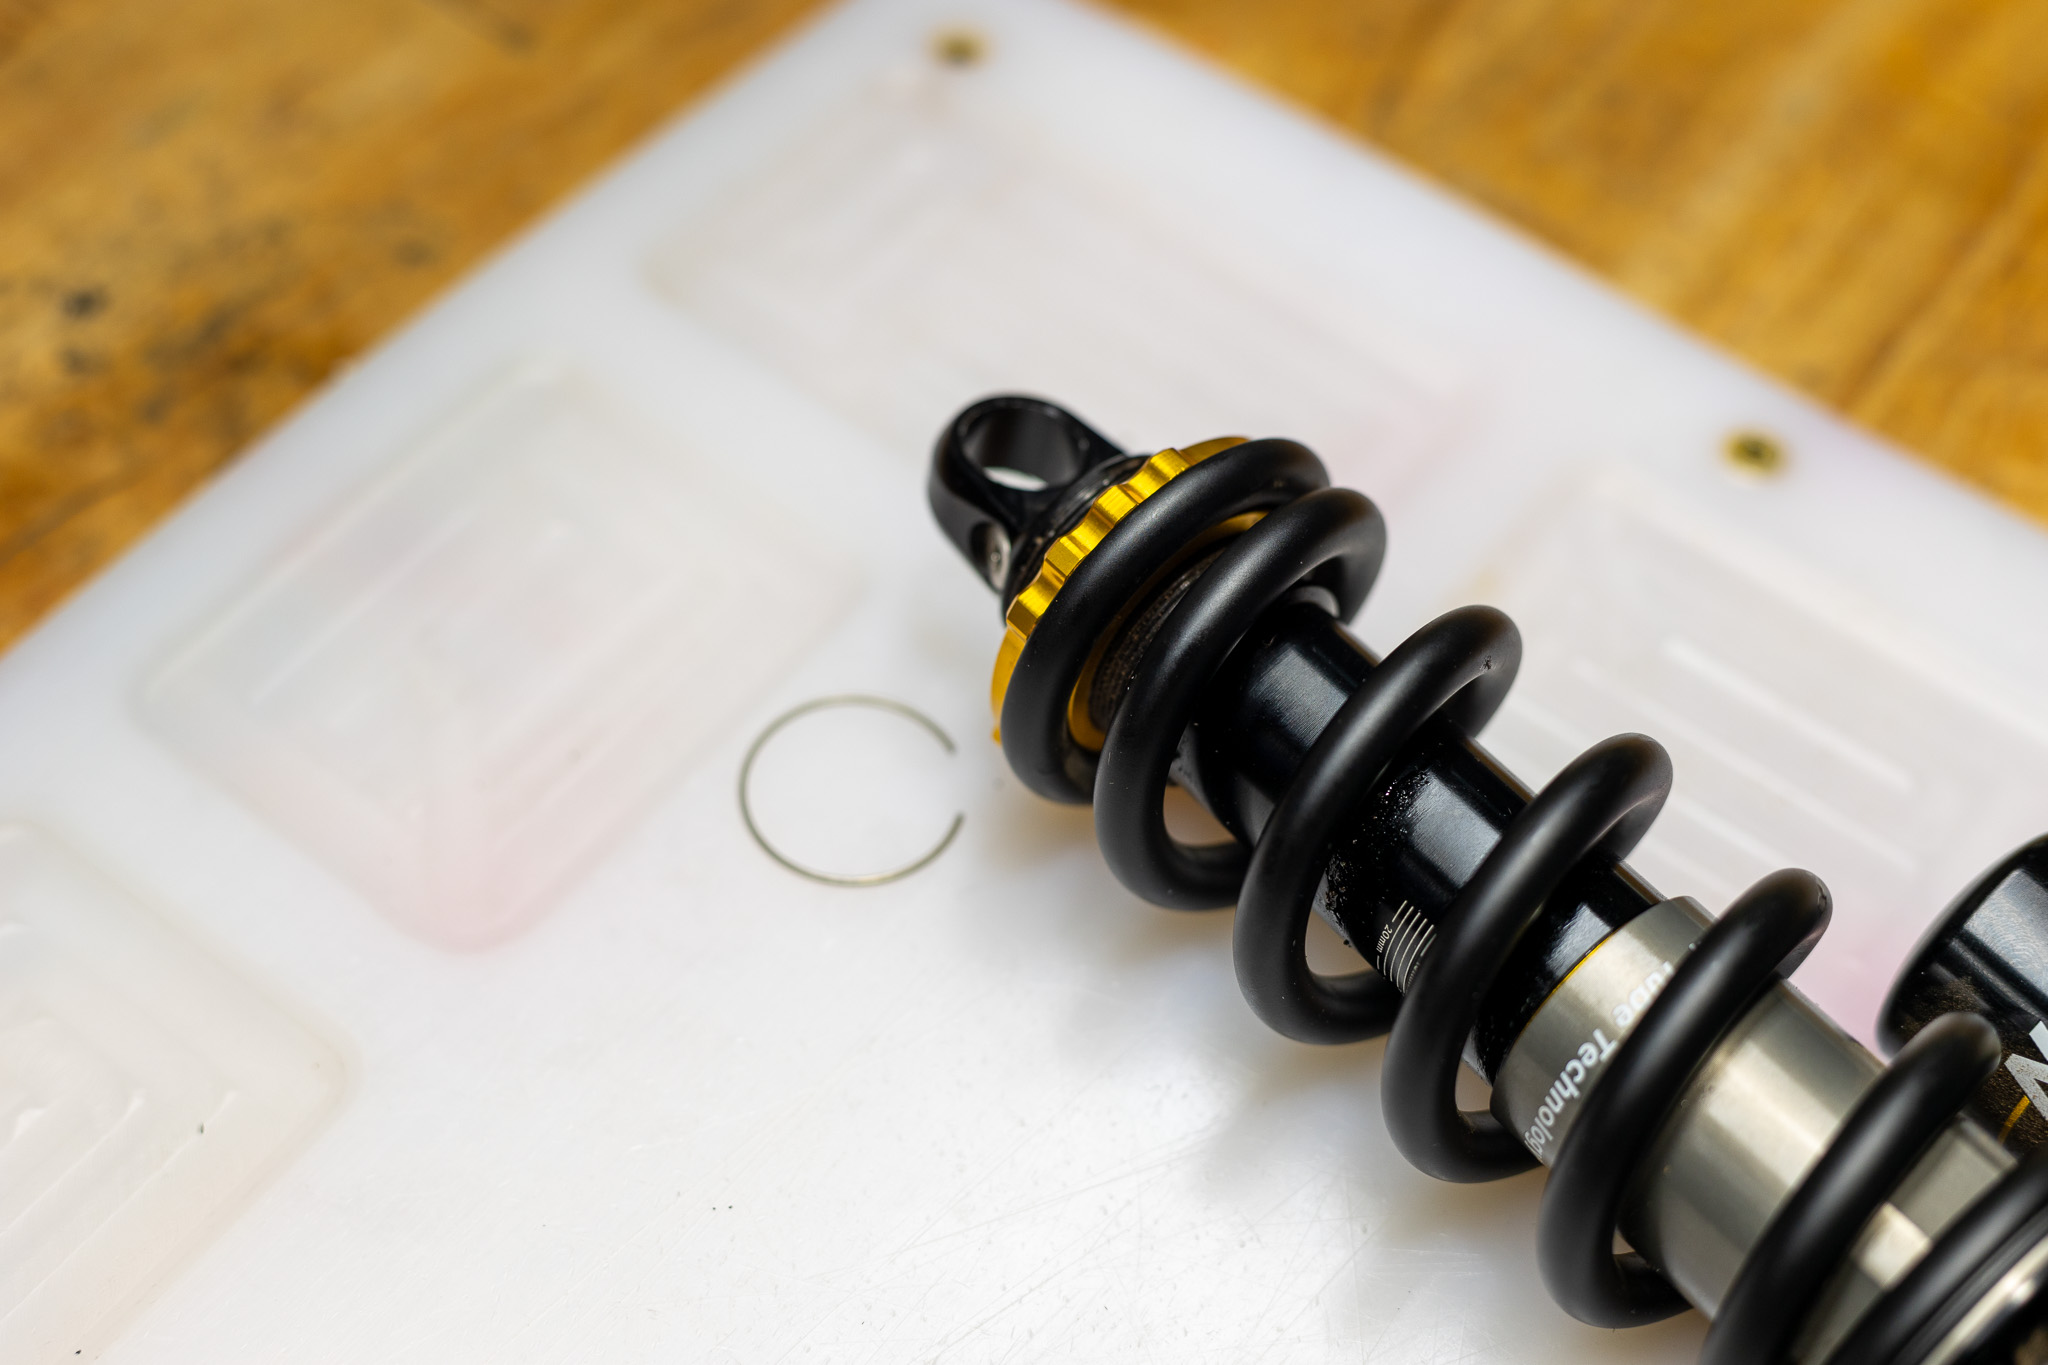
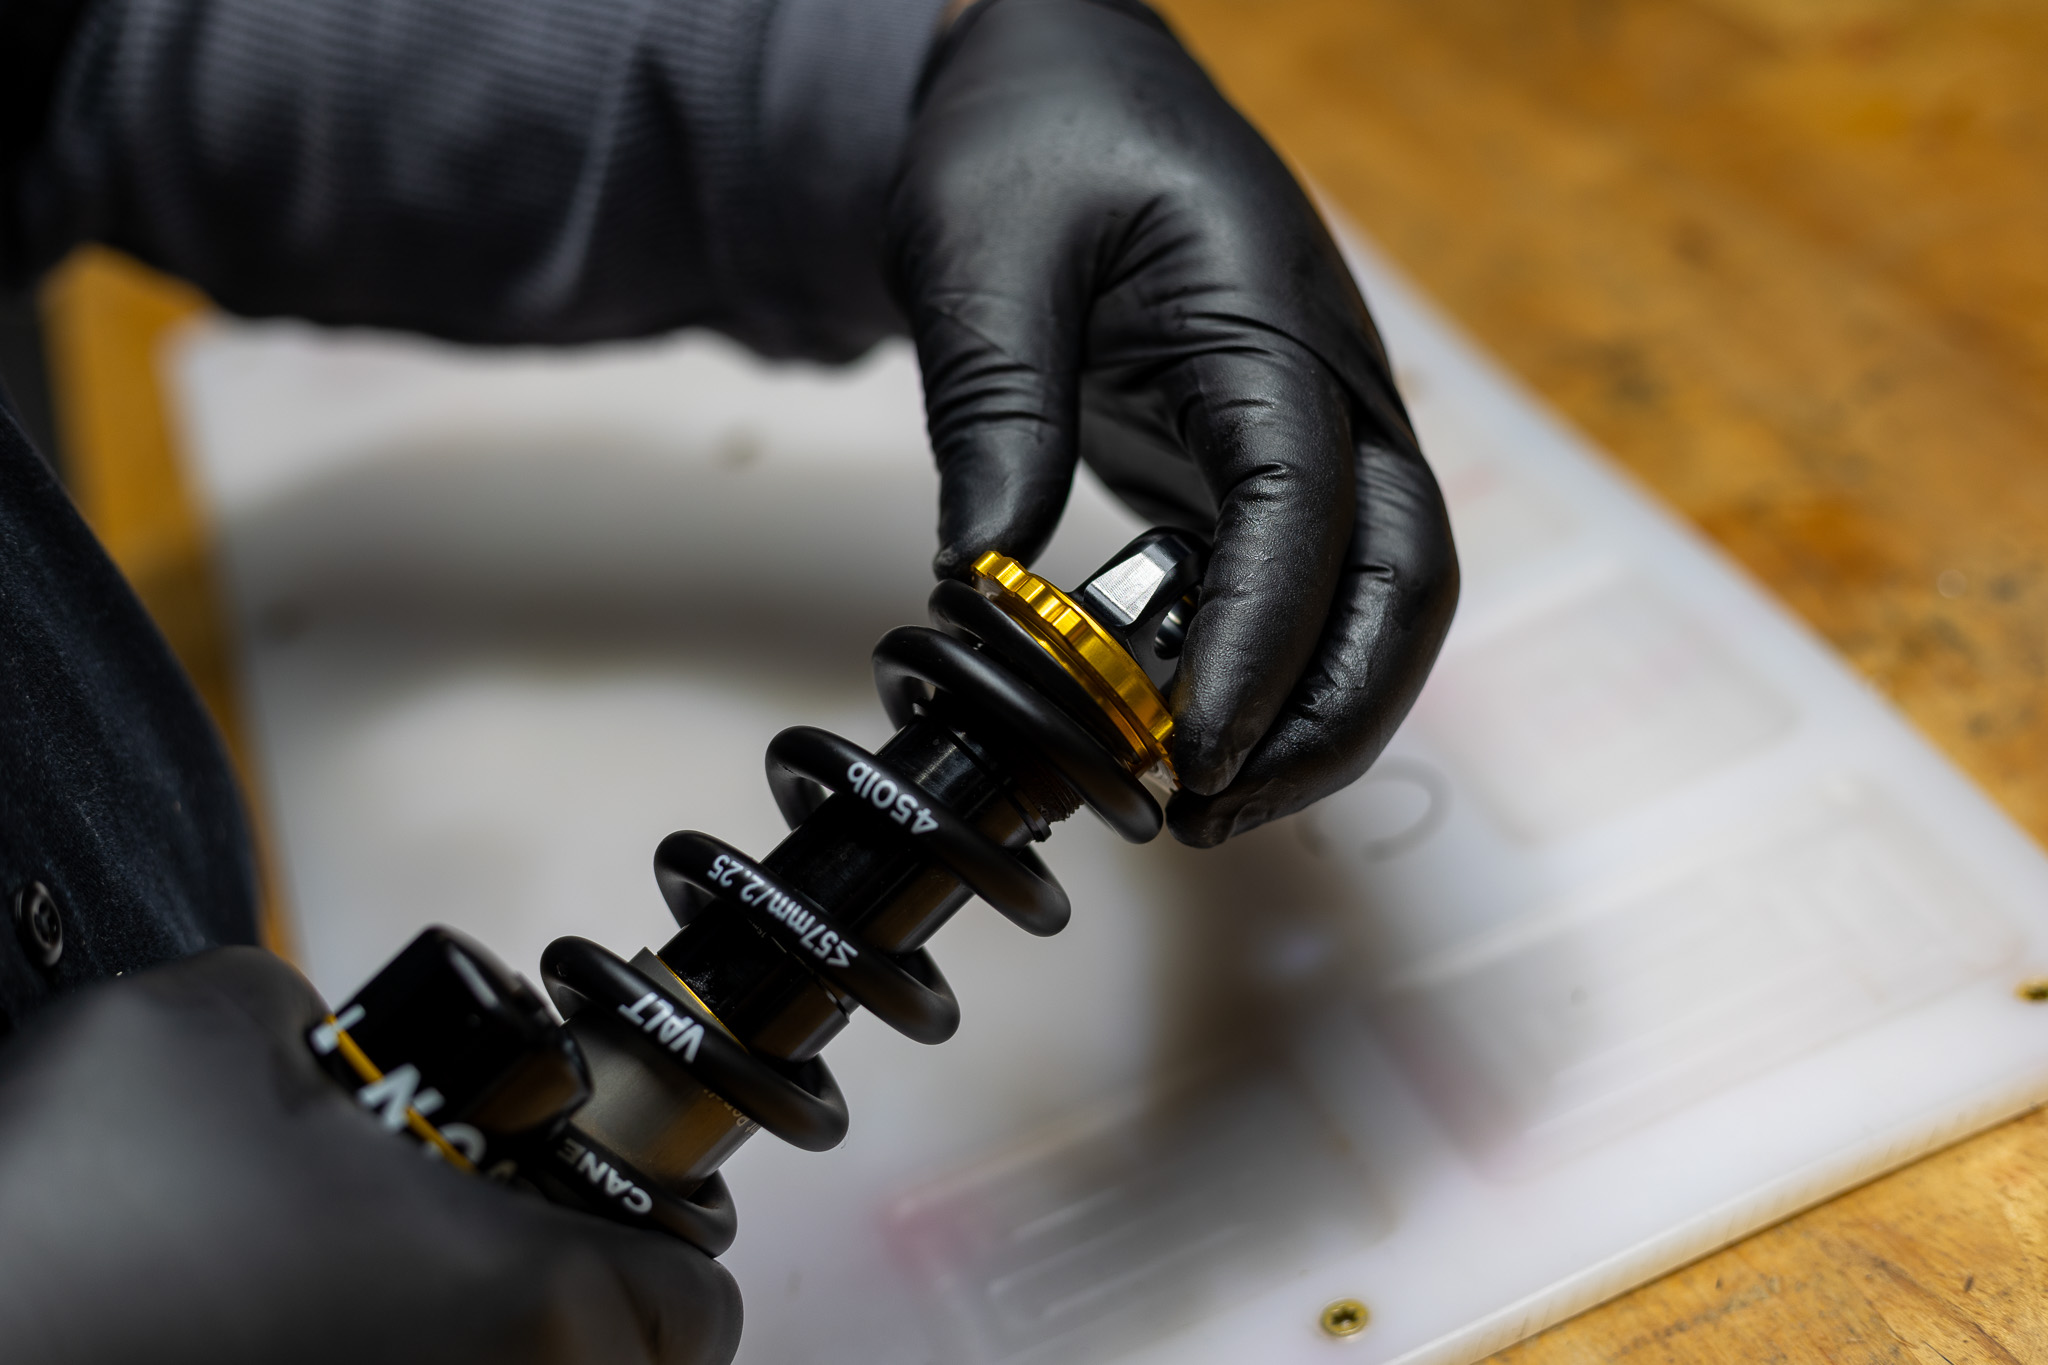
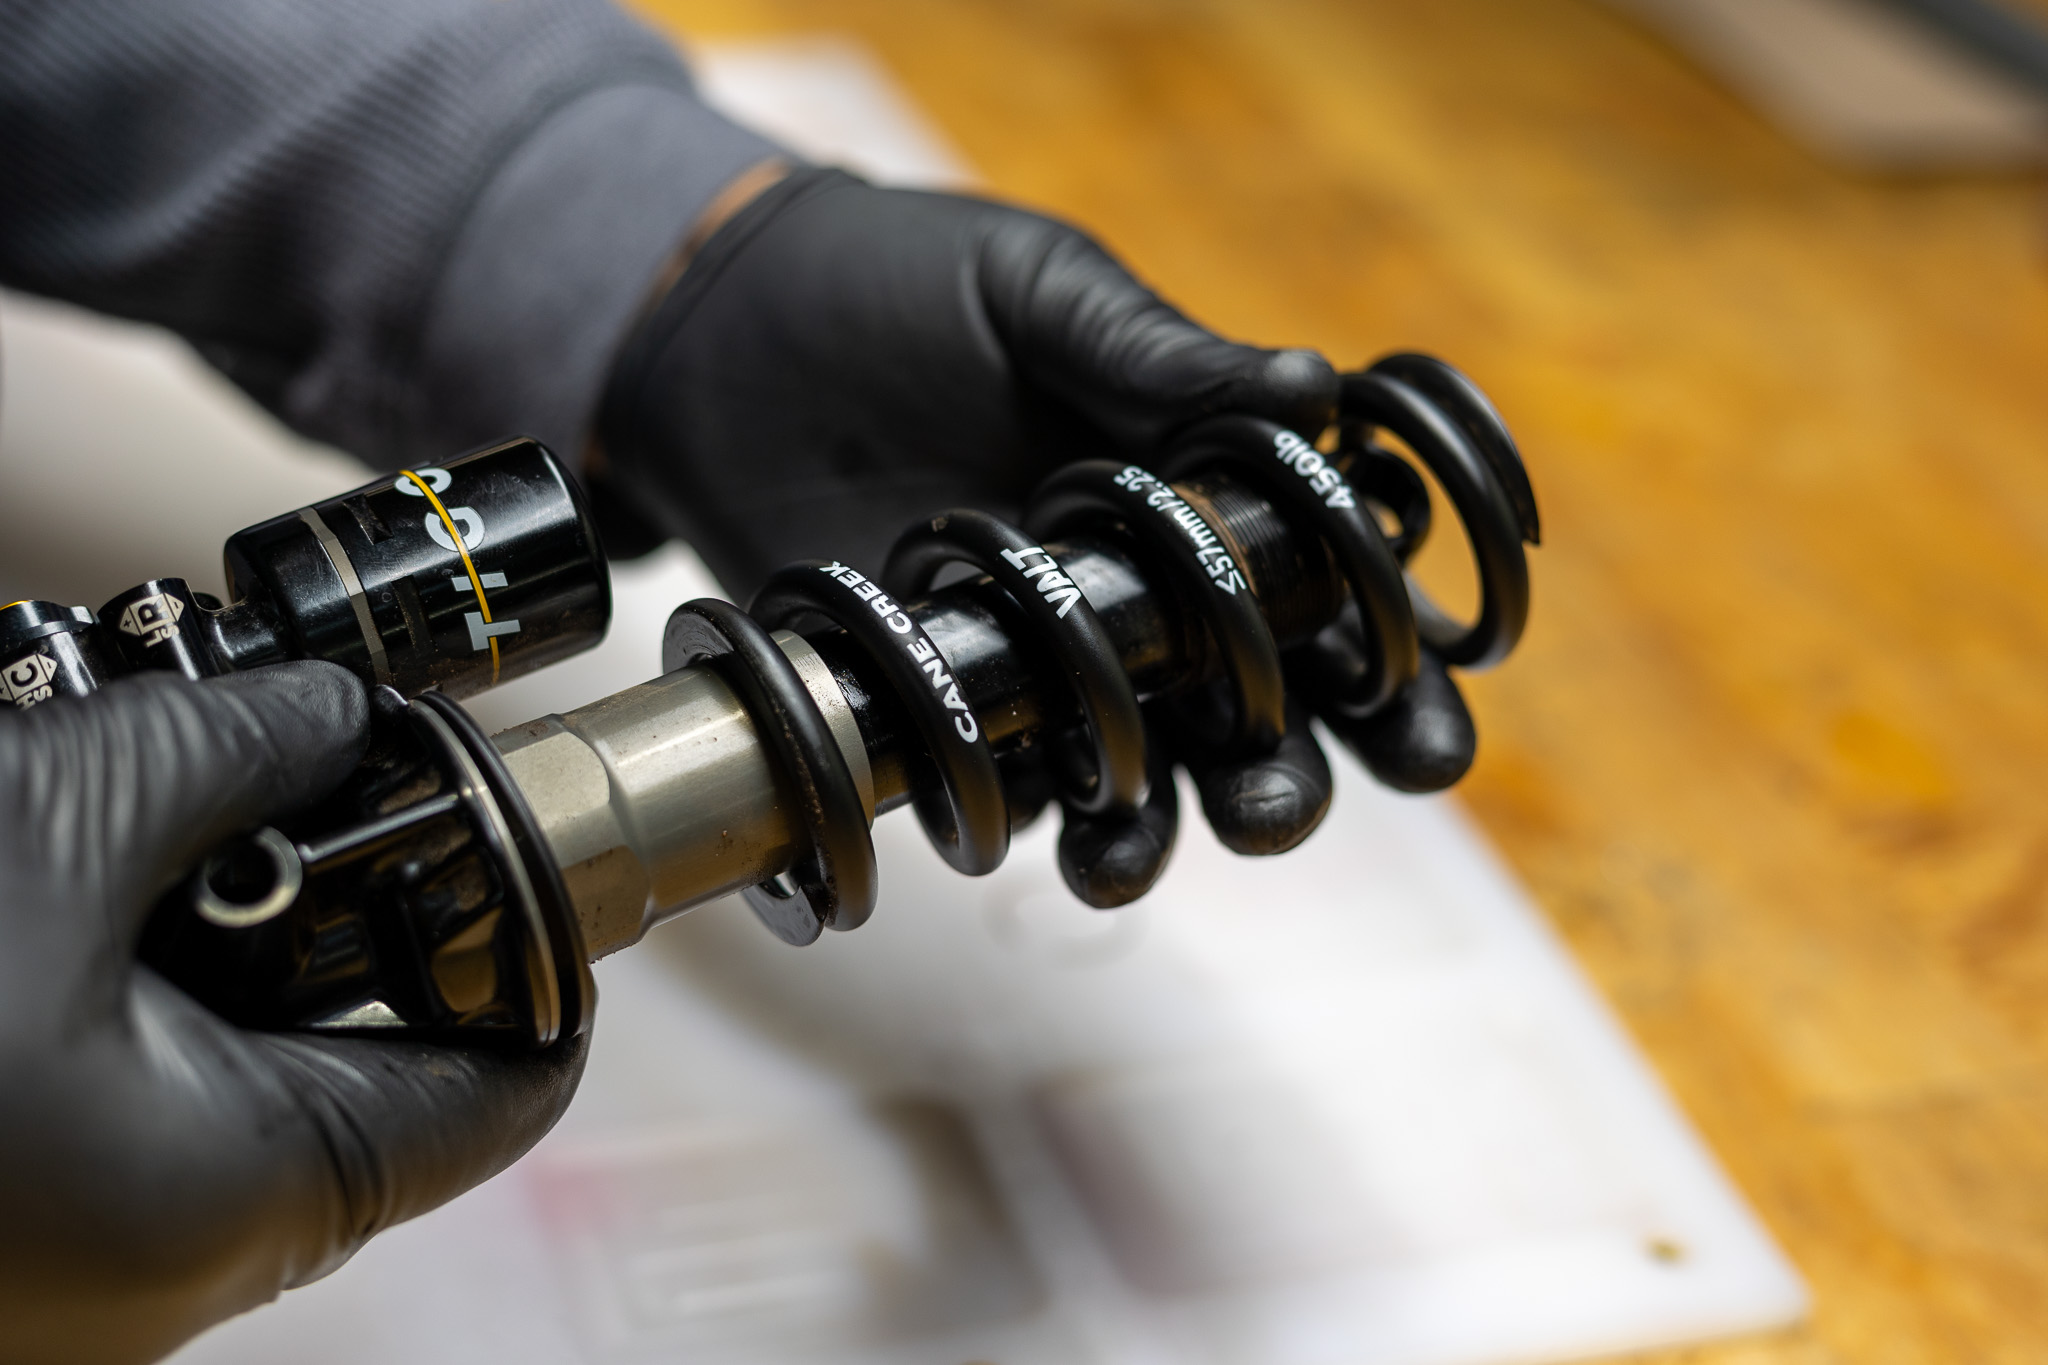
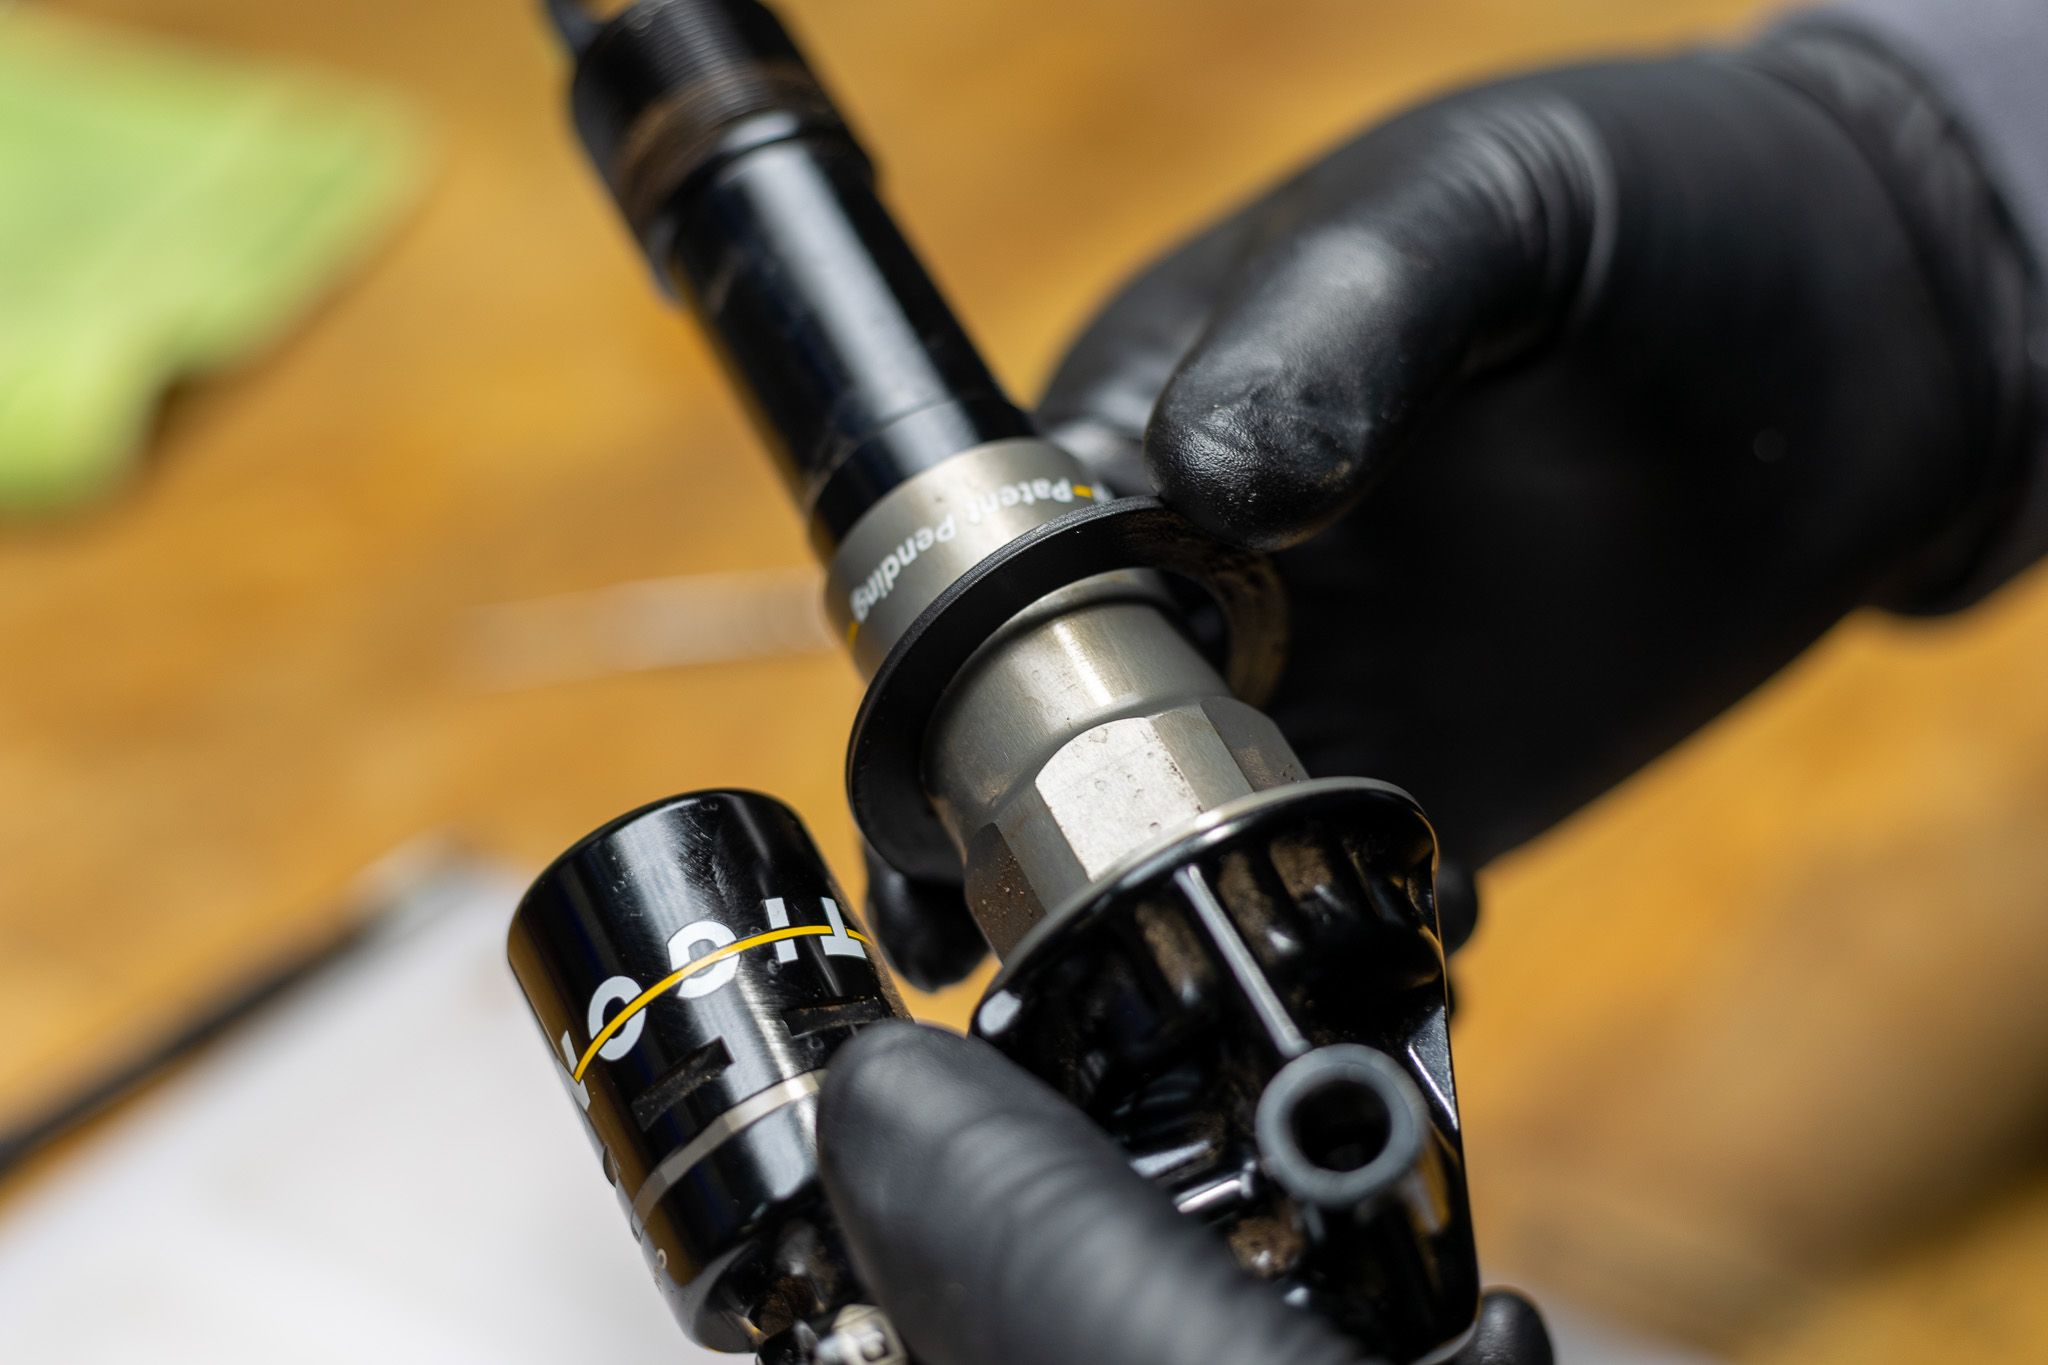
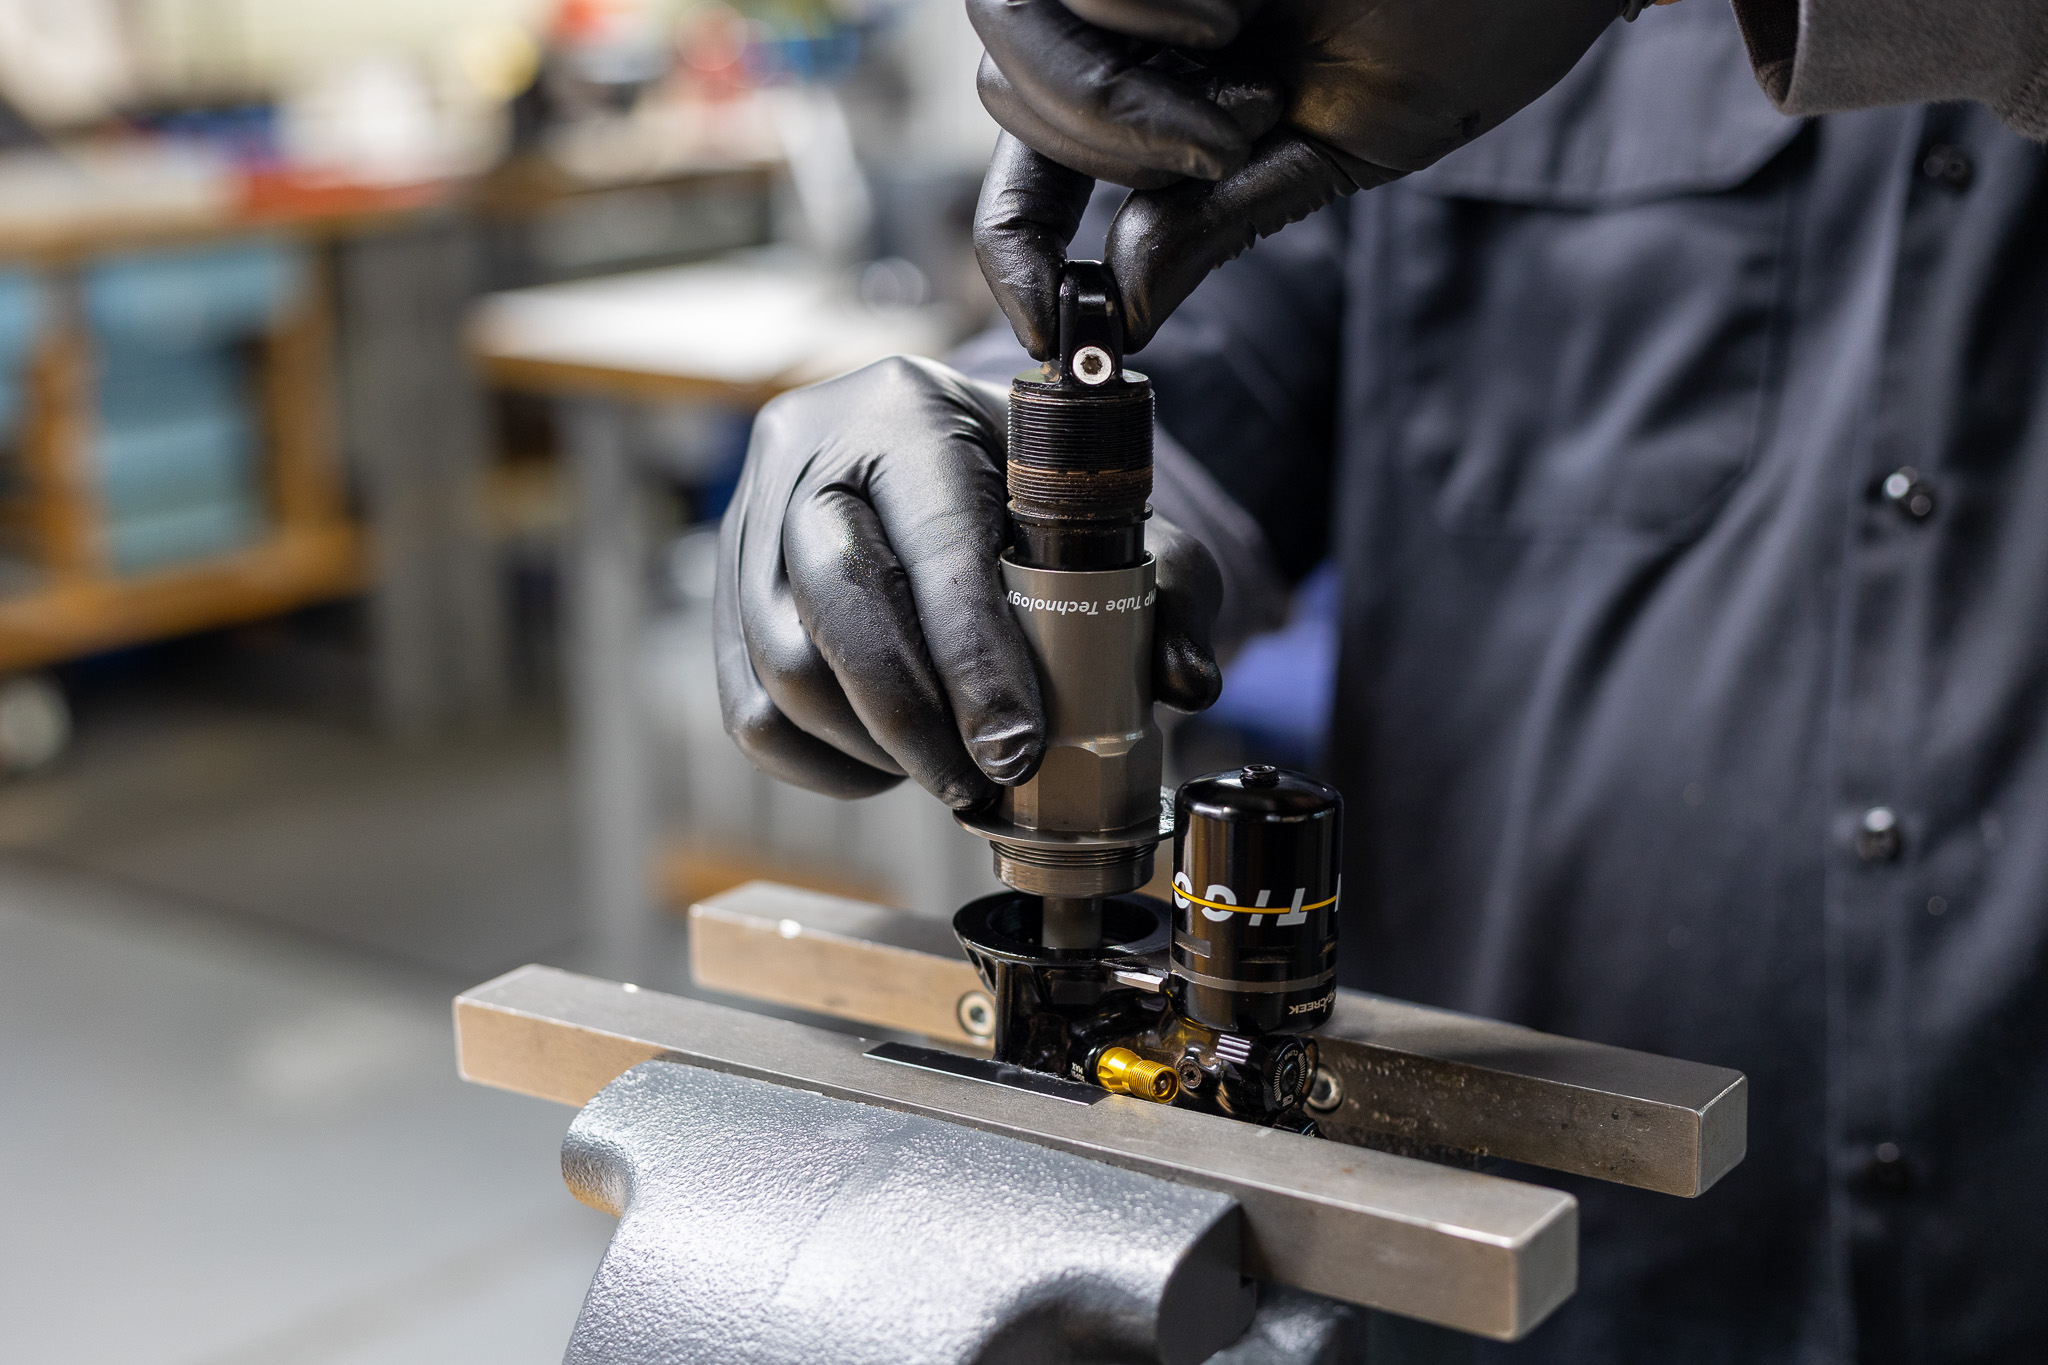
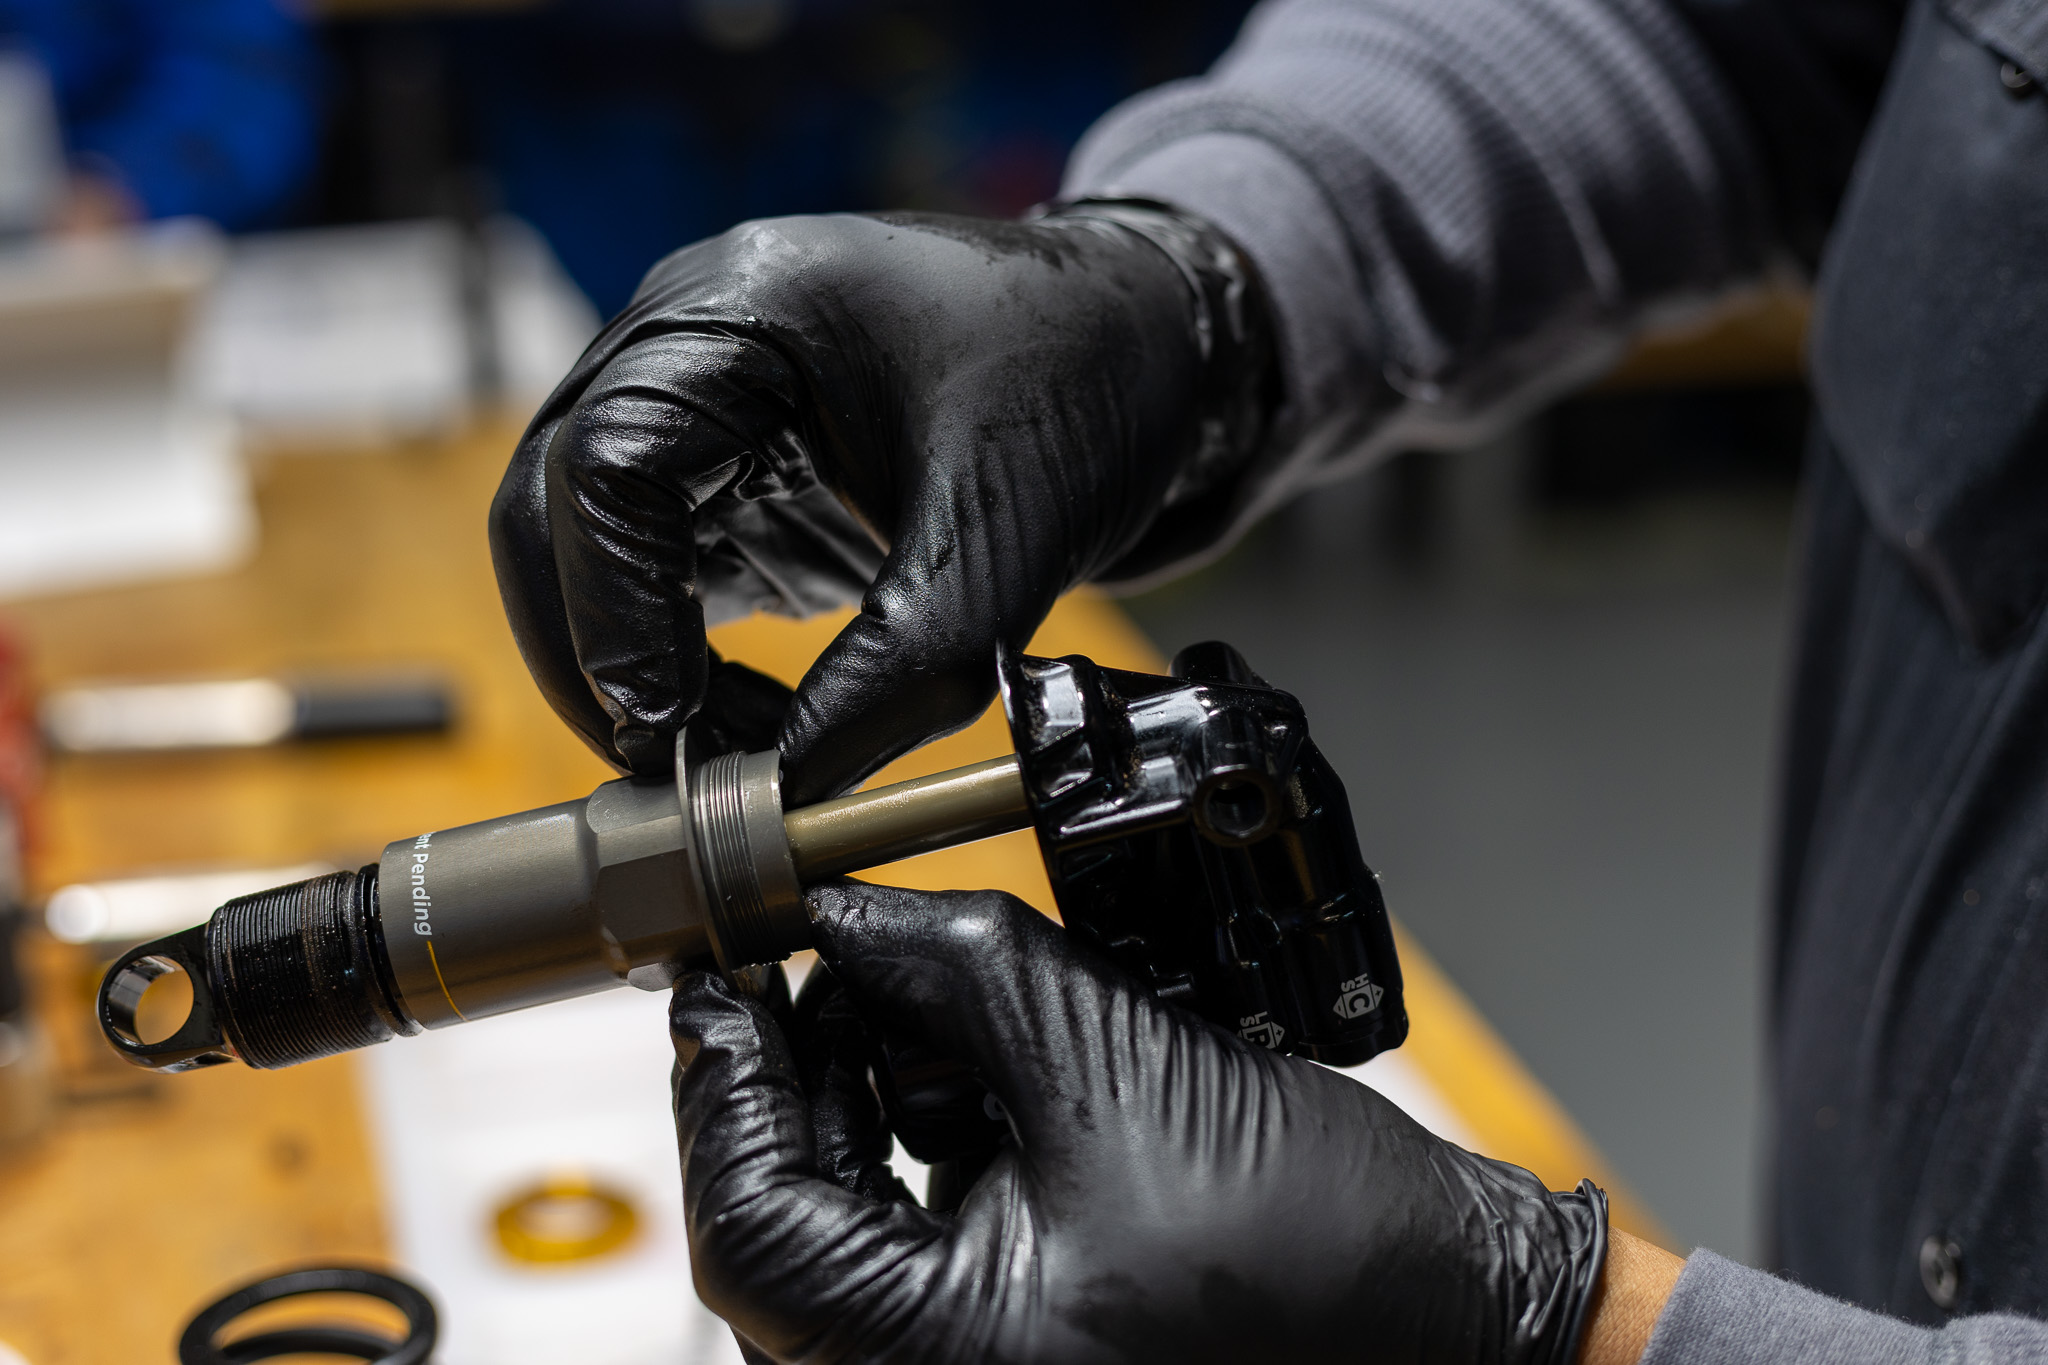
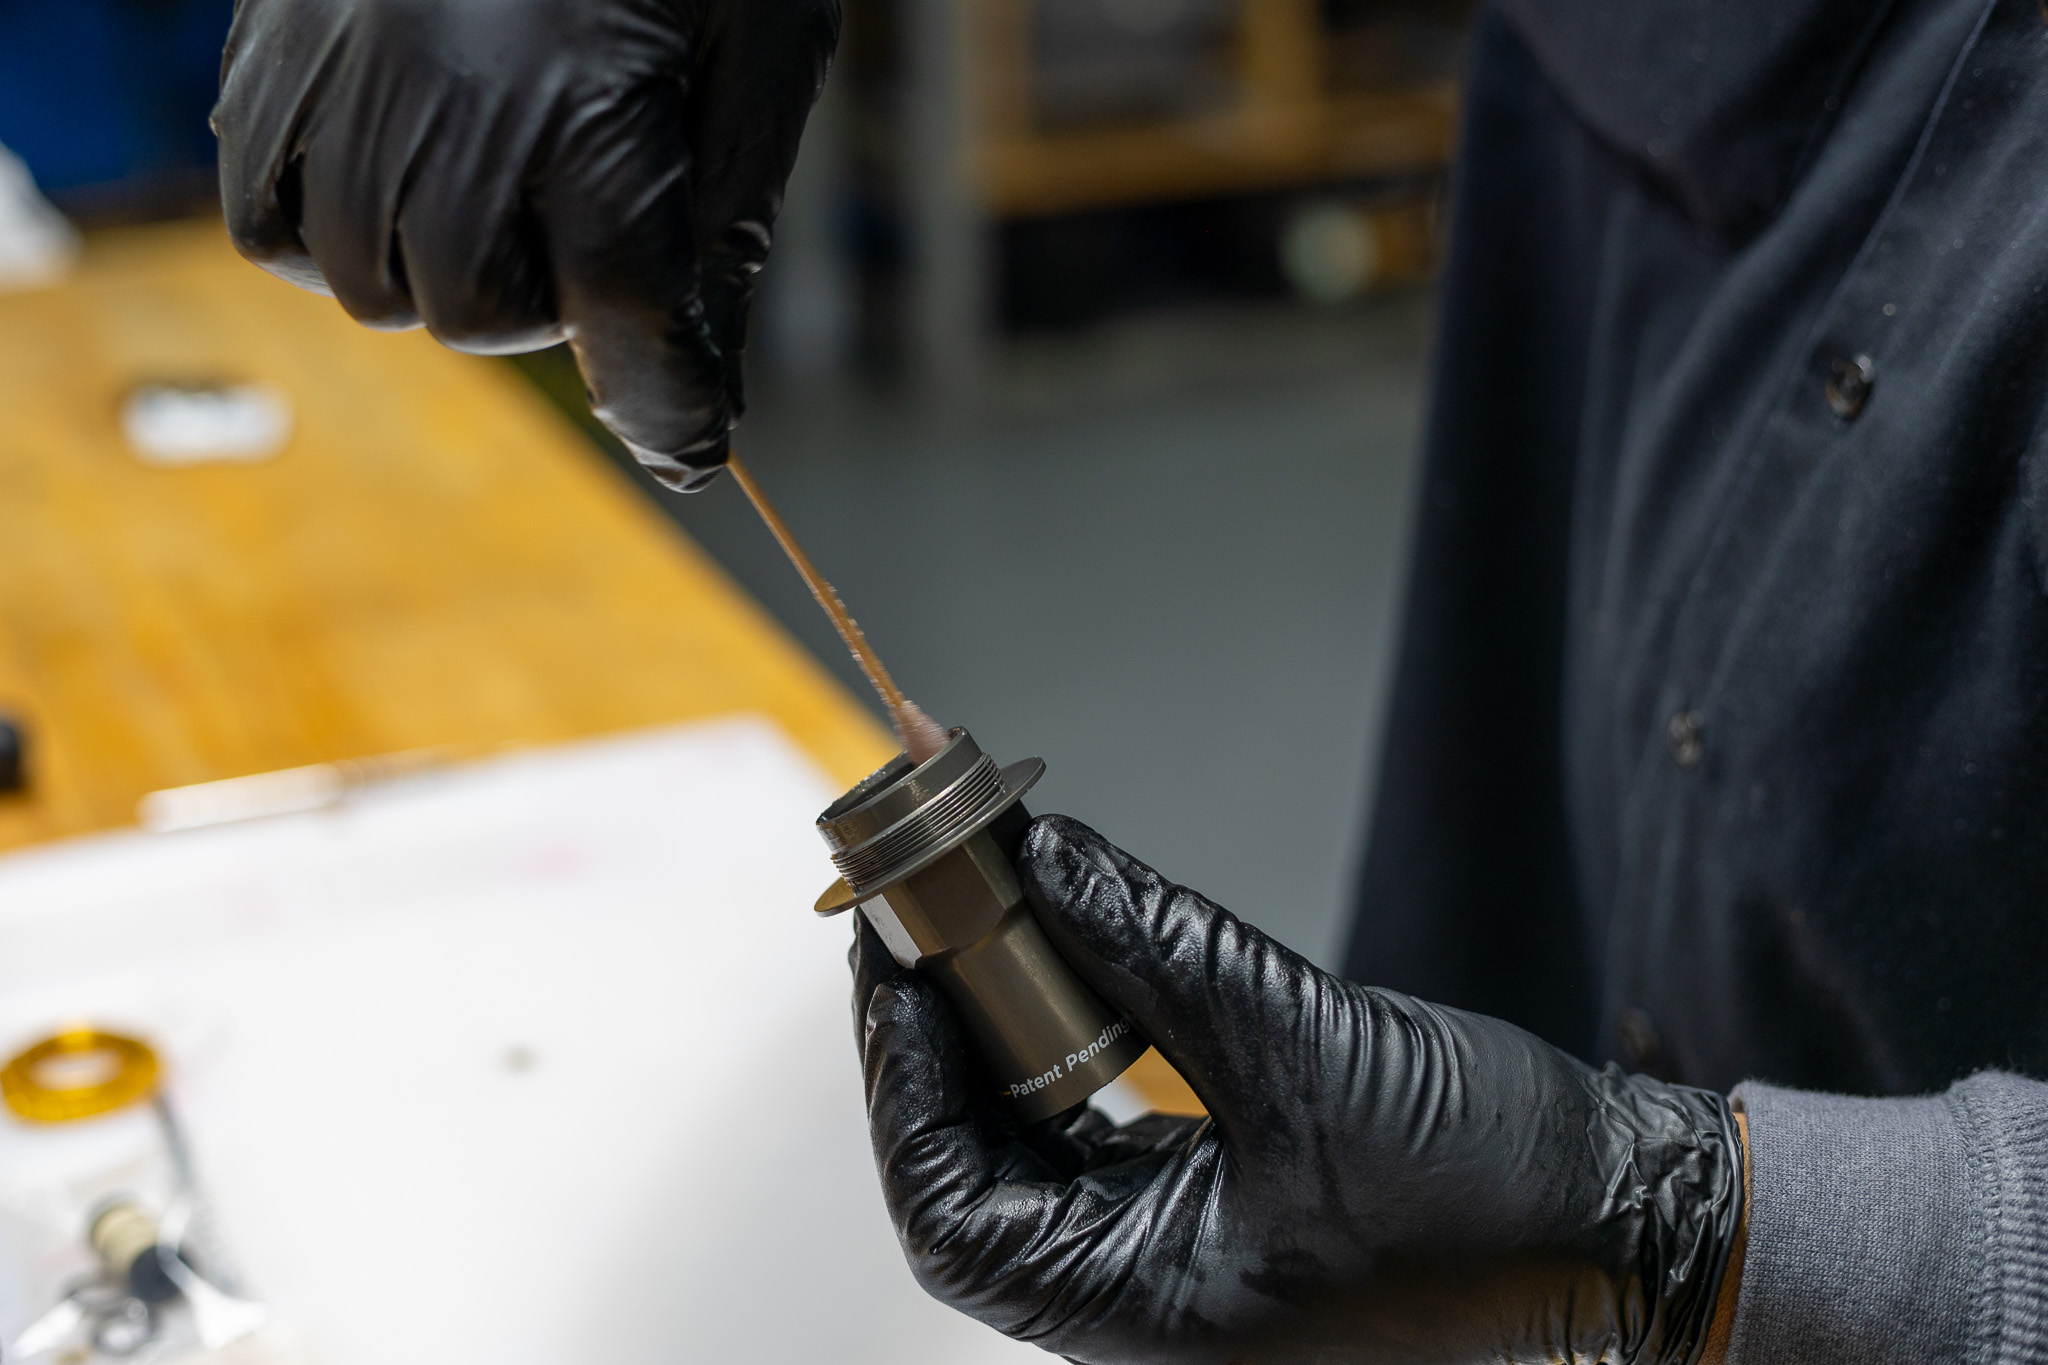
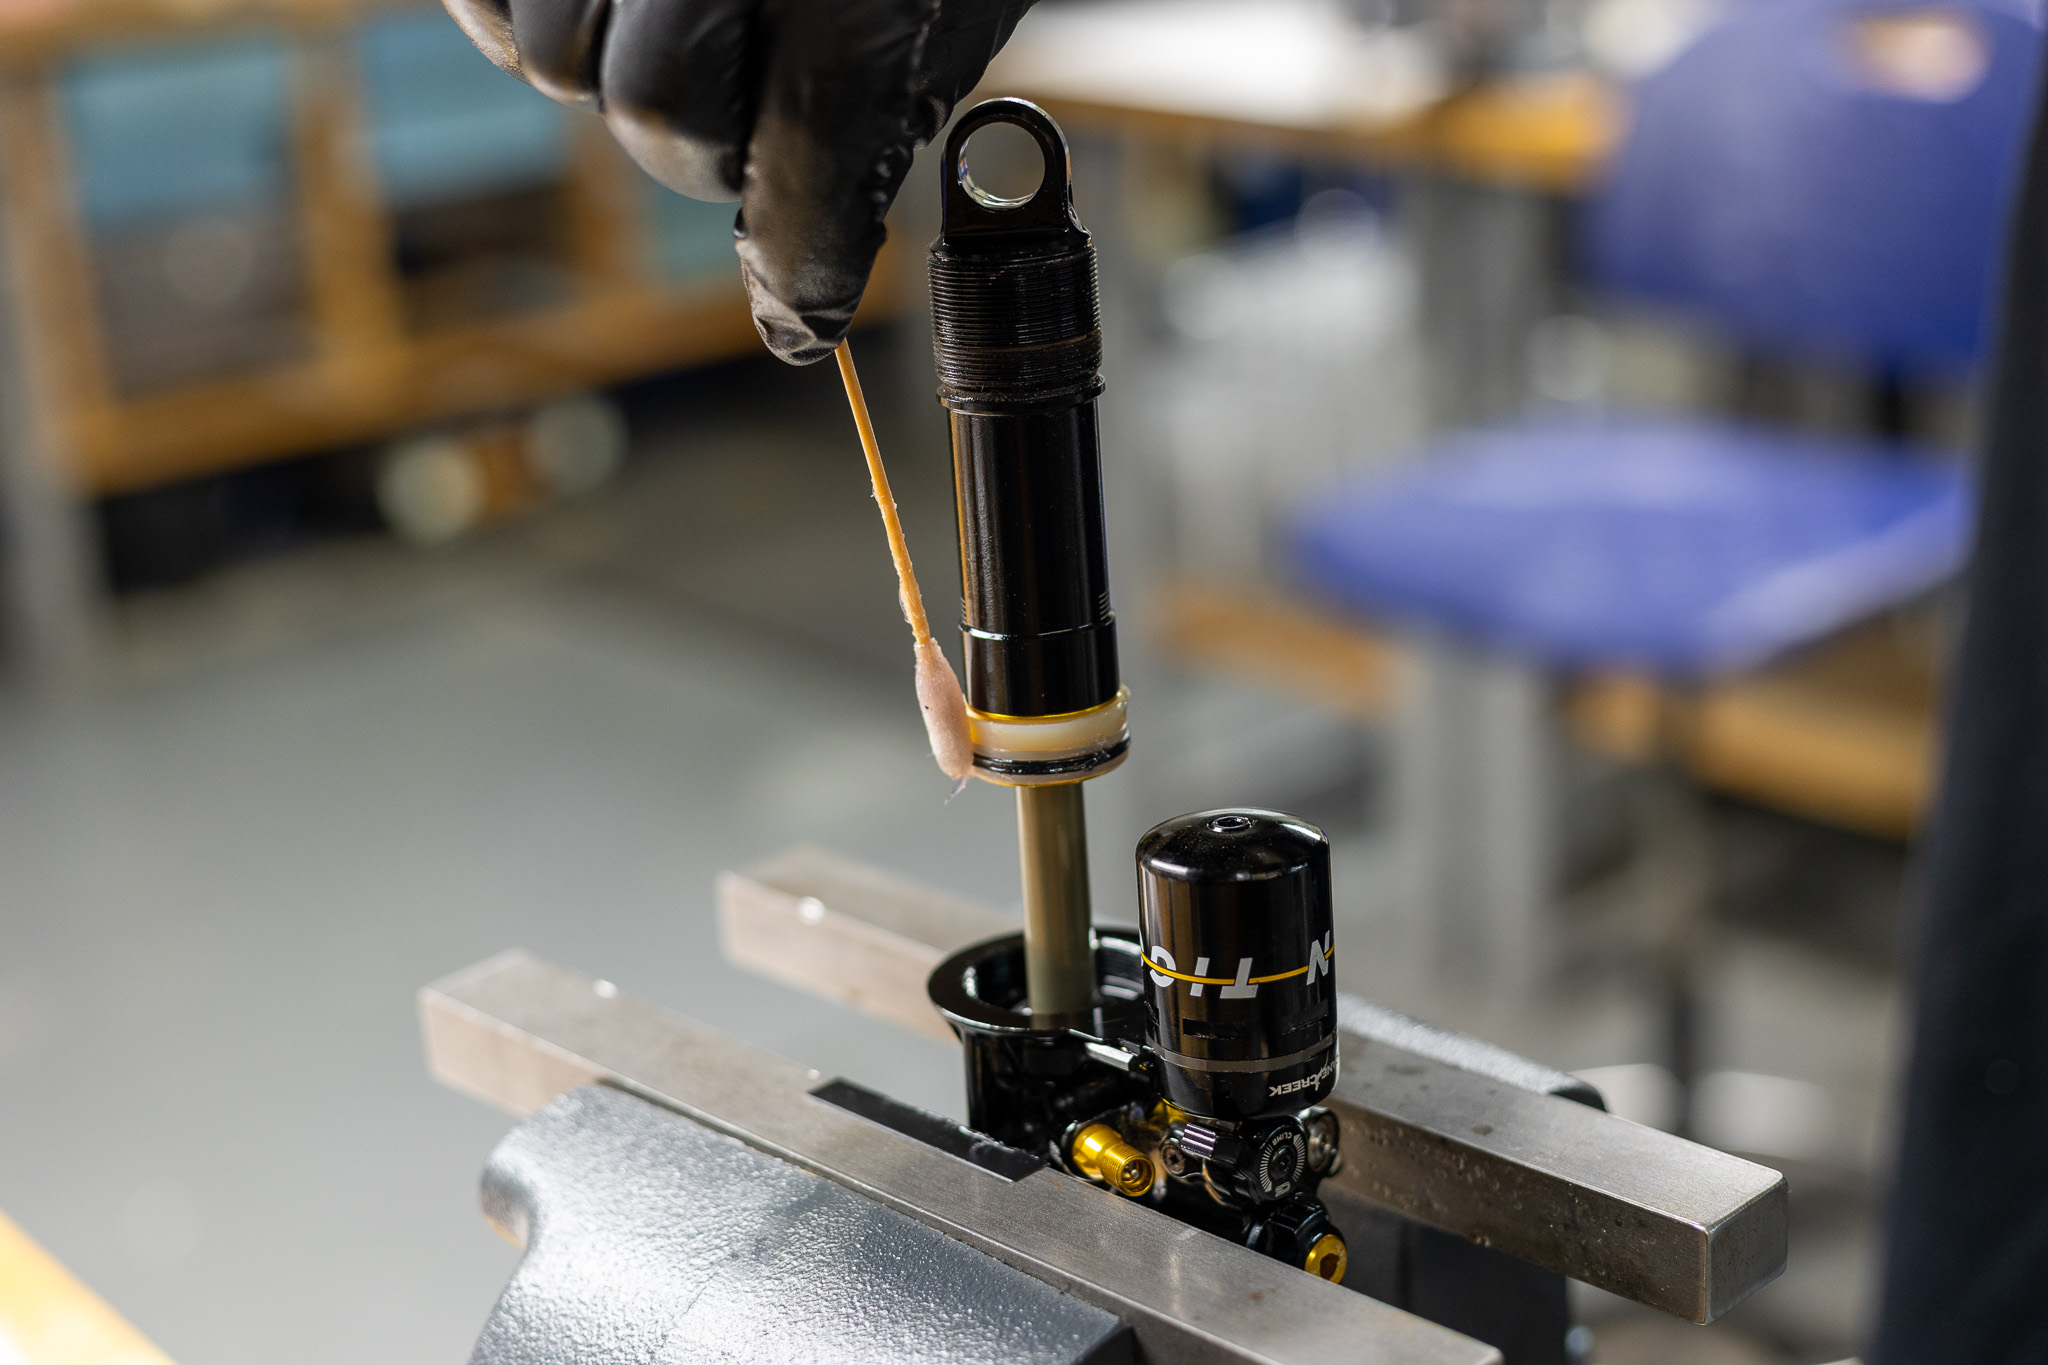
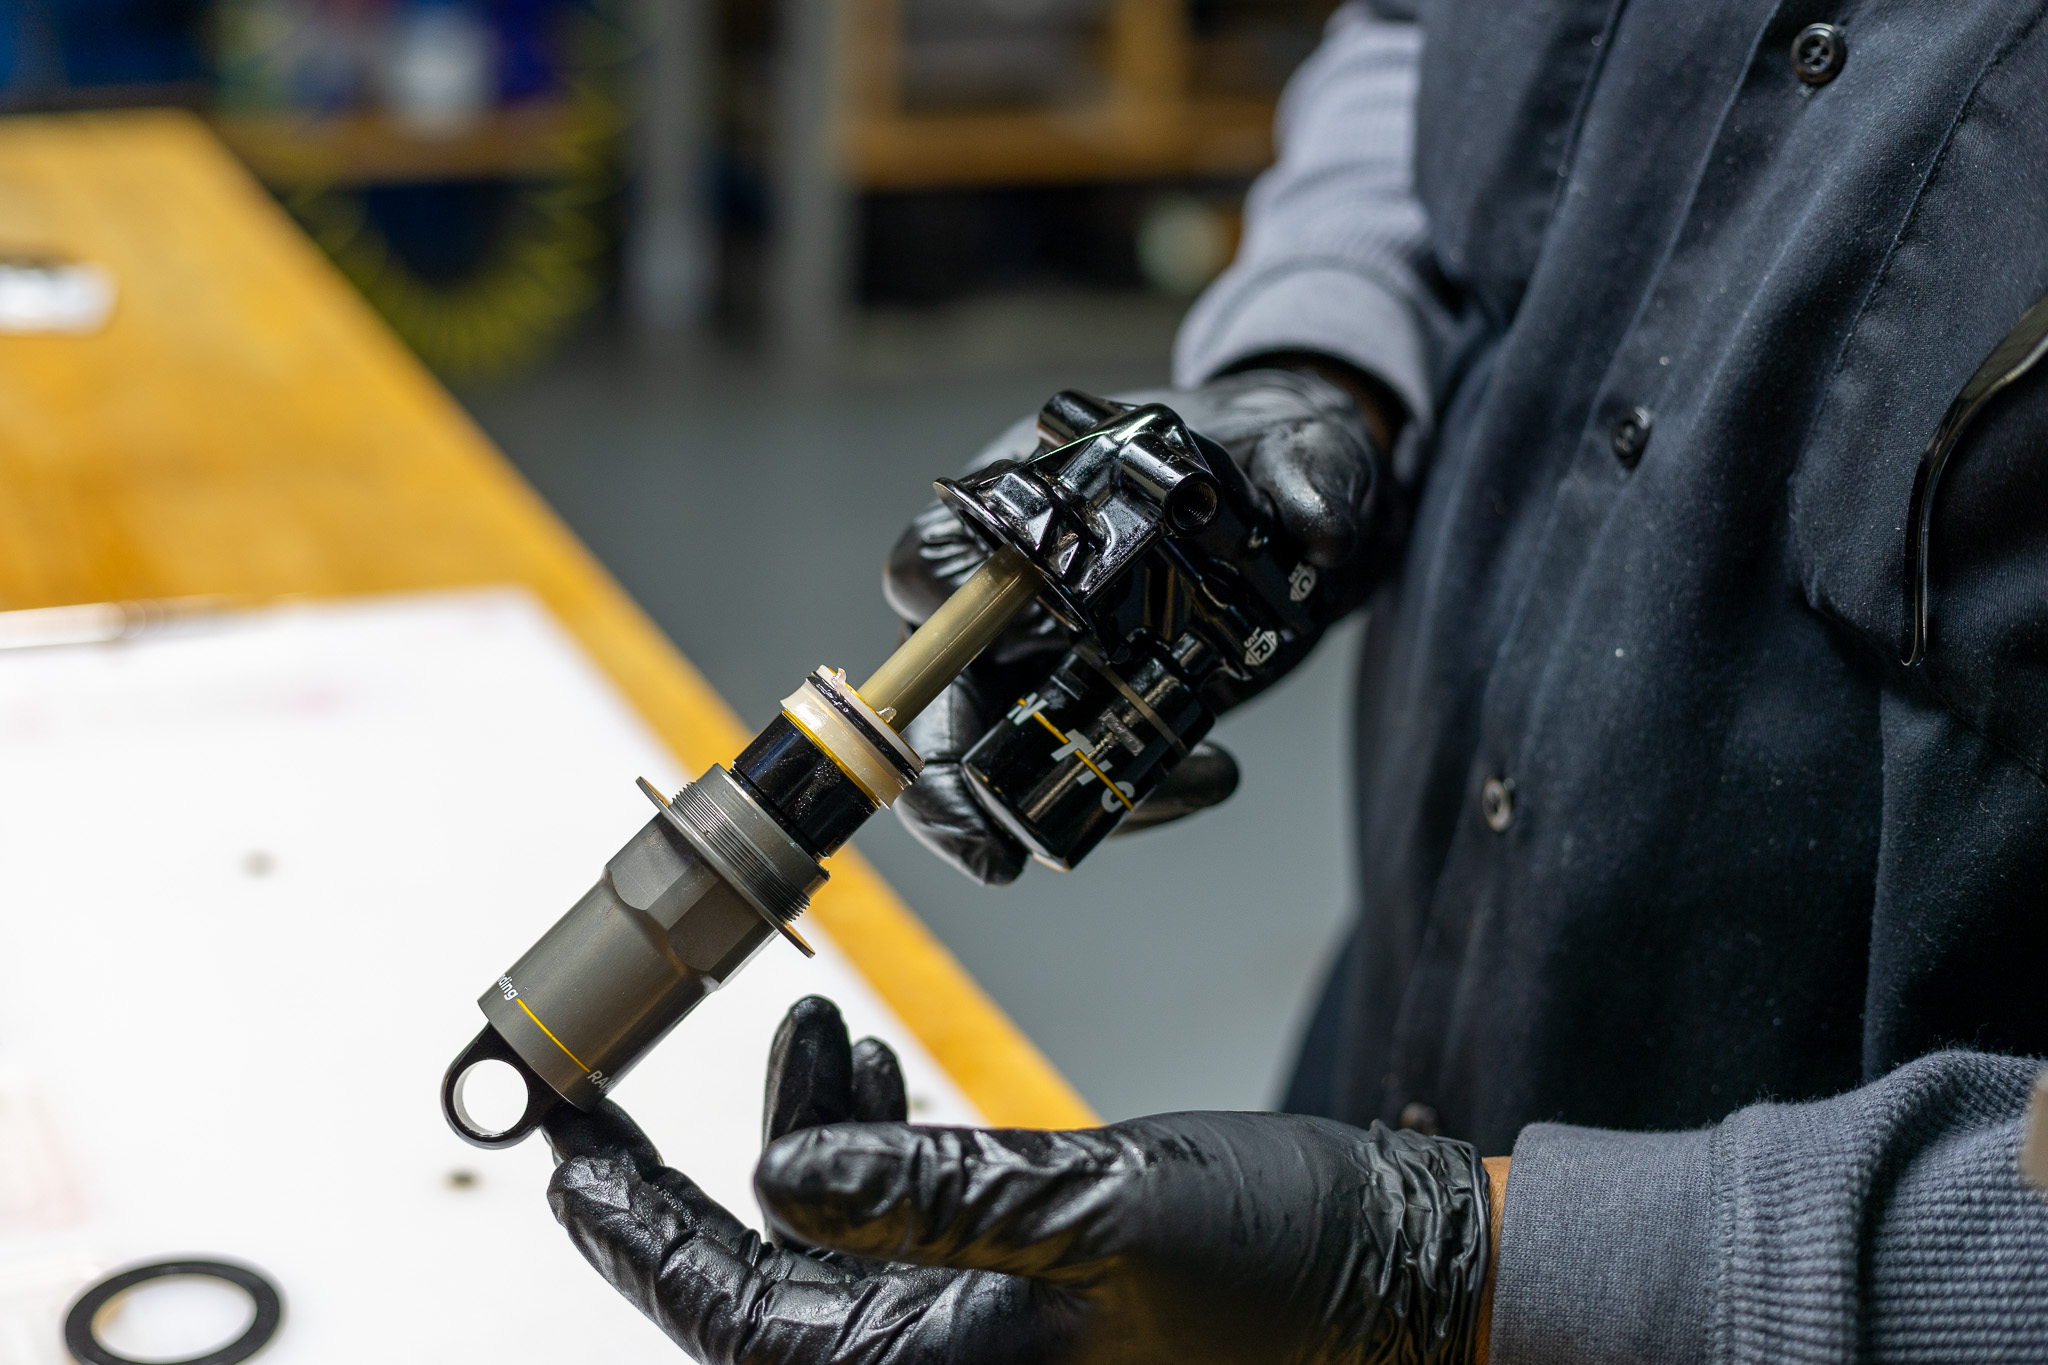
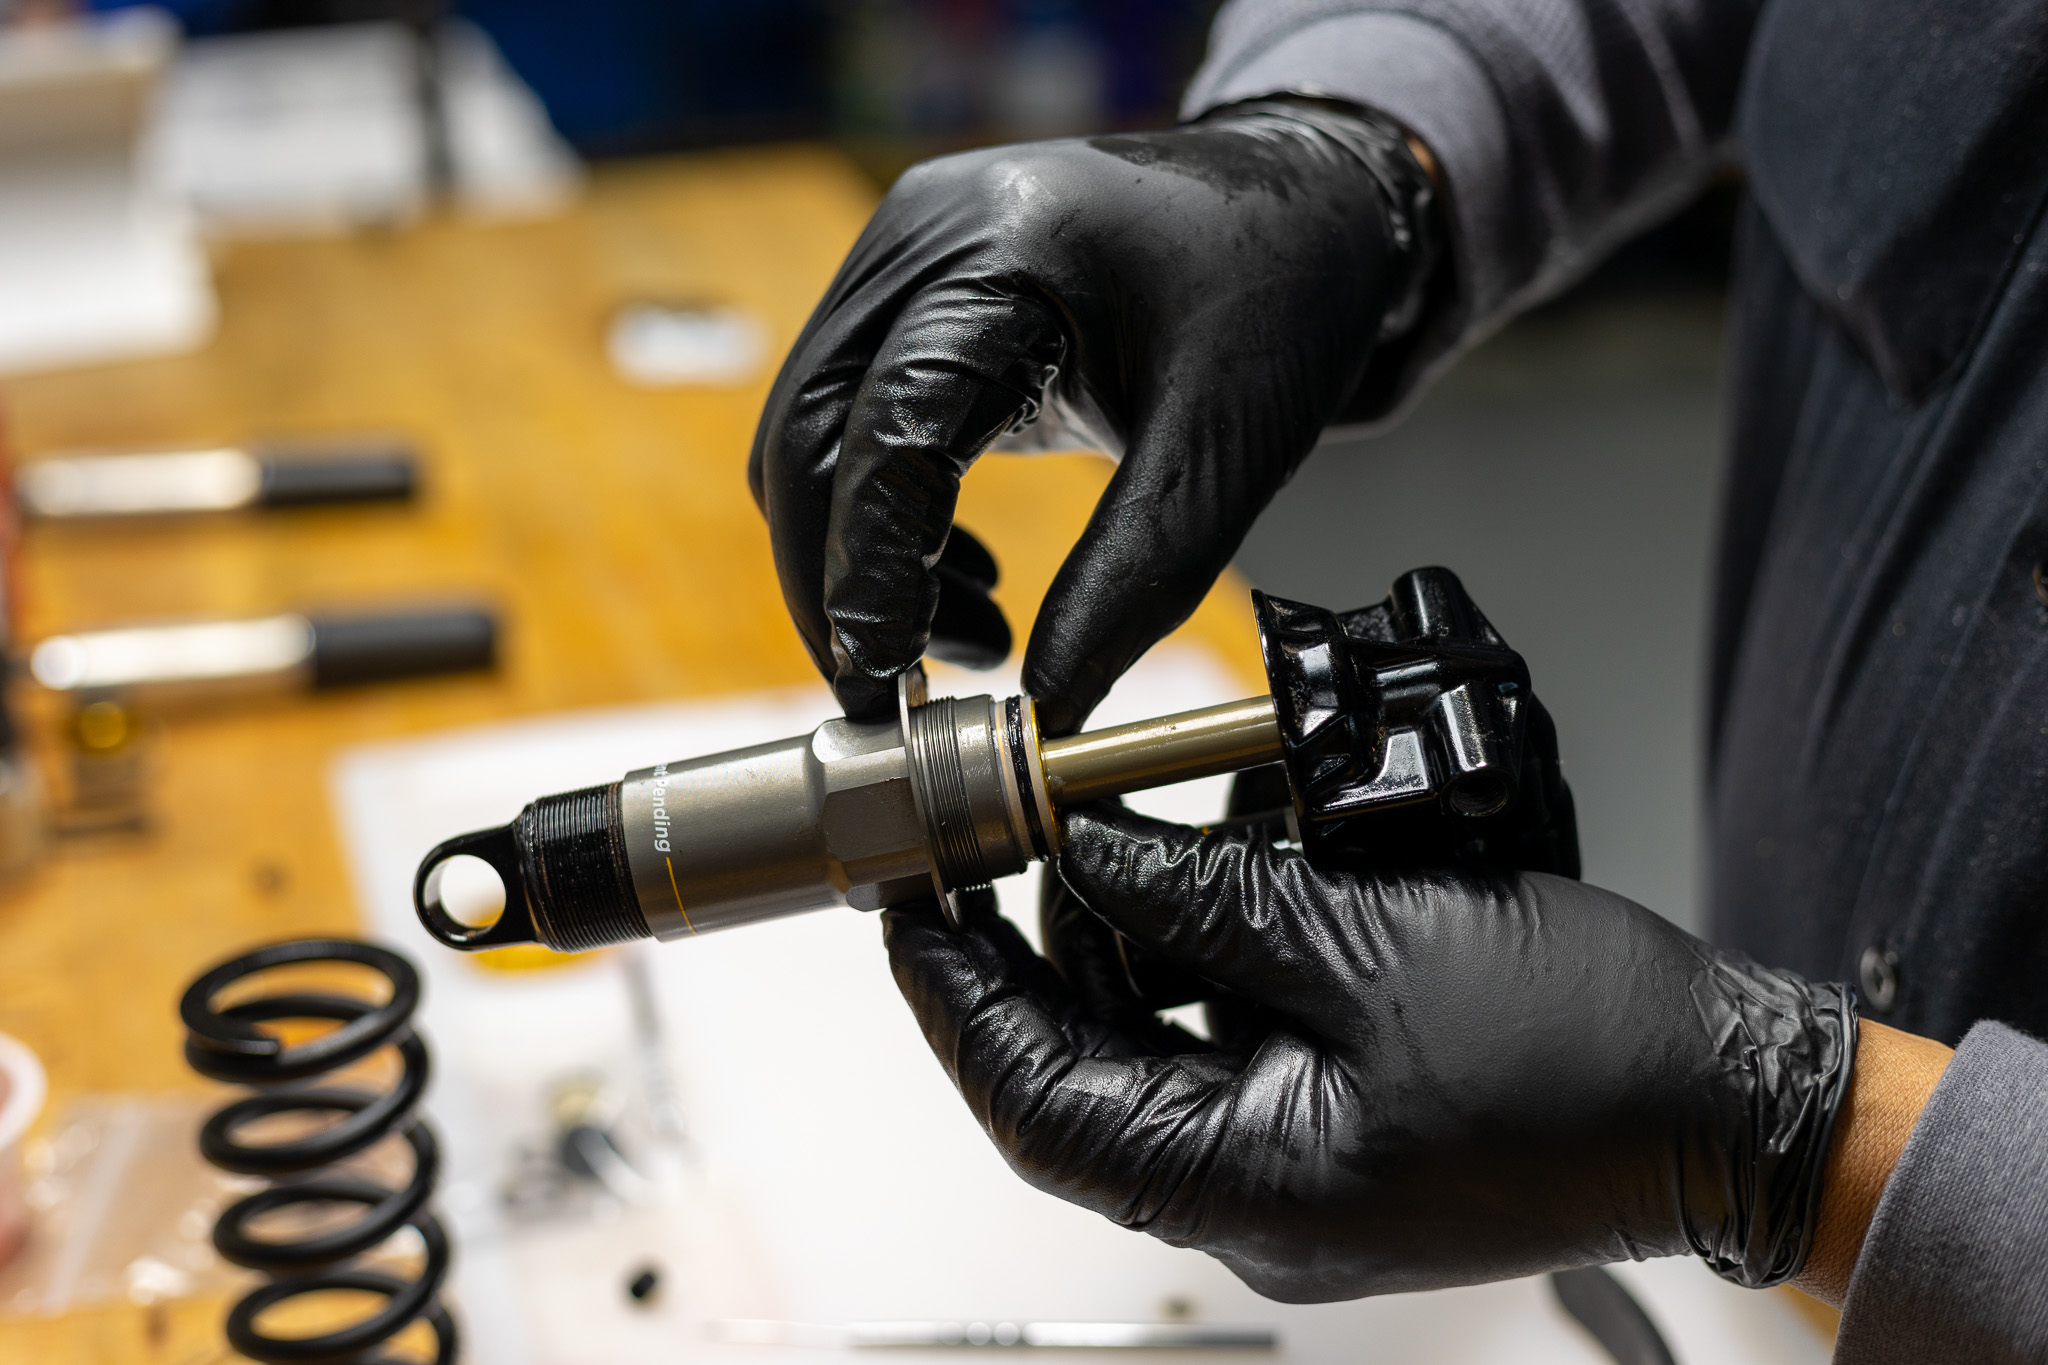
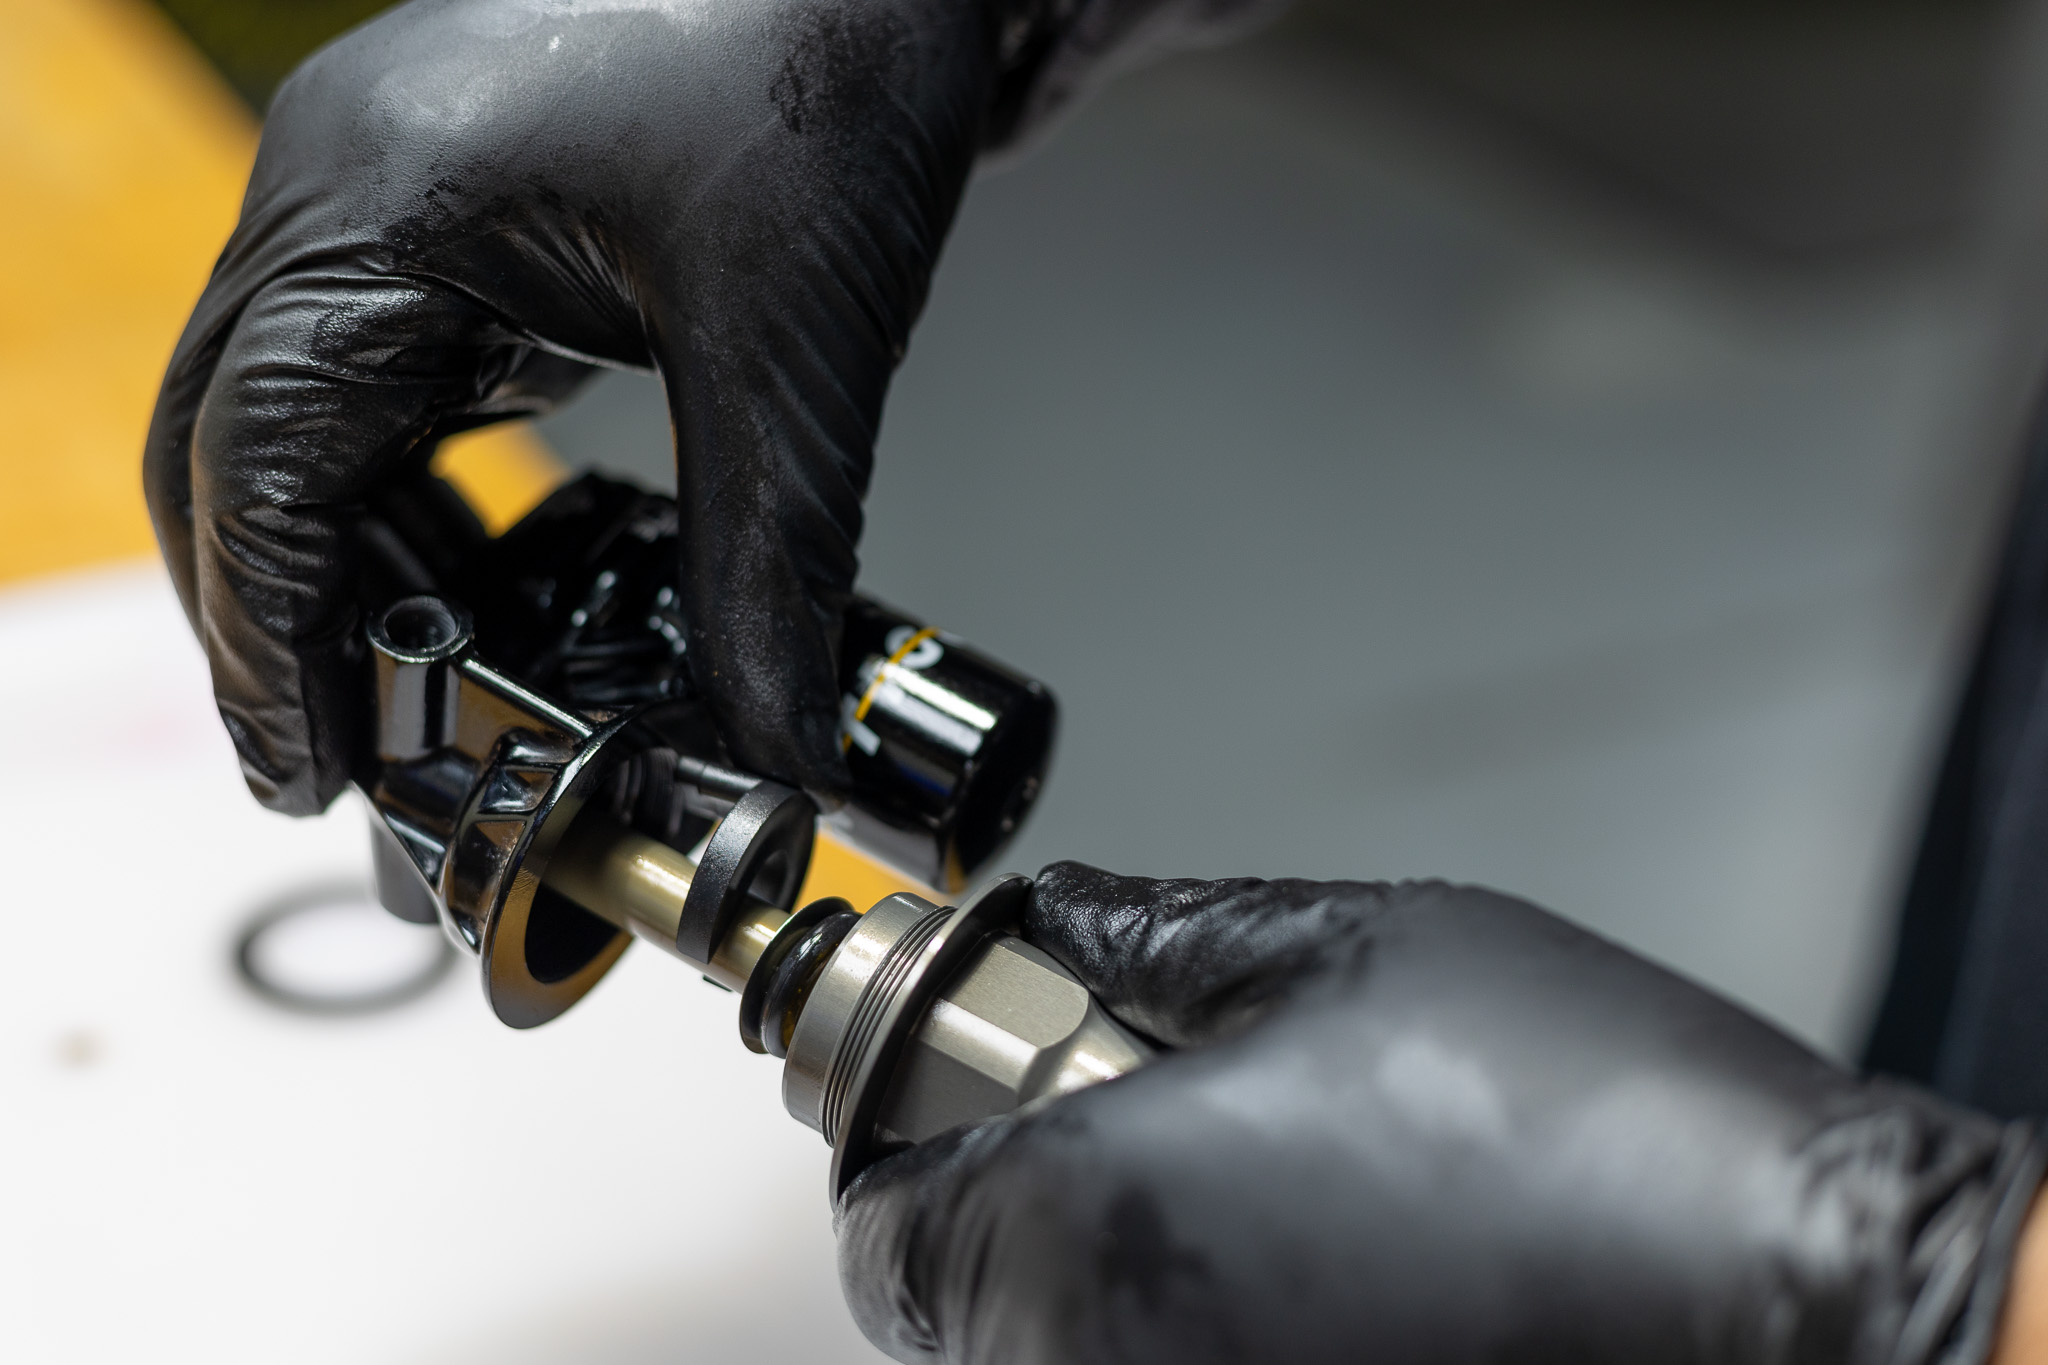
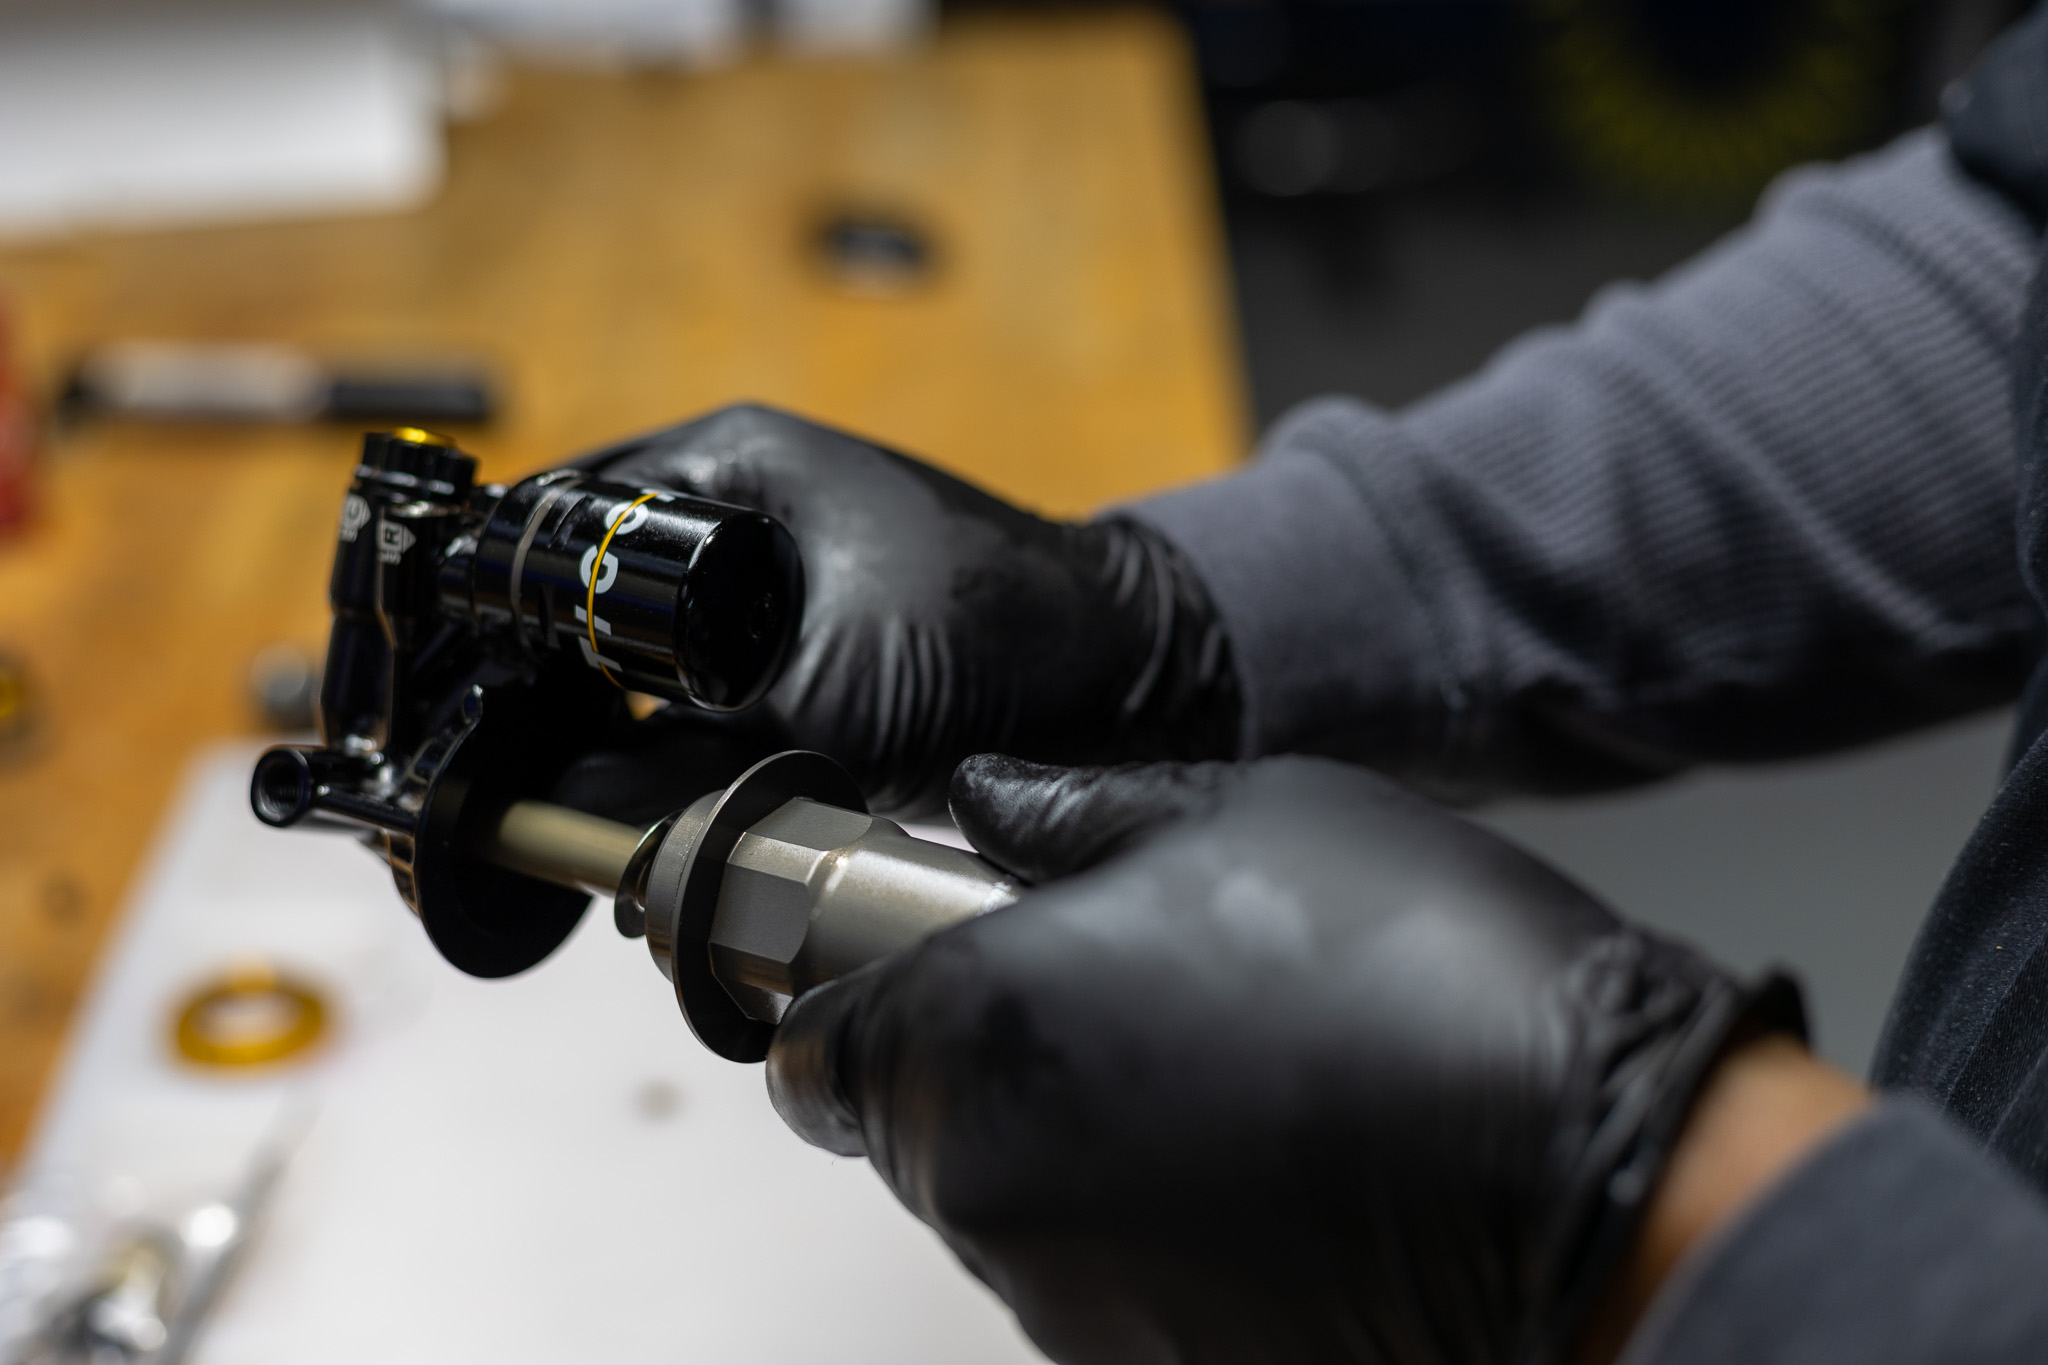
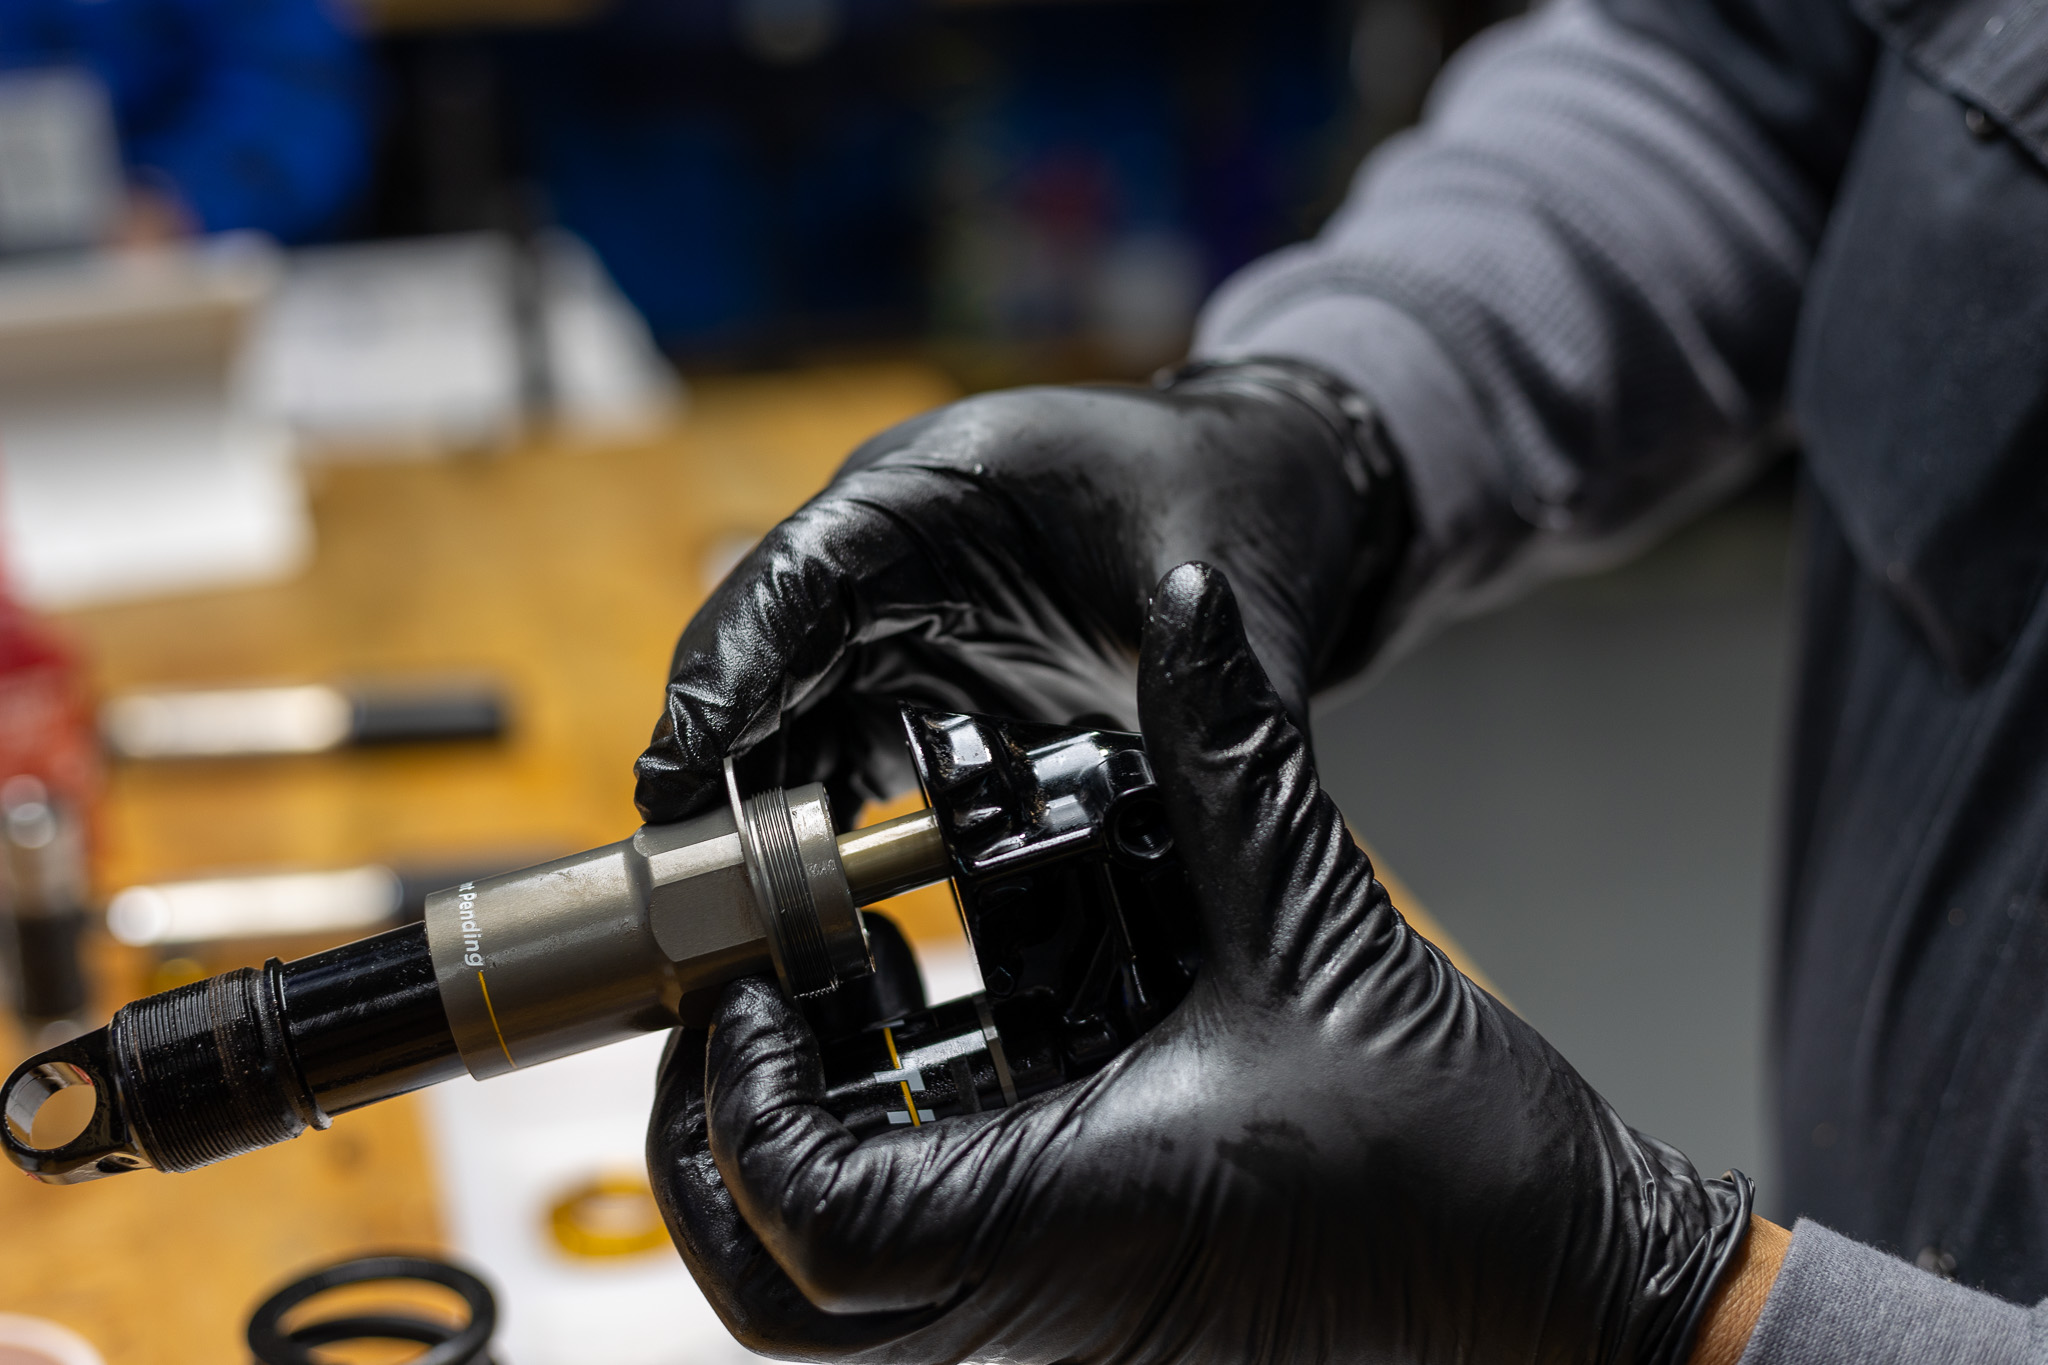
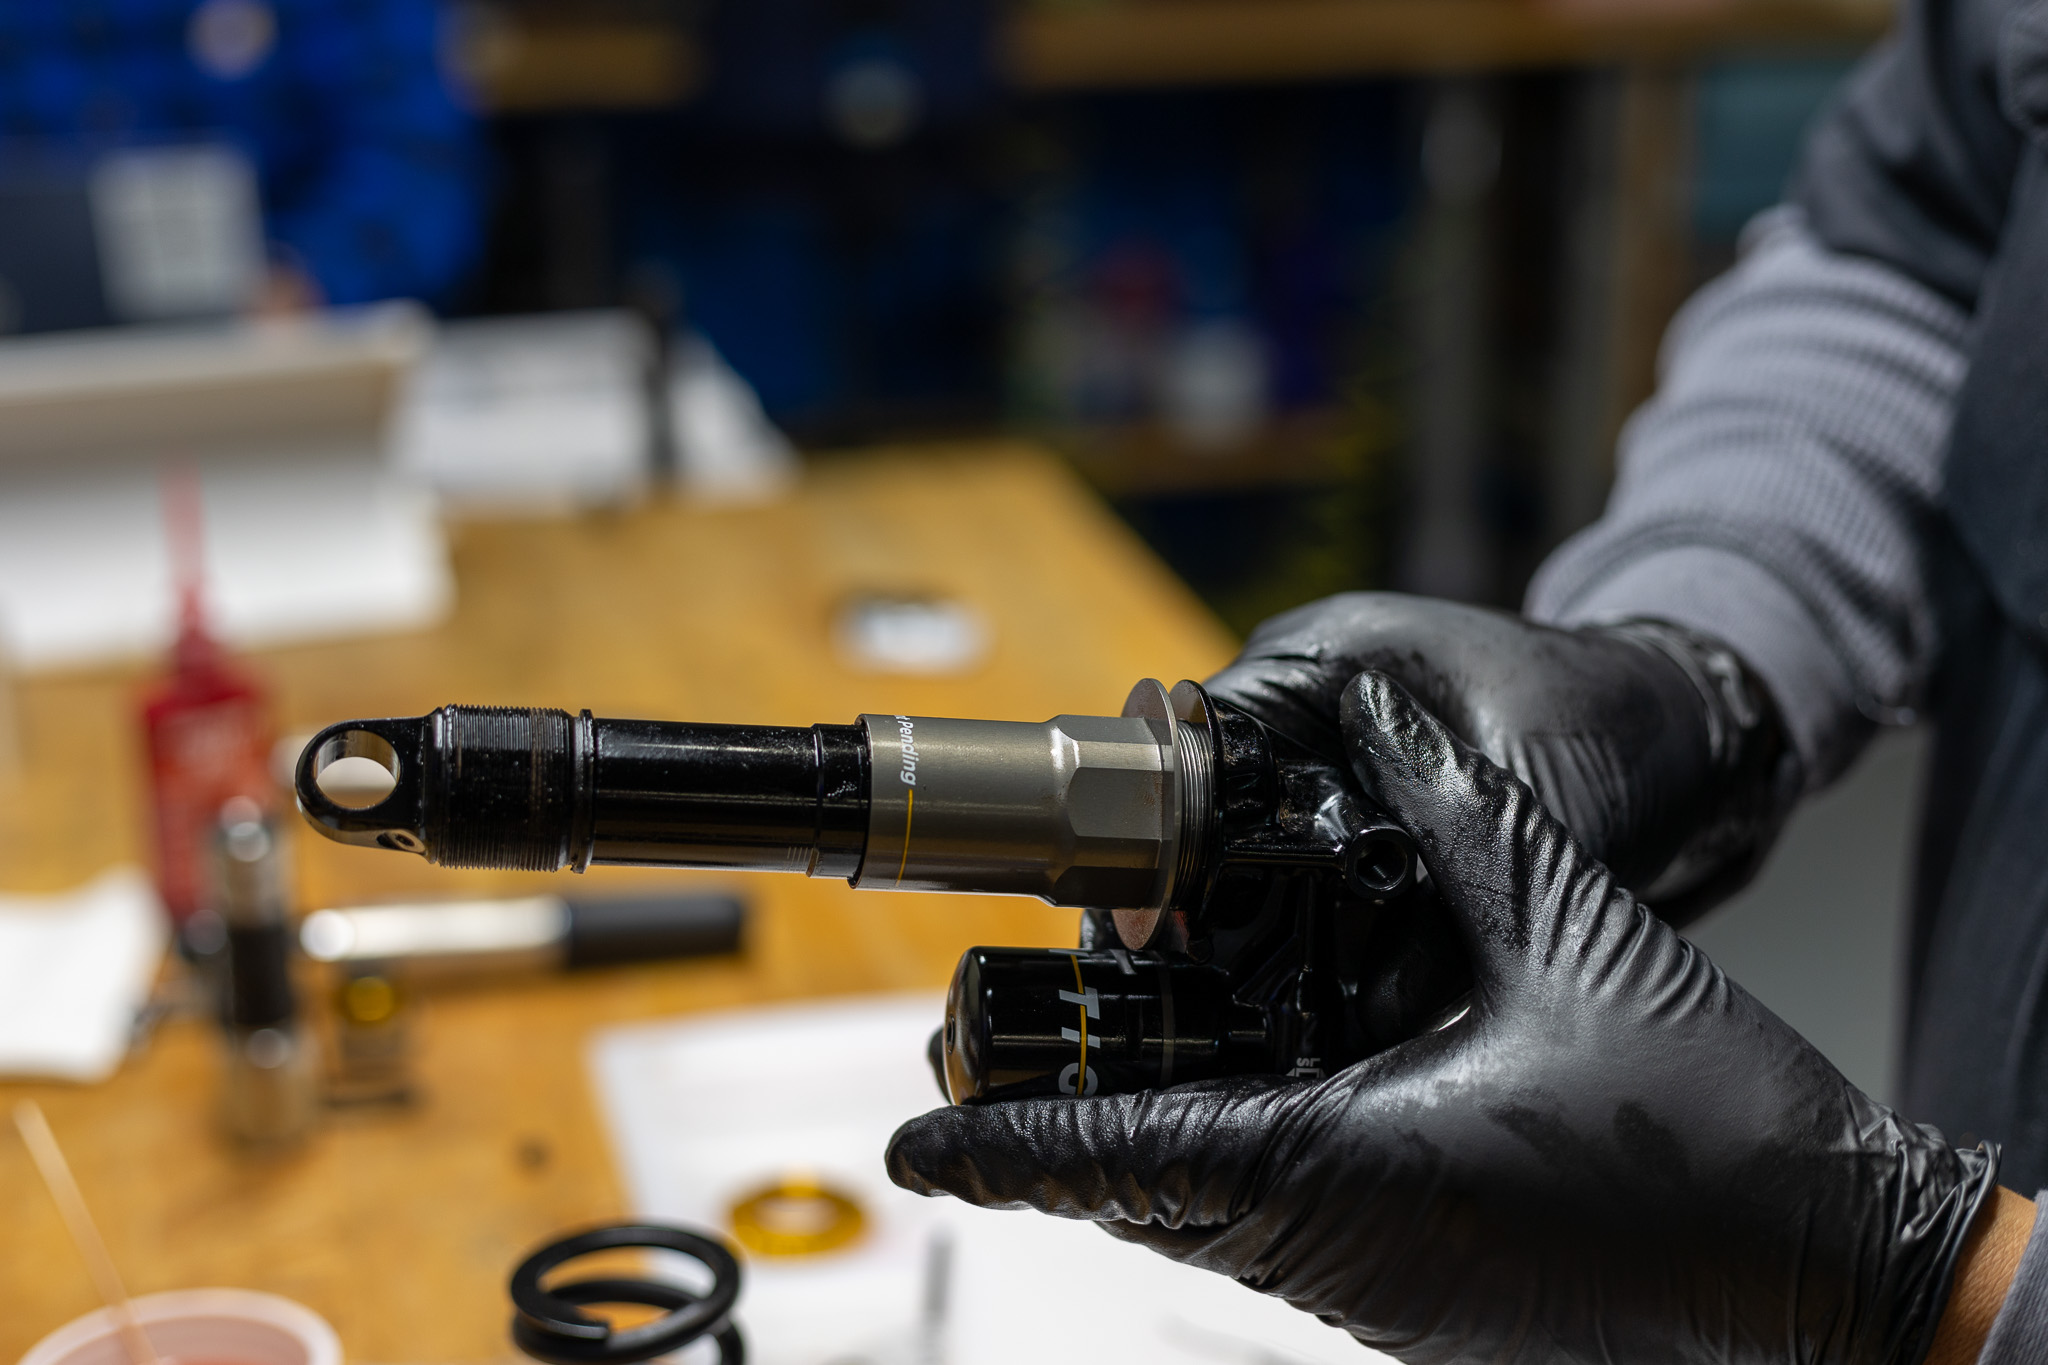
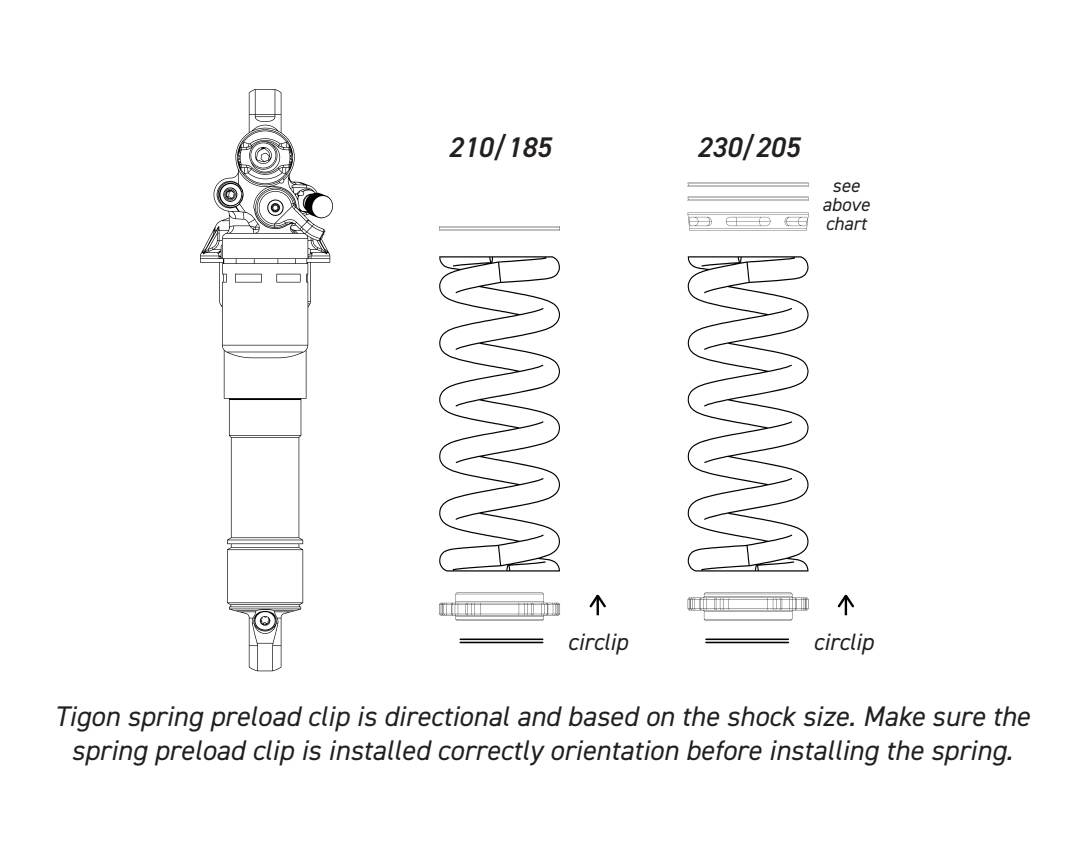
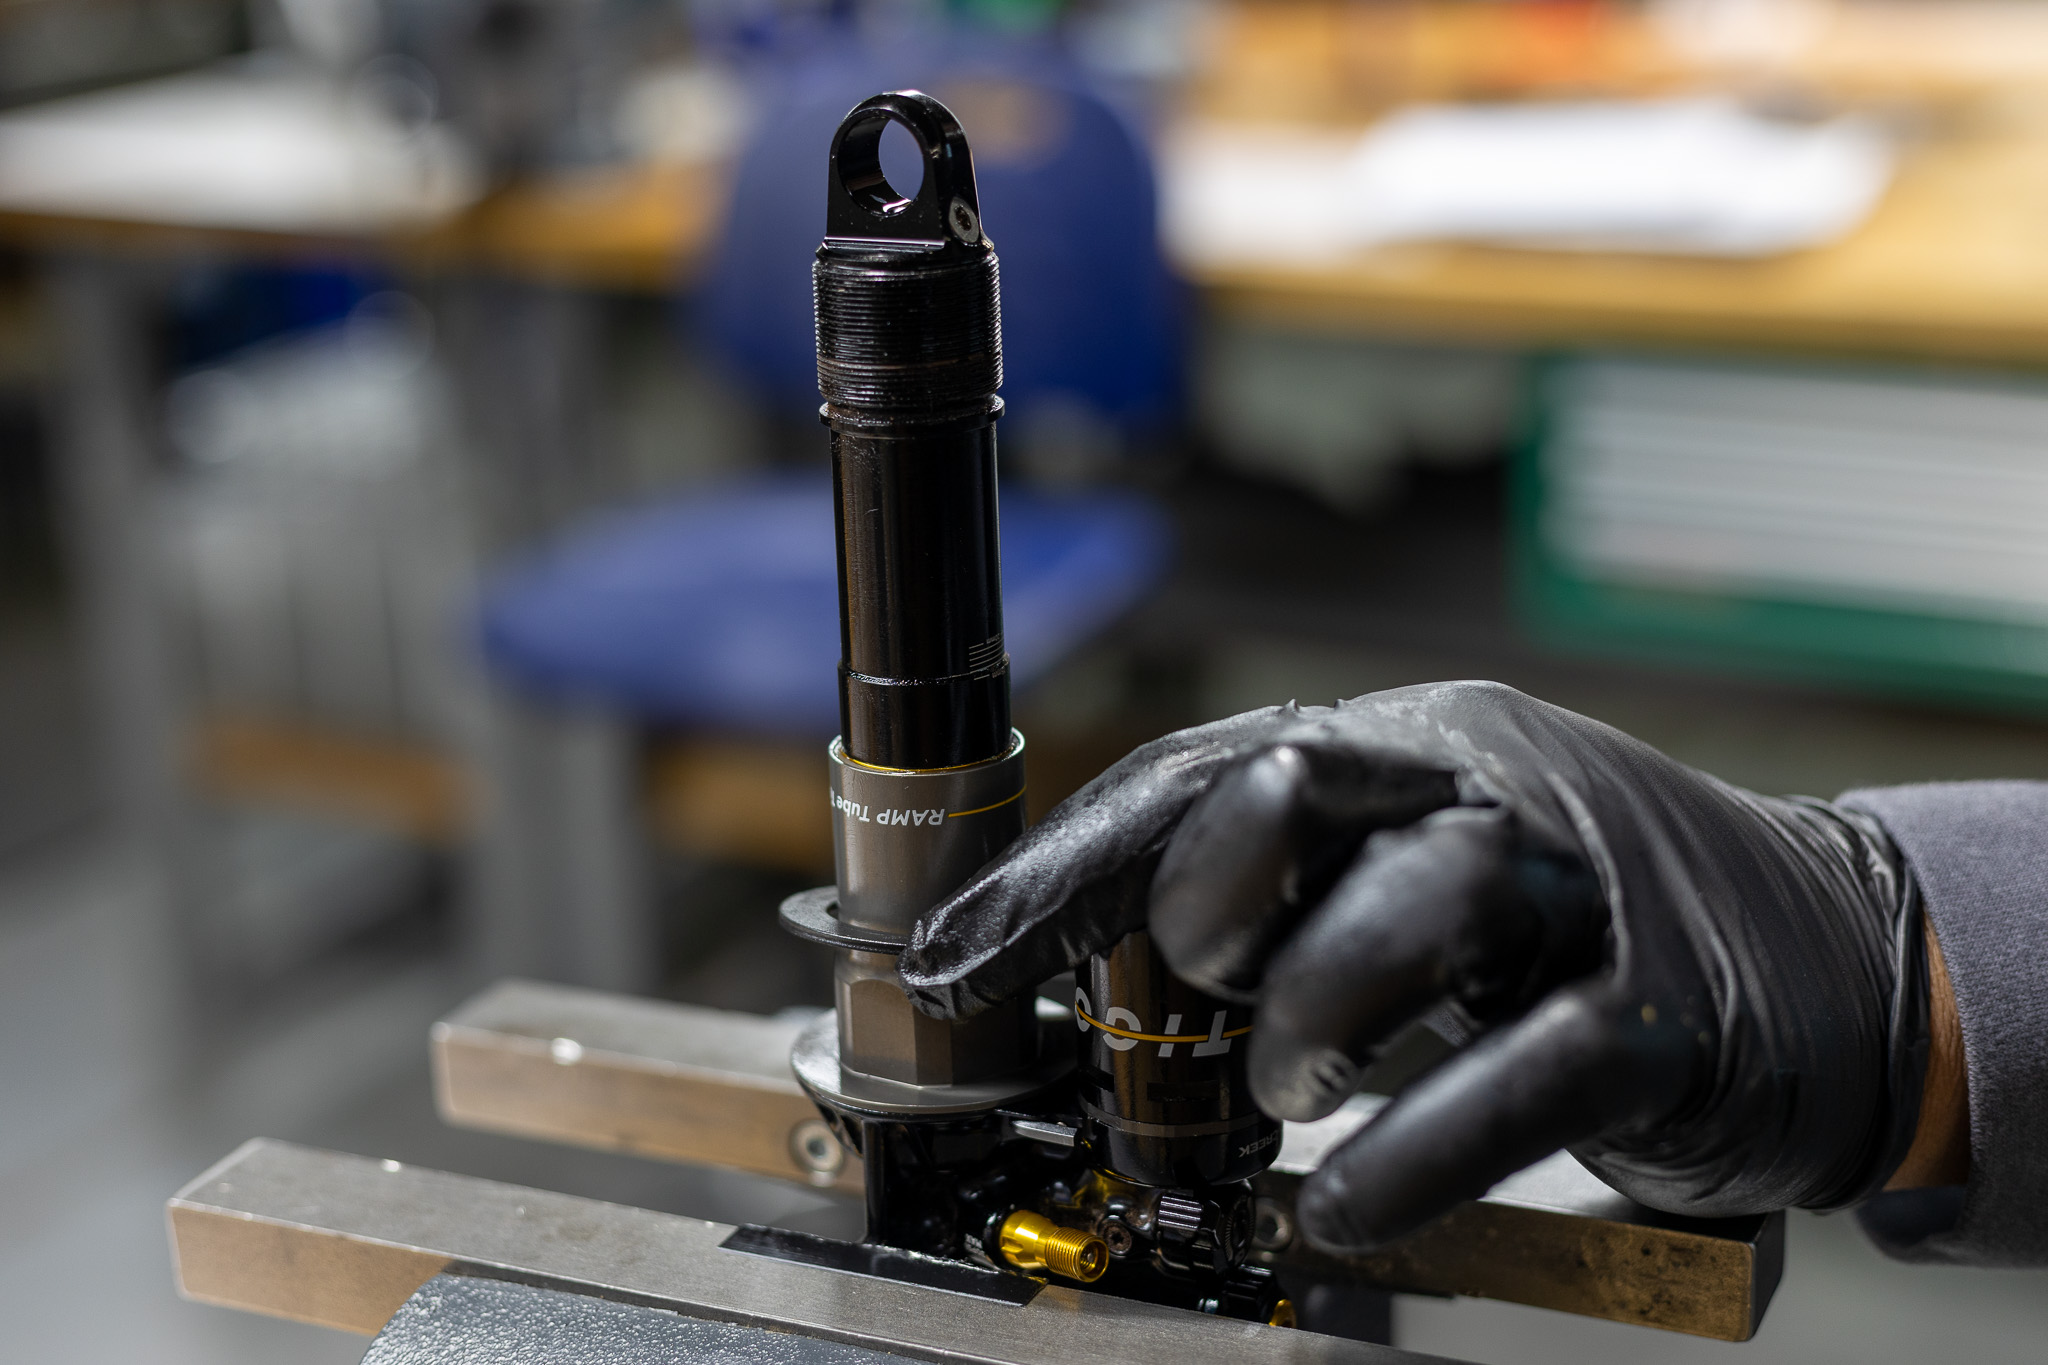
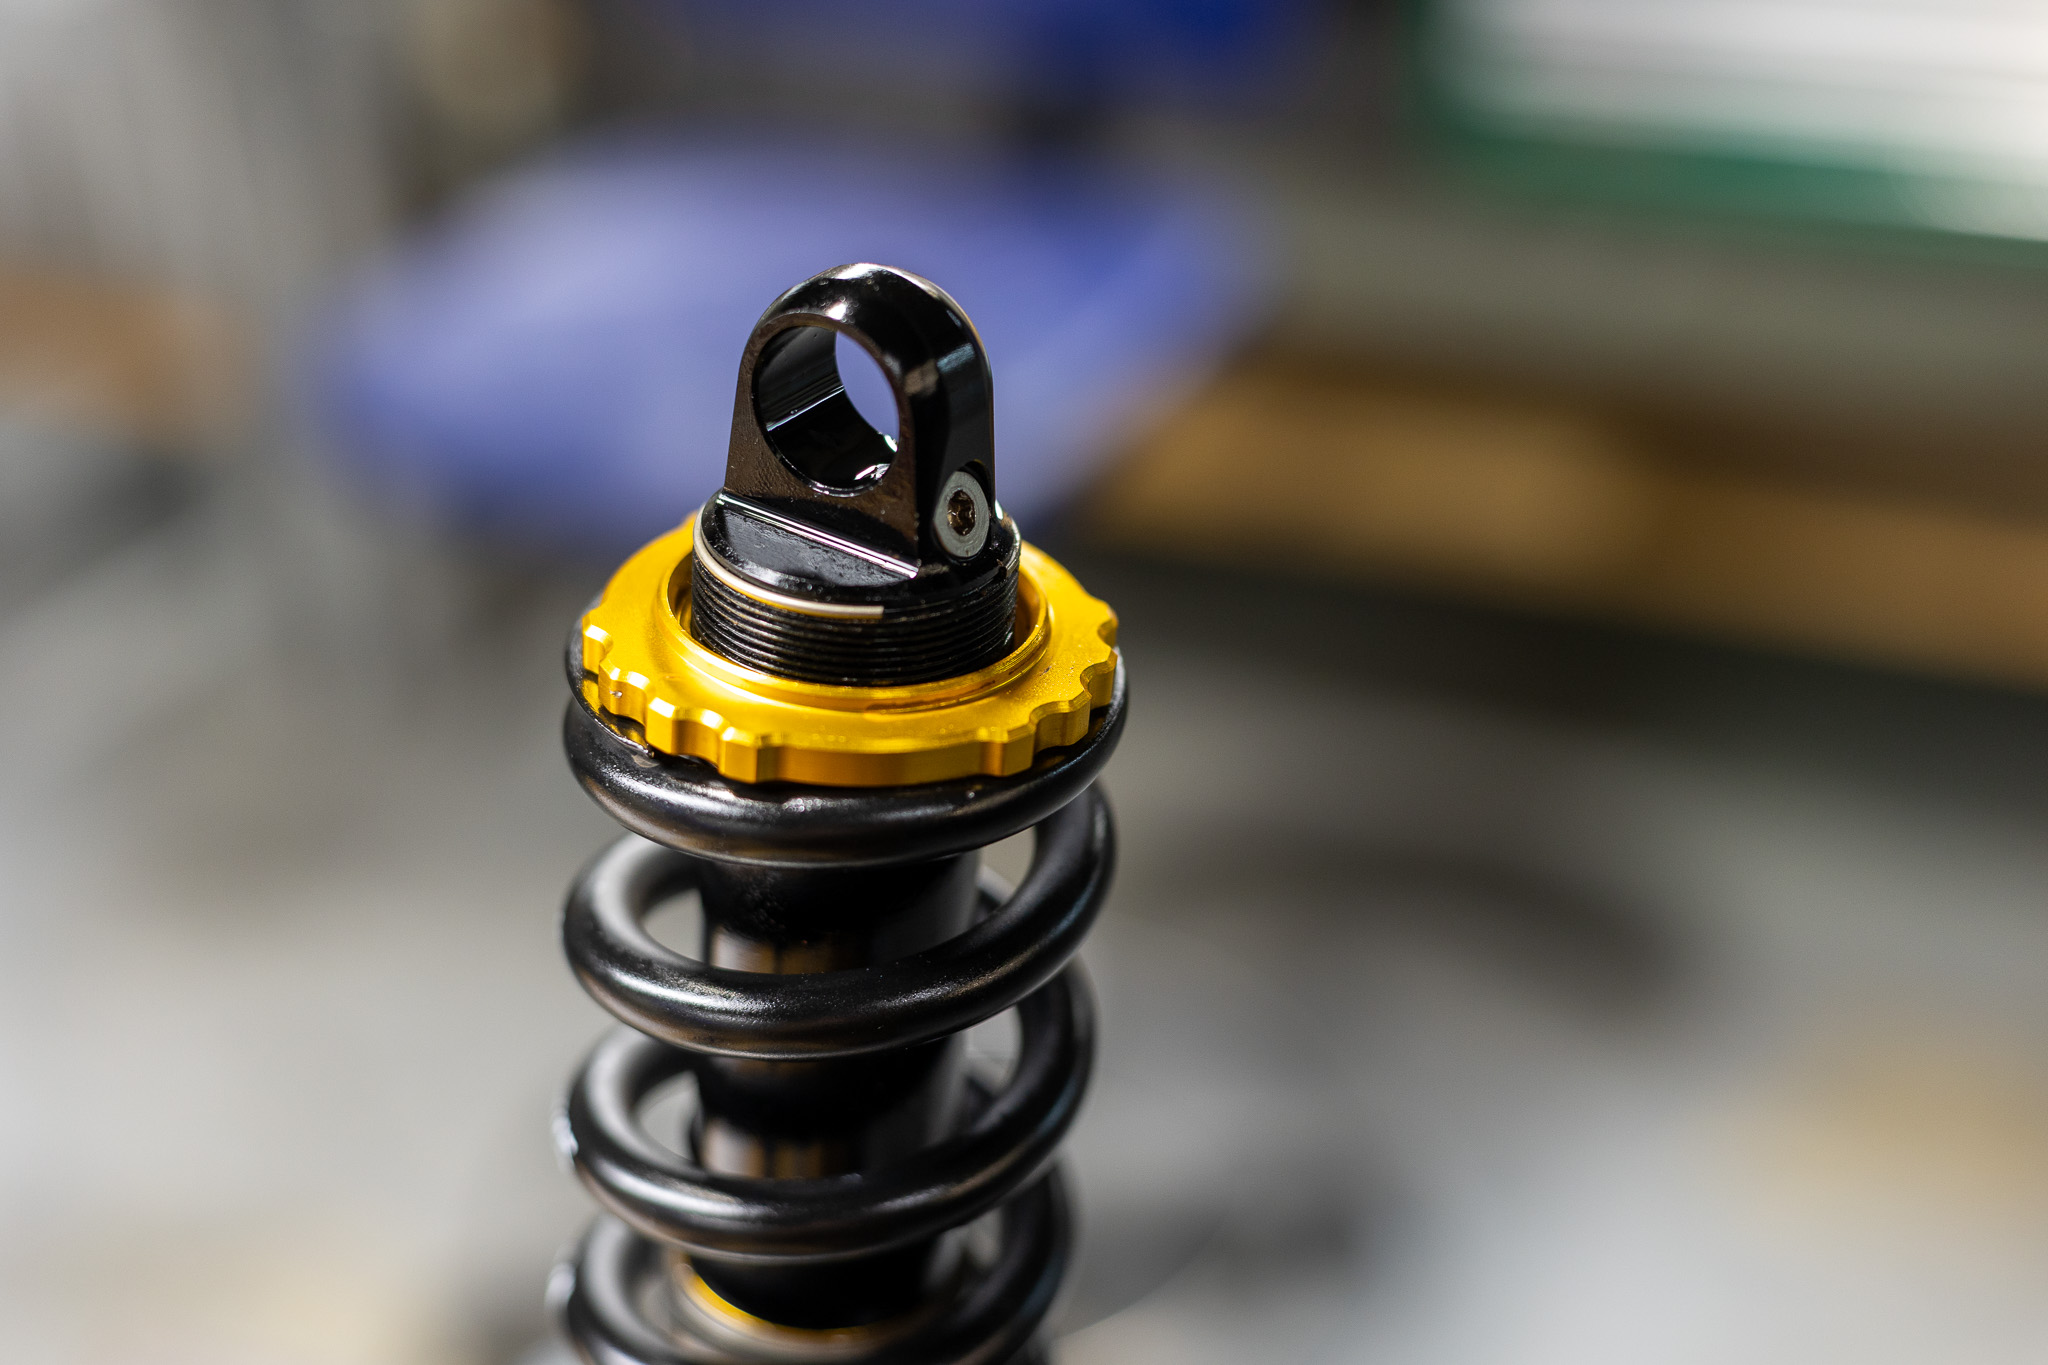
If RAMP tube was completely removed, lightly grease inner rim of RAMP tube and outer edge of oil seal head. Install RAMP tube on damper tube, using a pick to work RAMP tube past oil seal head. Install stroke reduction if needed. Be sure to seat fin on reduction in valve body properly.

Monday: 10:00 am – 5:00 pm
Tuesday – Thursday: 10:00 am – 7:00 pm
Friday: 10:00 am – 5:00 pm
Saturday – Sunday: Closed