We Are Open and Have Returned to Normal Operations
Previous slide
Next slide
You ask a bottom bracket to do a lot – it is the bearing assembly that allows your cranks to spin. They are low to the ground and withstand loads and abuse regularly – think about all of those out of the saddle hammers, cranking the handlebars side to side, all the rain, mud, dirt, or grime that rolls through… Whether it’s mountain, road, cross, gravel, polo, whatever, the bottom bracket lives a hard life.
To keep things simple, we are only going to cover modern bottom bracket and crankset standards. Sorry square taper, it’s just been too long.
Determine the bottom bracket type on your bike:
There are threaded bottom bracket shells, and there are press-fit bottom bracket shells. Threaded shells are easier to identify (and work with) because you simply thread a bottom bracket into your threaded bottom bracket shell. Common threaded bottom bracket standards are BSA, and the newer T47 standard.
With a press-fit type, the bottom bracket shell is an open bore with no threads. Common press-fit bottom bracket standards are BB30, PF30, BB86/92 (or PF41).
Threaded BSA bottom bracket threading into shell
Bottom bracket types will come in different widths (and bearing sizes which we’ll get to later) and you’ll need to determine what width shell you have to ensure the bottom bracket will fit your frame. Common threaded bottom bracket shell widths are 68mm which is found on most road bikes, 73mm and 83mm for most mountain bikes, and 100mm for all the sweet fat bikes out there. You’ll find similar widths with BB30, and PF30 bottom bracket shells, however with BB86 / 92 shells, you’ll find 86mm width and 92mm widths – this can also be identified with a 41mm internal diameter of the non threaded shell.
You need to make sure the bottom bracket bearing size will match your cranks’ spindle diameter. For example, if you have eeWings, then any of our Hellbender 110 bottom brackets will work because they are 30mm bearing options only, and eeWings have a 30mm spindle diameter. Our Hellbender 70 30mm options will also work with eeWings. If you have a SRAM Dub crank, then any of our 29mm Hellbender 70 bottom brackets will be compatible with your cranks. If you have a Shimano crank, then any of our 24mm Hellbender 70 bottom brackets will be compatible with your cranks.
You must also ensure that you will have enough available crank spindle length to pass through the bottom bracket and frame, with a little extra breathing room to preload the system.
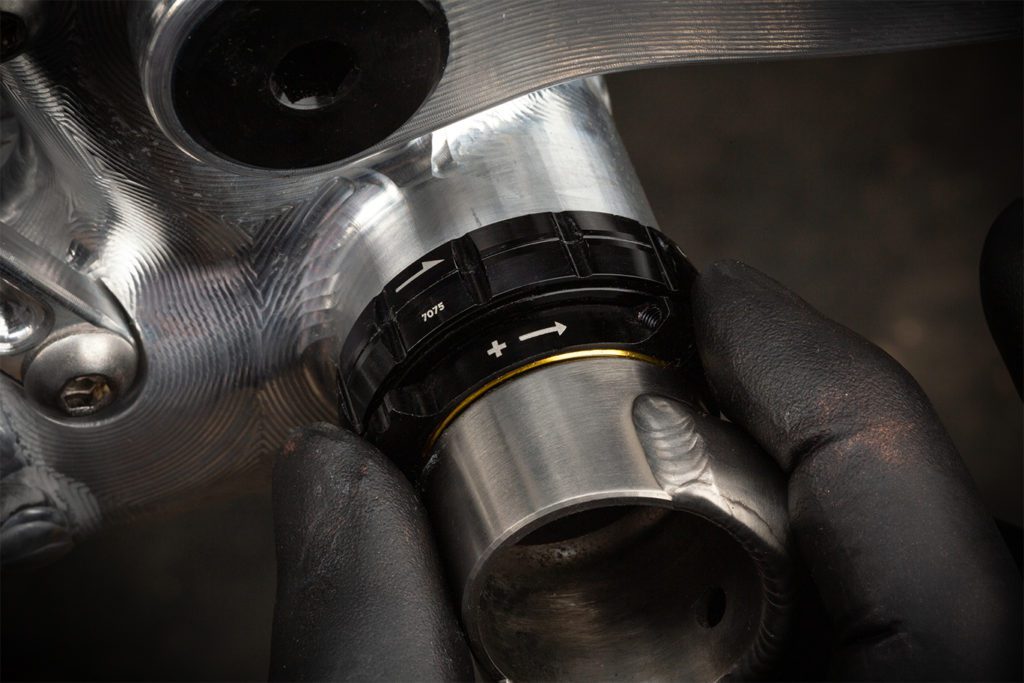
A general rule when confirming compatibility with cranks and frames: if it’s a road bike, use a road bike specific crankset. If it’s a mountain bike, use a mountain bike specific crankset. However, not all bottom brackets and cranks are designed around the same specifications. For example, a press-fit style bottom bracket can have external bearings where the bearings are housed in a bottom bracket cup that sits outside of the bottom bracket shell (FIGURE 1.0),
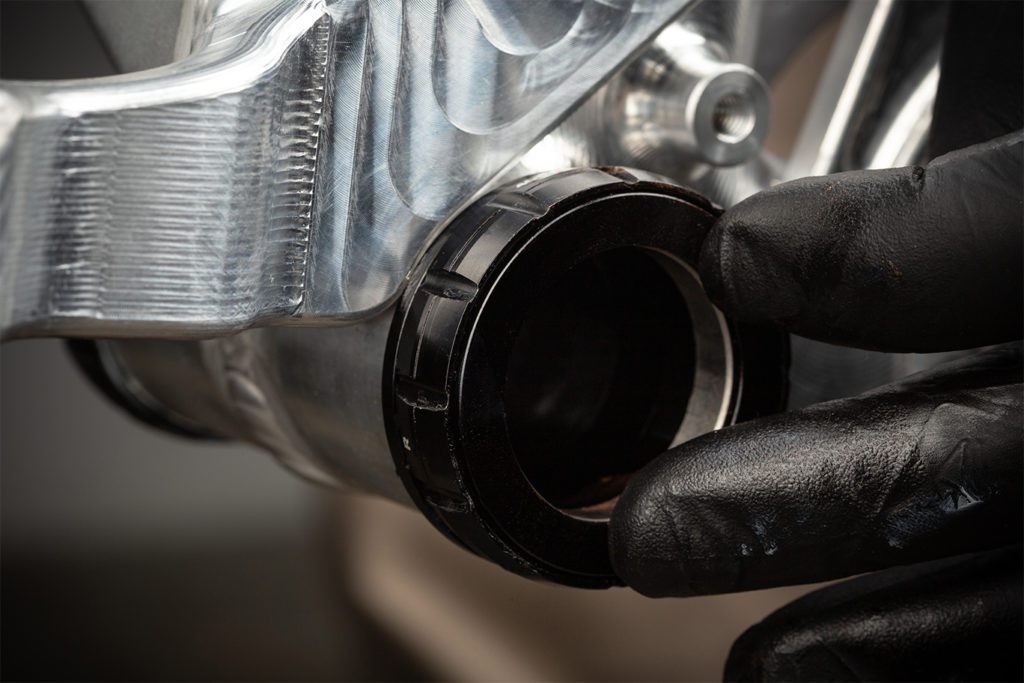
Or it can have internal bearings where you press bearings directly into the open bore of the bottom bracket shell (FIGURE 2.0),

PF30 Hellbender 70
(FIGURE 1.0)

PF41 / 92 Hellbender 70
(FIGURE 2.0)
If you were to try and install a crankset that was designed for a BB30 with internal bearings, on a BB30 bottom bracket that has external bearings, the cranks spindle would not pass through the bottom bracket and frame.
All Cane Creek bottom brackets have external bearings, with the exception of our PF41/ 92 Hellbender 70 bottom bracket.
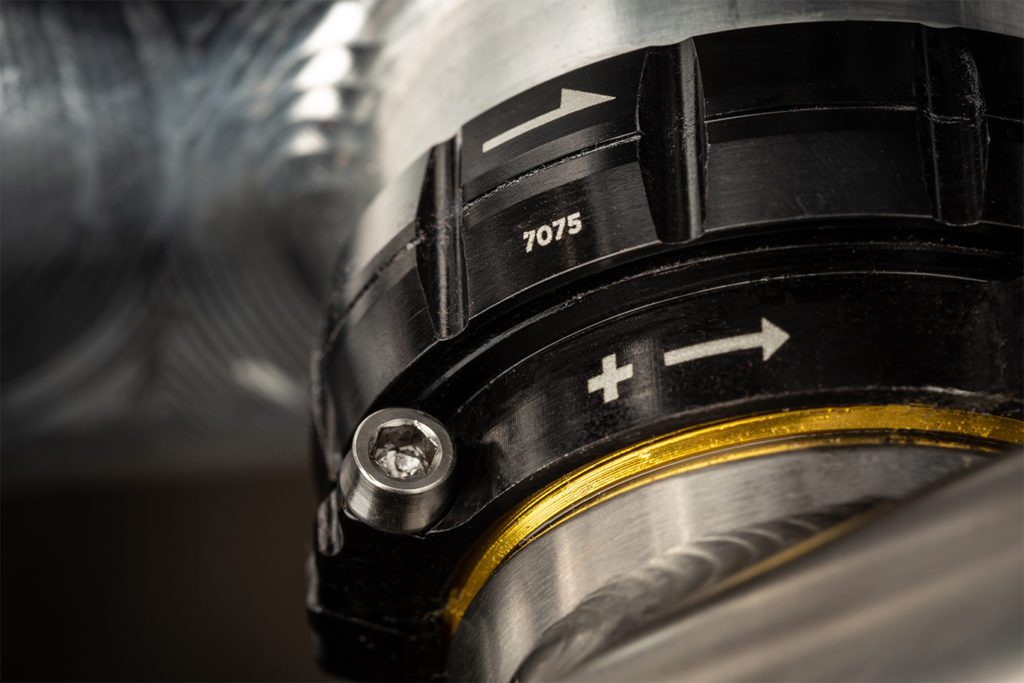
With most modern cranksets, there is a threaded preload ring installed on the crank spindle, and that threaded ring will adjust the amount of preload that is applied to the bottom bracket bearings.
Before you pass your cranks spindle through your bottom bracket that is installed on your frame, make sure the preloader pinch bolt is not tight, then thread the preload ring back until it contacts the crank arm.
Pass the crank spindle through the bottom bracket and torque the crank bolt down to the correct rating. Then simply thread the preload ring away from the crank arm and towards the bottom bracket bearing until it contacts the bearing seal.
Tighten down the pinch bolt, then check your adjustment by rocking the crank arms laterally back and forth to see if there is any play in the system. If there is not enough preload applied, you’ll feel play in the crank arms. If there is too much, you won’t feel any play in the crank arms, but your cranks will not spin freely, so make sure to give your cranks and spin after you’ve finished your adjustment.

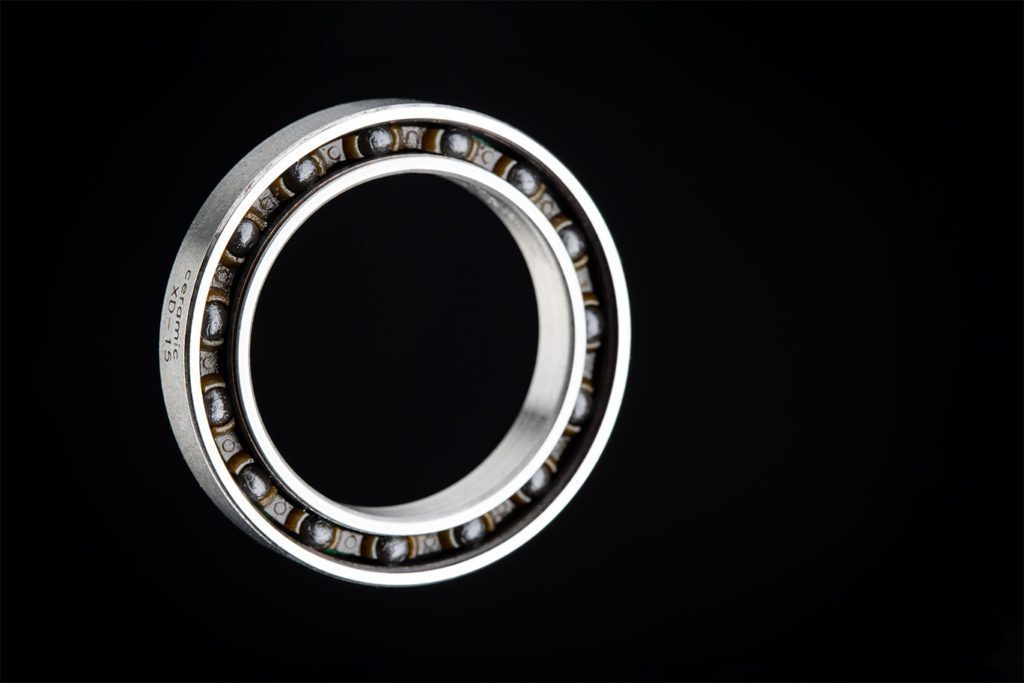
What’s the difference between radial and angular contact bearings?
Angular contact bearings have angled inner and outer races that apply pressure (preload) to the ball bearings in the middle. Radial bearings have grooves on the inner and outer edges that the ball bearings ride in.
Angular contact bearings are thought to be longer lasting than radial bearings, but only if the bearings are preloaded properly and evenly. A small misalignment in a frame, or too much or too little preload force applied to the bearings will result in much faster wear.
With bottom brackets, radial bearings are more forgiving, this is because the non angled surface helps reduce stress on the bearing cartridge caused by the weight of the load (you and your bike) and will help battle premature wear caused by incorrect preload and frame misalignment.
The best thing to do for your bottom bracket is to keep the area clean, and double check your preload adjustment every now and then.
The best way to clean your bottom bracket is to remove the crankset from your bike. High pressure power washing is not recommended, and downright lazy. Rotate the bearings with your fingers to make sure they are spinning correctly, then thoroughly clean off the old grease from any contact surfaces, and apply new grease. The real killer of any bottom bracket bearing is corrosion.
The two main advantages of a ceramic bottom bracket are durability and lower rolling resistance than steel bearings. The ceramic balls are manufactured to be rounder than steel balls, and they are made of a more dense material and are extremely corrosion resistant, also the seals that typically come on ceramic bottom bracket bearings have less drag.
Stainless steel bottom bracket bearings are longer lasting than non stainless steel bearings because stainless steel is more corrosion resistant. You will not find many bikes that come with stainless steel or ceramic bottom bracket bearings as stock, both materials are an upgrade.

Monday: 10:00 am – 5:00 pm
Tuesday – Thursday: 10:00 am – 5:00 pm
Friday: 10:00 am – 5:00 pm
Saturday – Sunday: Closed