Required Tools
- 3mm Hex Wrench
- 4mm Hex Wrench
- FIX THIS LINK
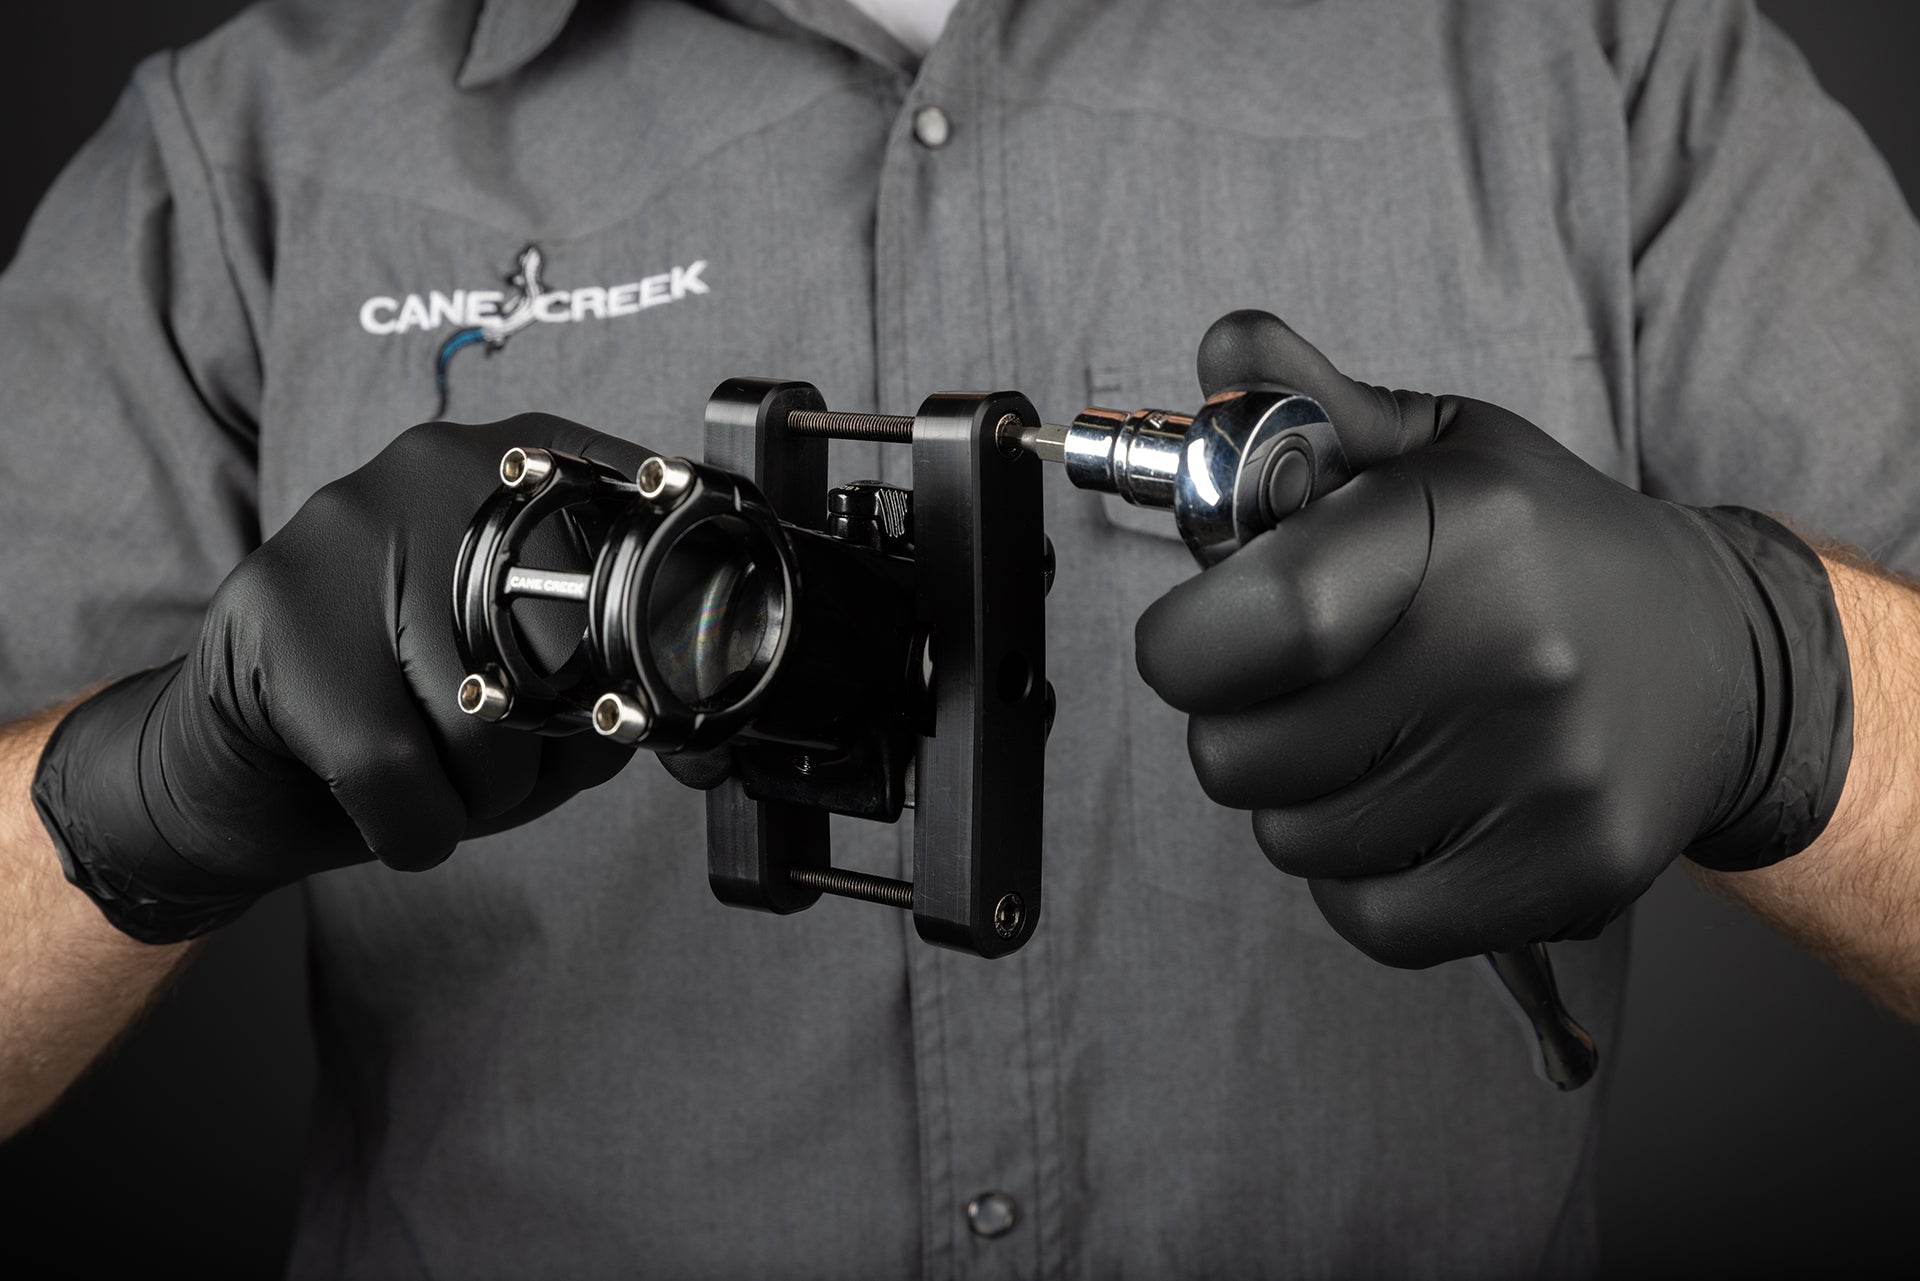
- eeSilk Stem Service Tool (BAJ0091) & eeSilk Compliance Switch service kit with bushings (BAJ0081)
Recommendations and Warnings
- Cane Creek recommends replacing all of the bushing during this service so the pivots wear evenly.
- During Disassembly – Pivot axles must be removed by being pressed out towards the drive-side of the bicycle.
- During Reassembly – Pivot axles must be installed by being pressed in towards the non-drive side of the bicycle.
Part Numbers
- BAJ0081 – Compliance switch service kit with bushings
- BAJ0082 – Preload wedge
- BAJ0083 – Faceplate with bolt
- BAJ0091 – Service Tool
Step 1
Remove the Elastomer
- Remove the eeSilk Stem from the bicycle.
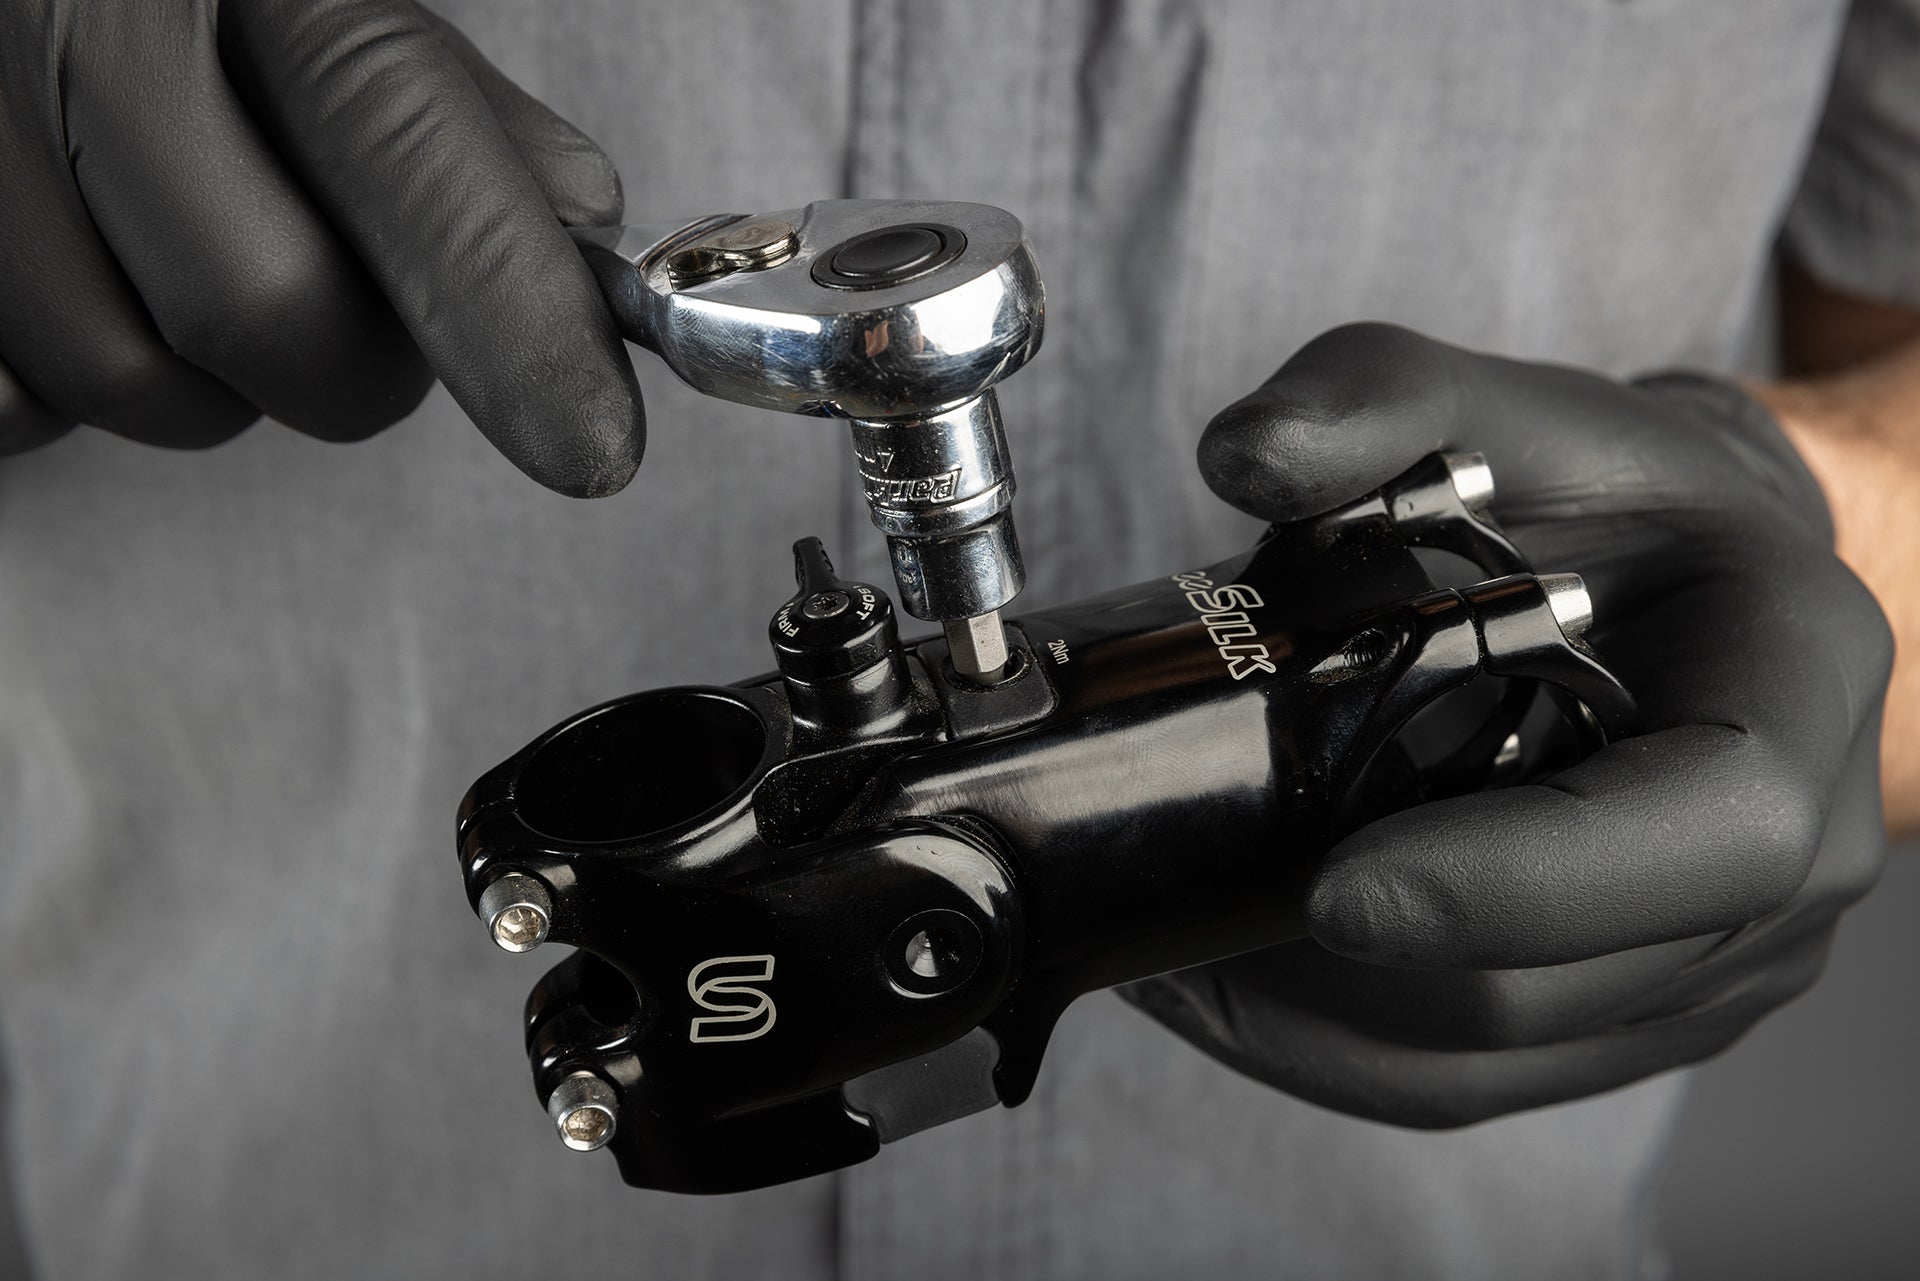
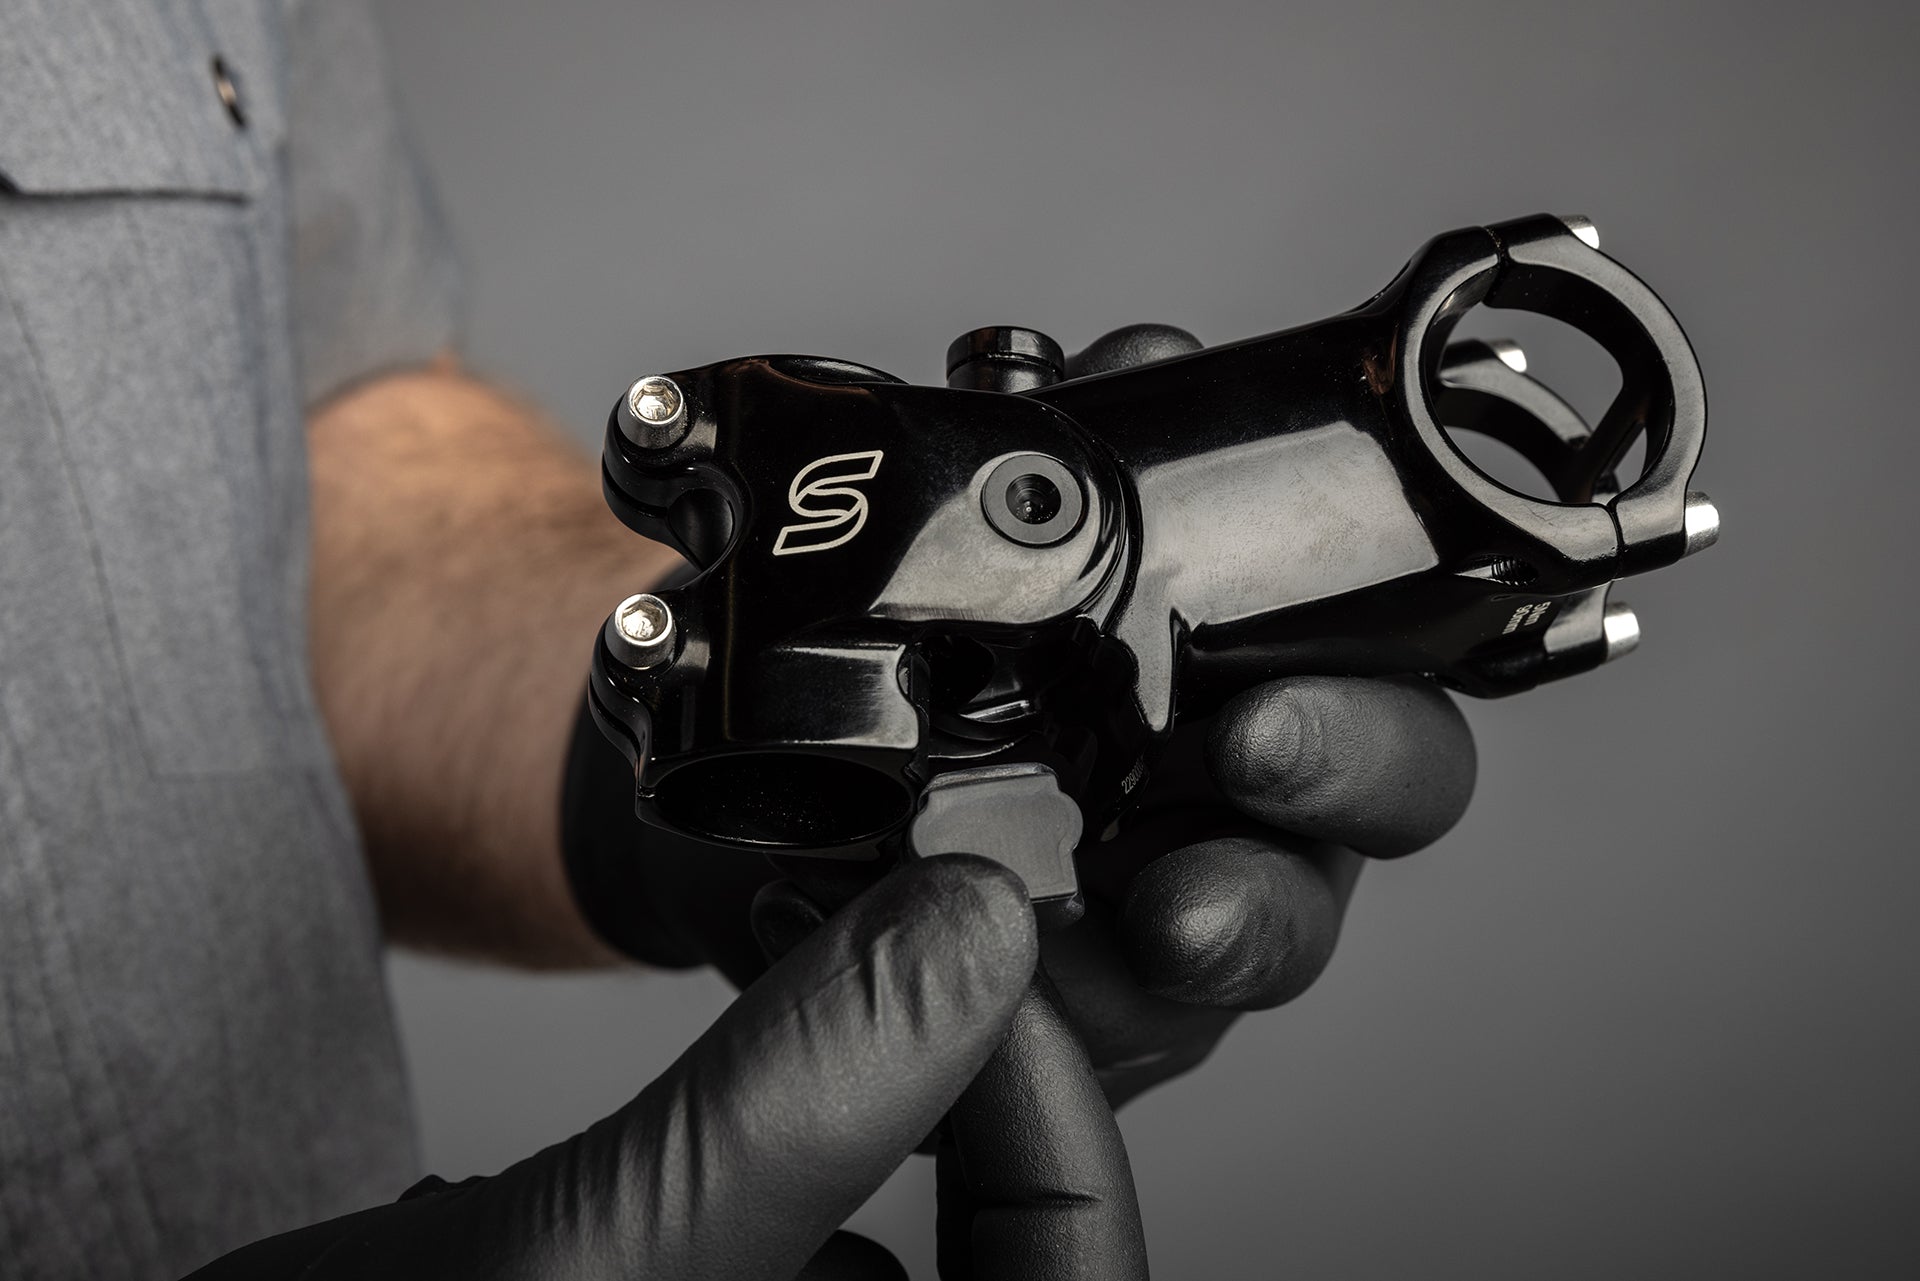
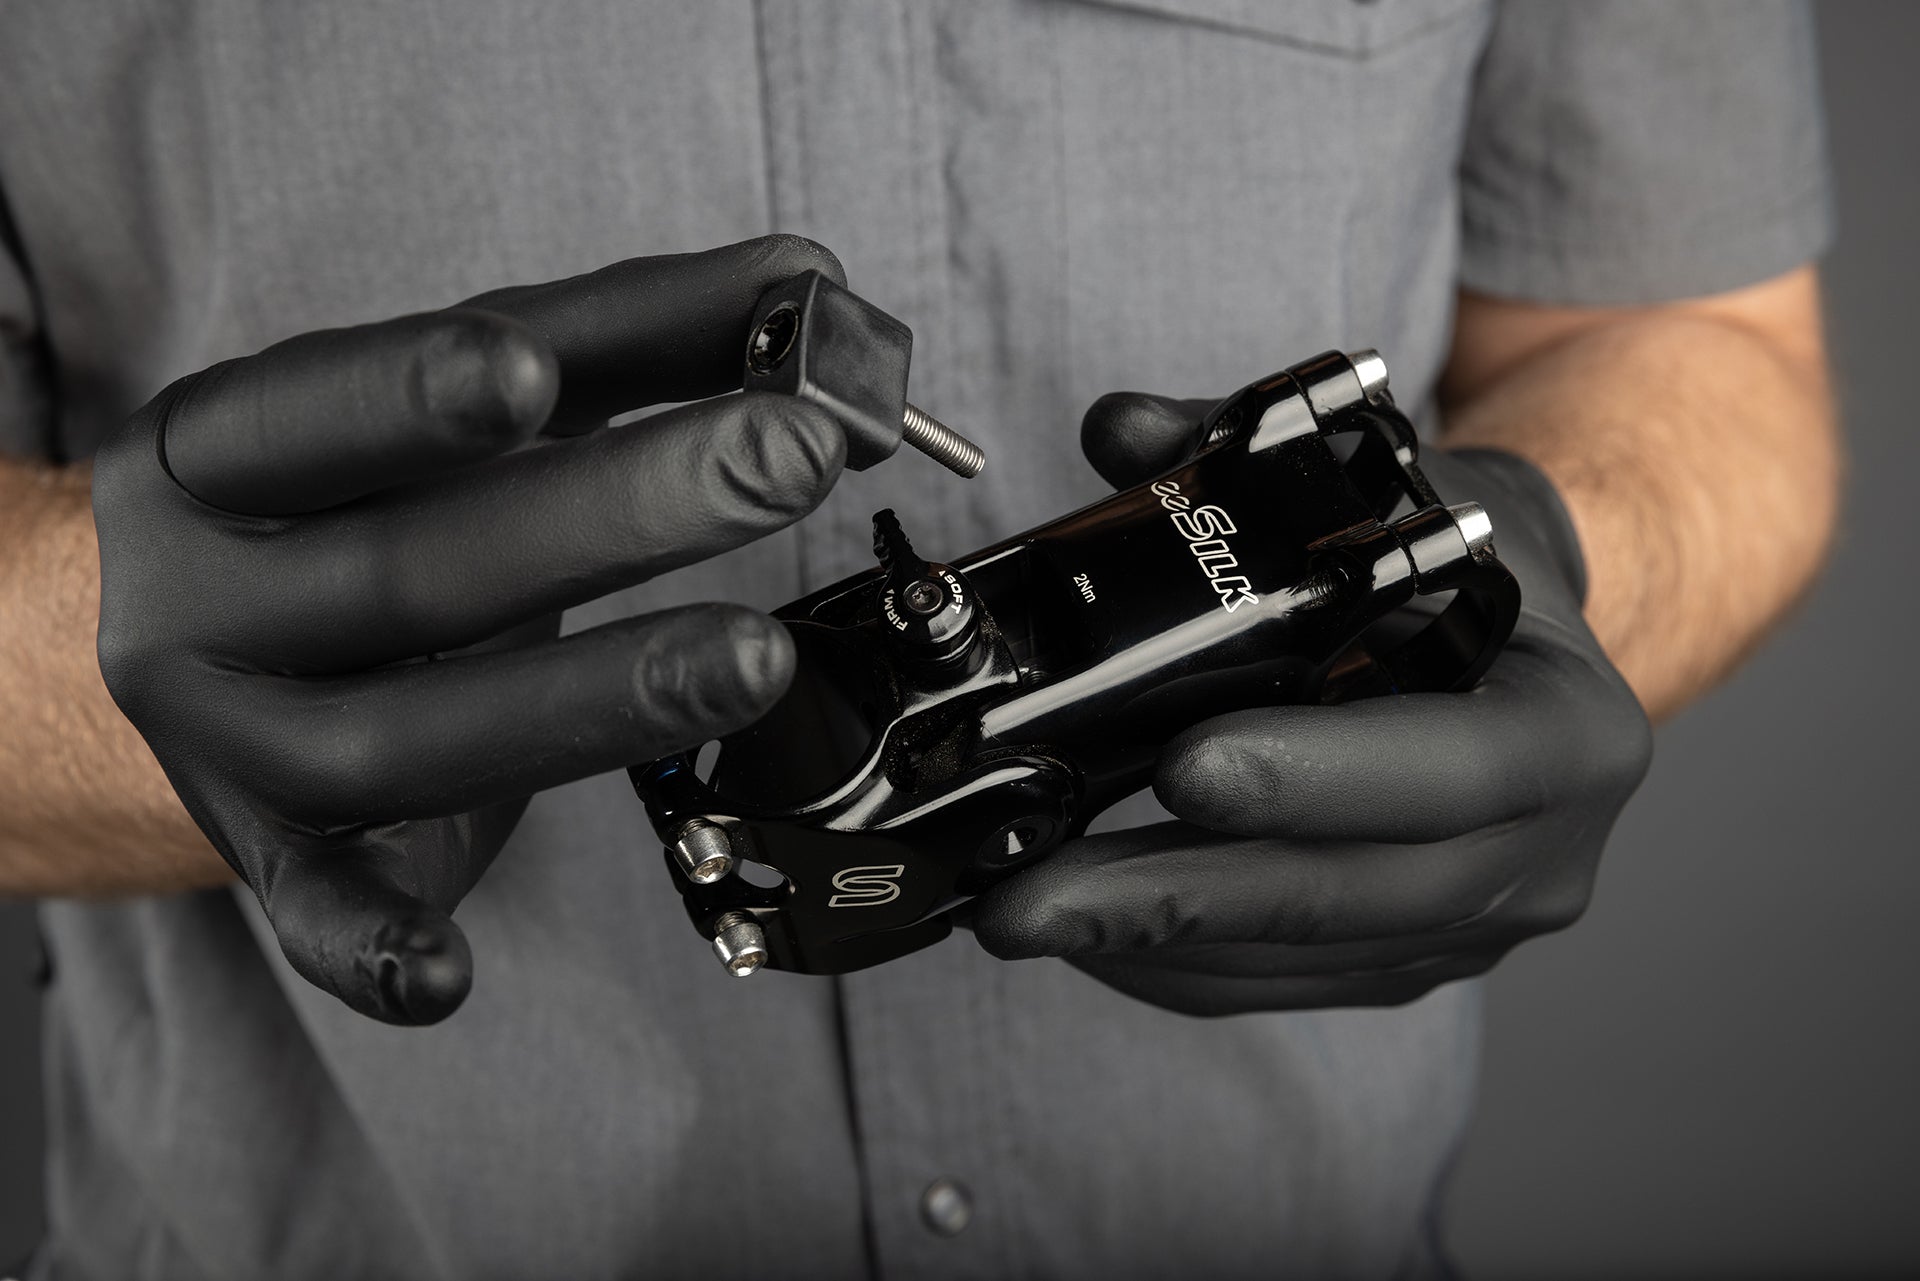
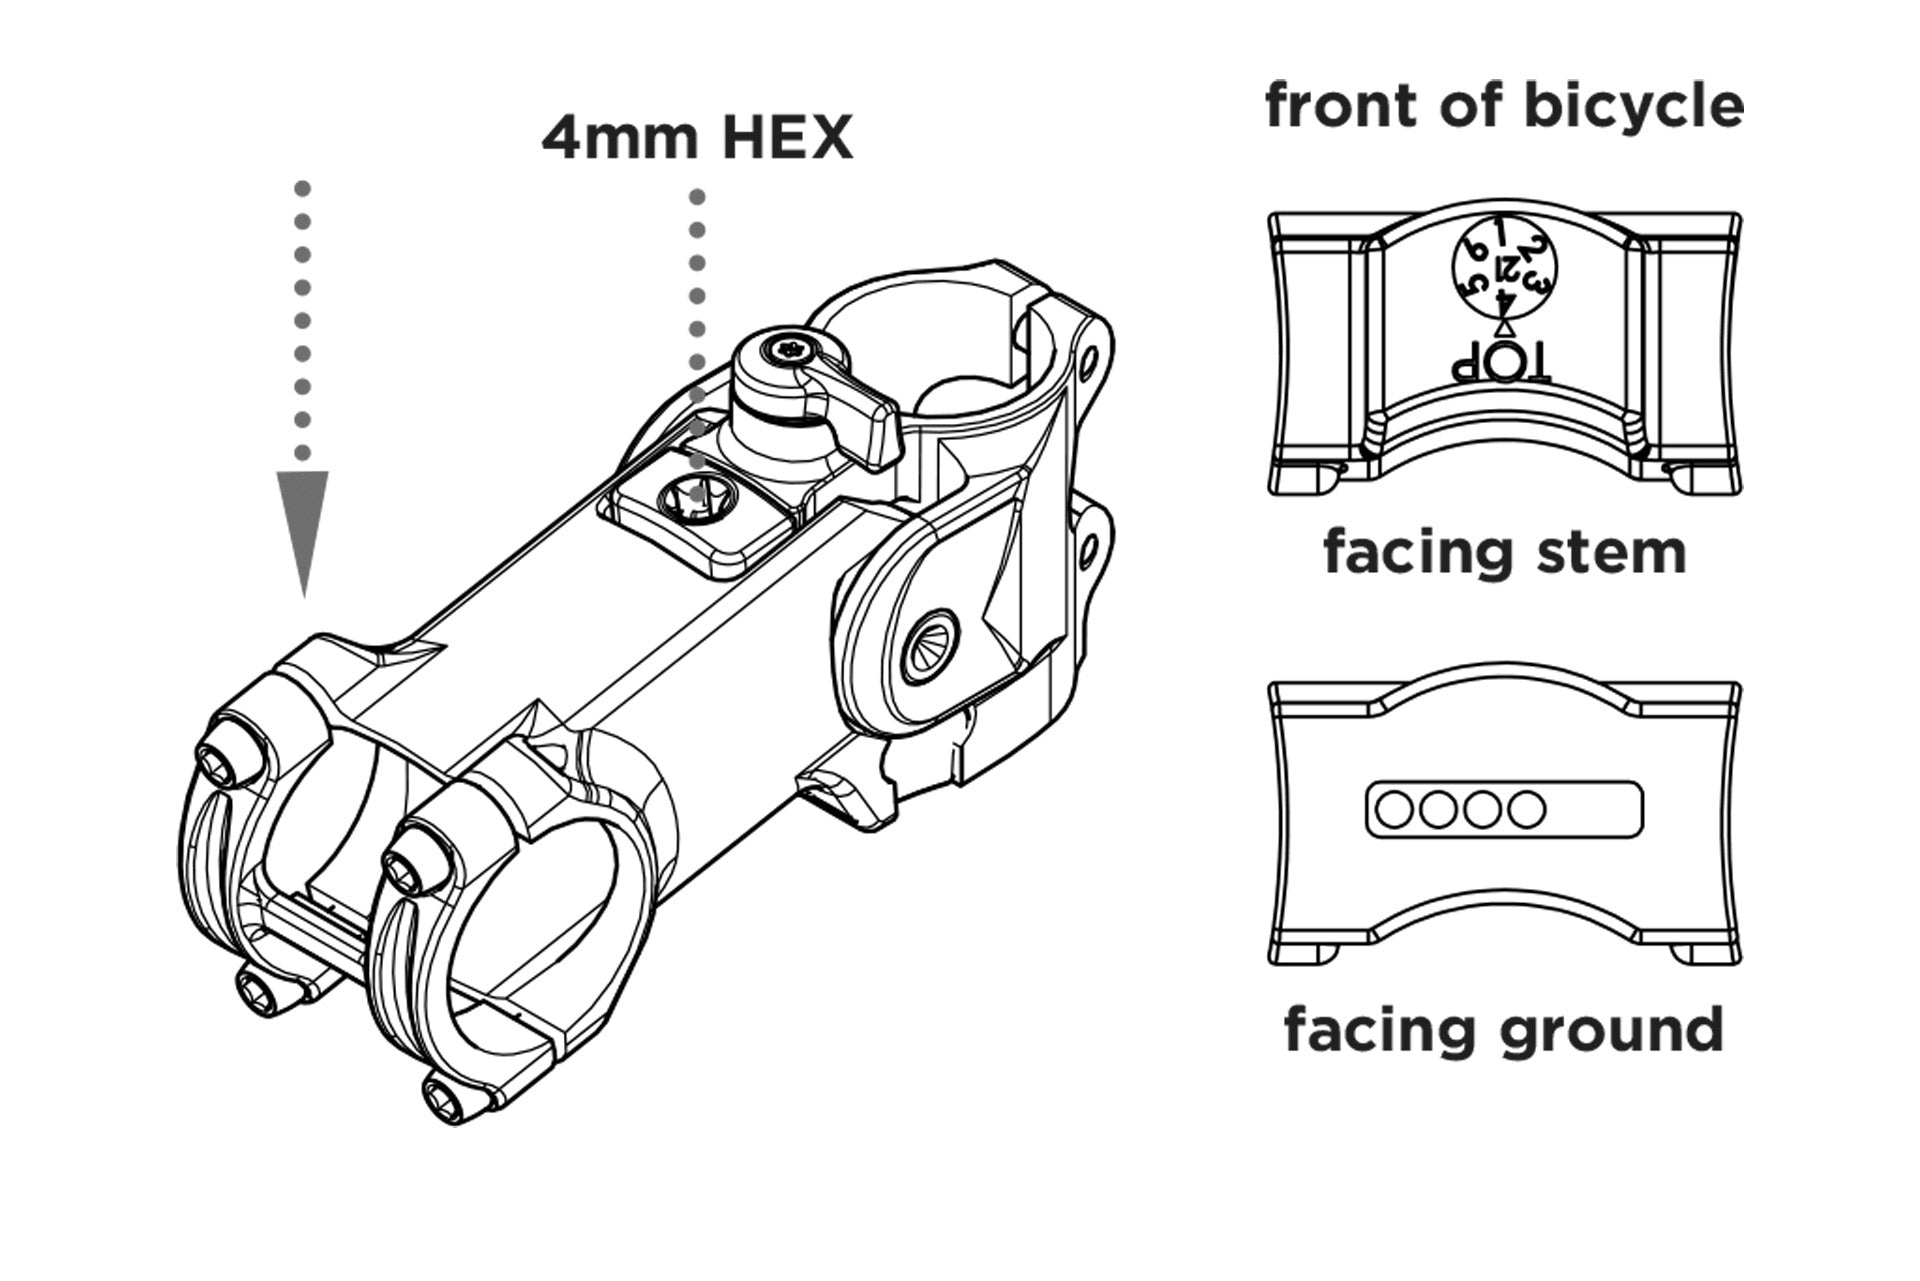
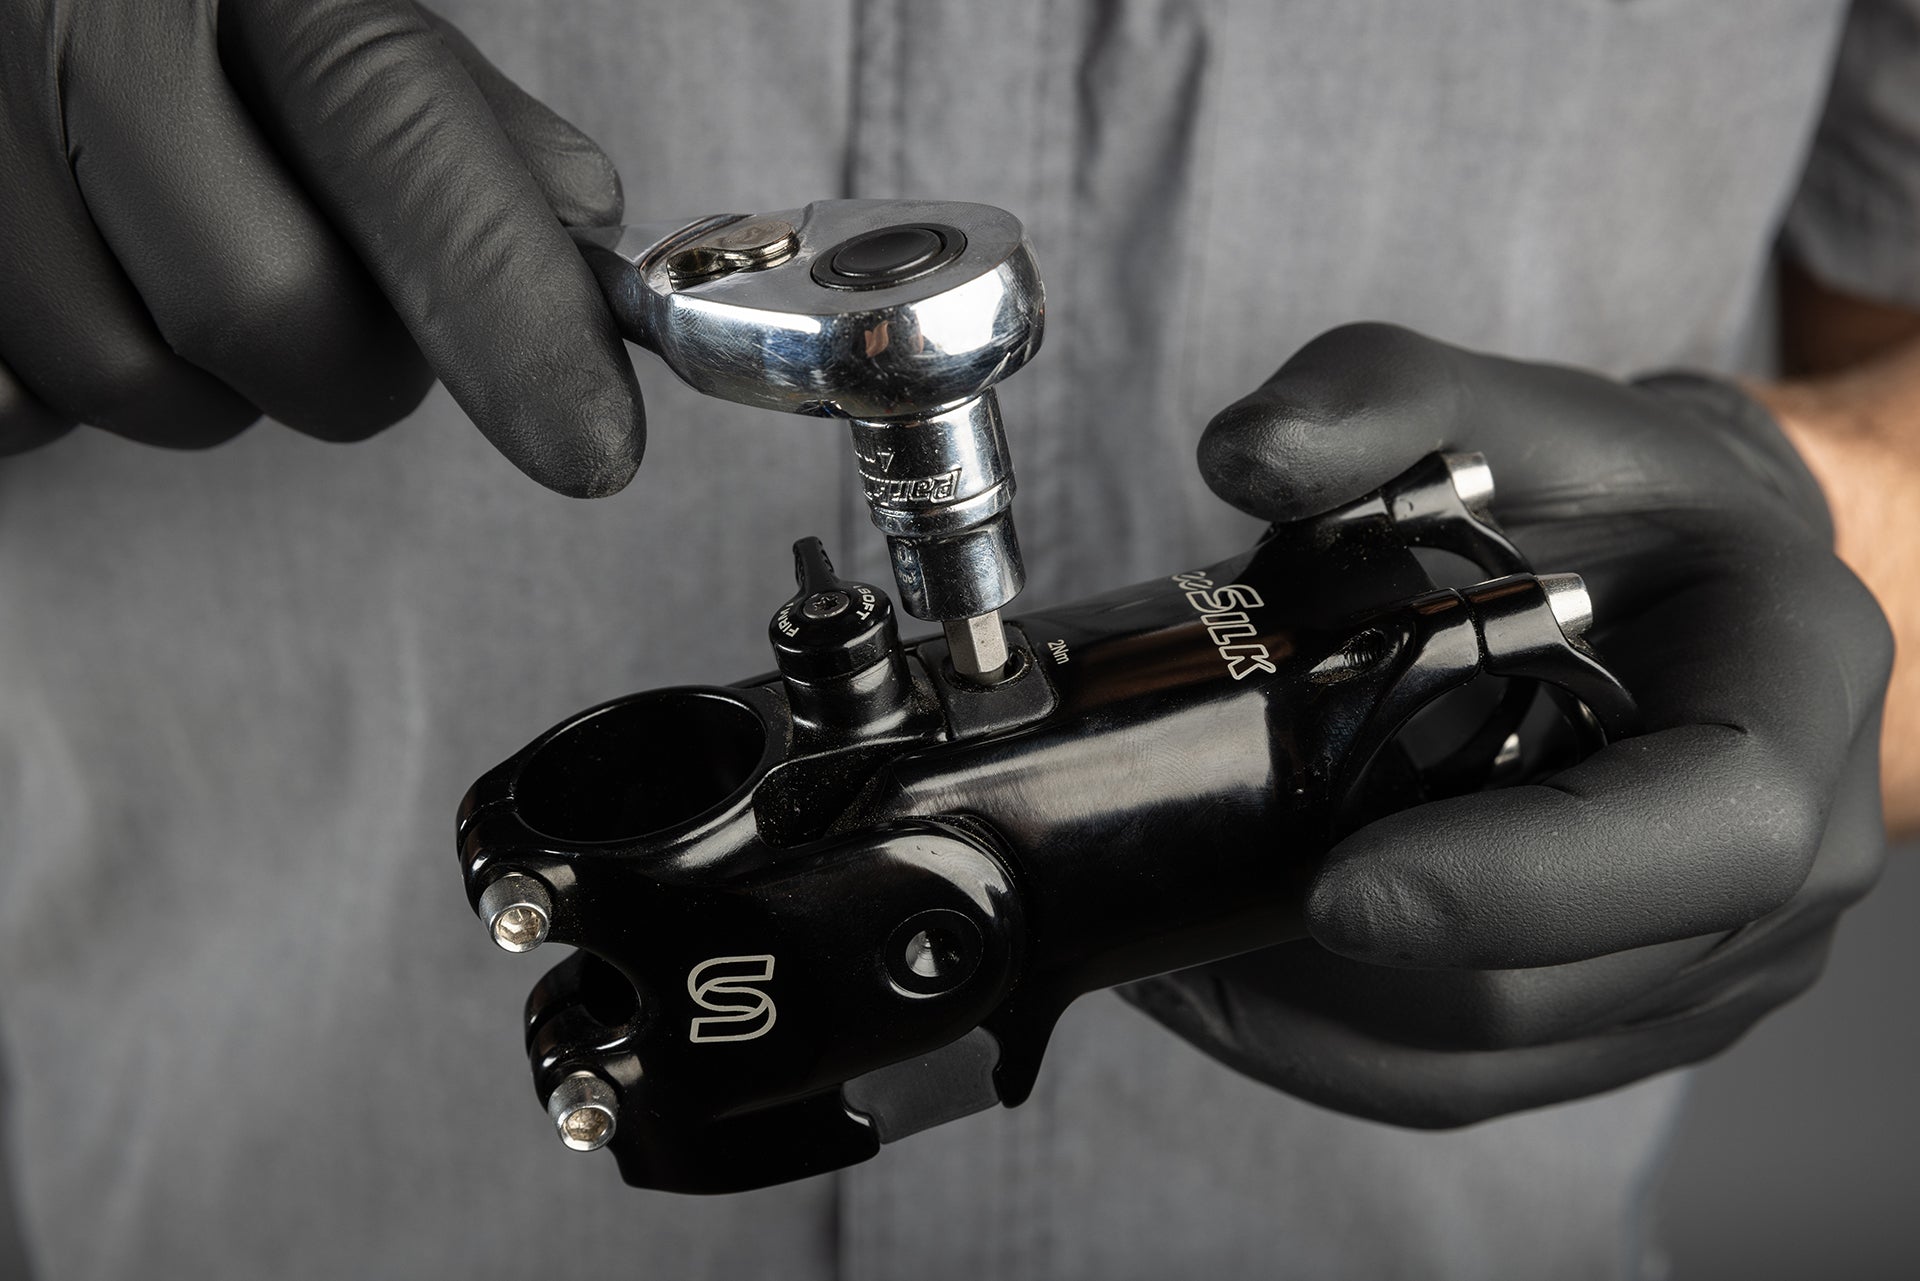
- Next remove the elastomer by using a 4mm hex wrench – loosen elastomer bolt on top of stem body.
- With the preload assembly removed, lift the stem and remove the elastomer.
Step 2
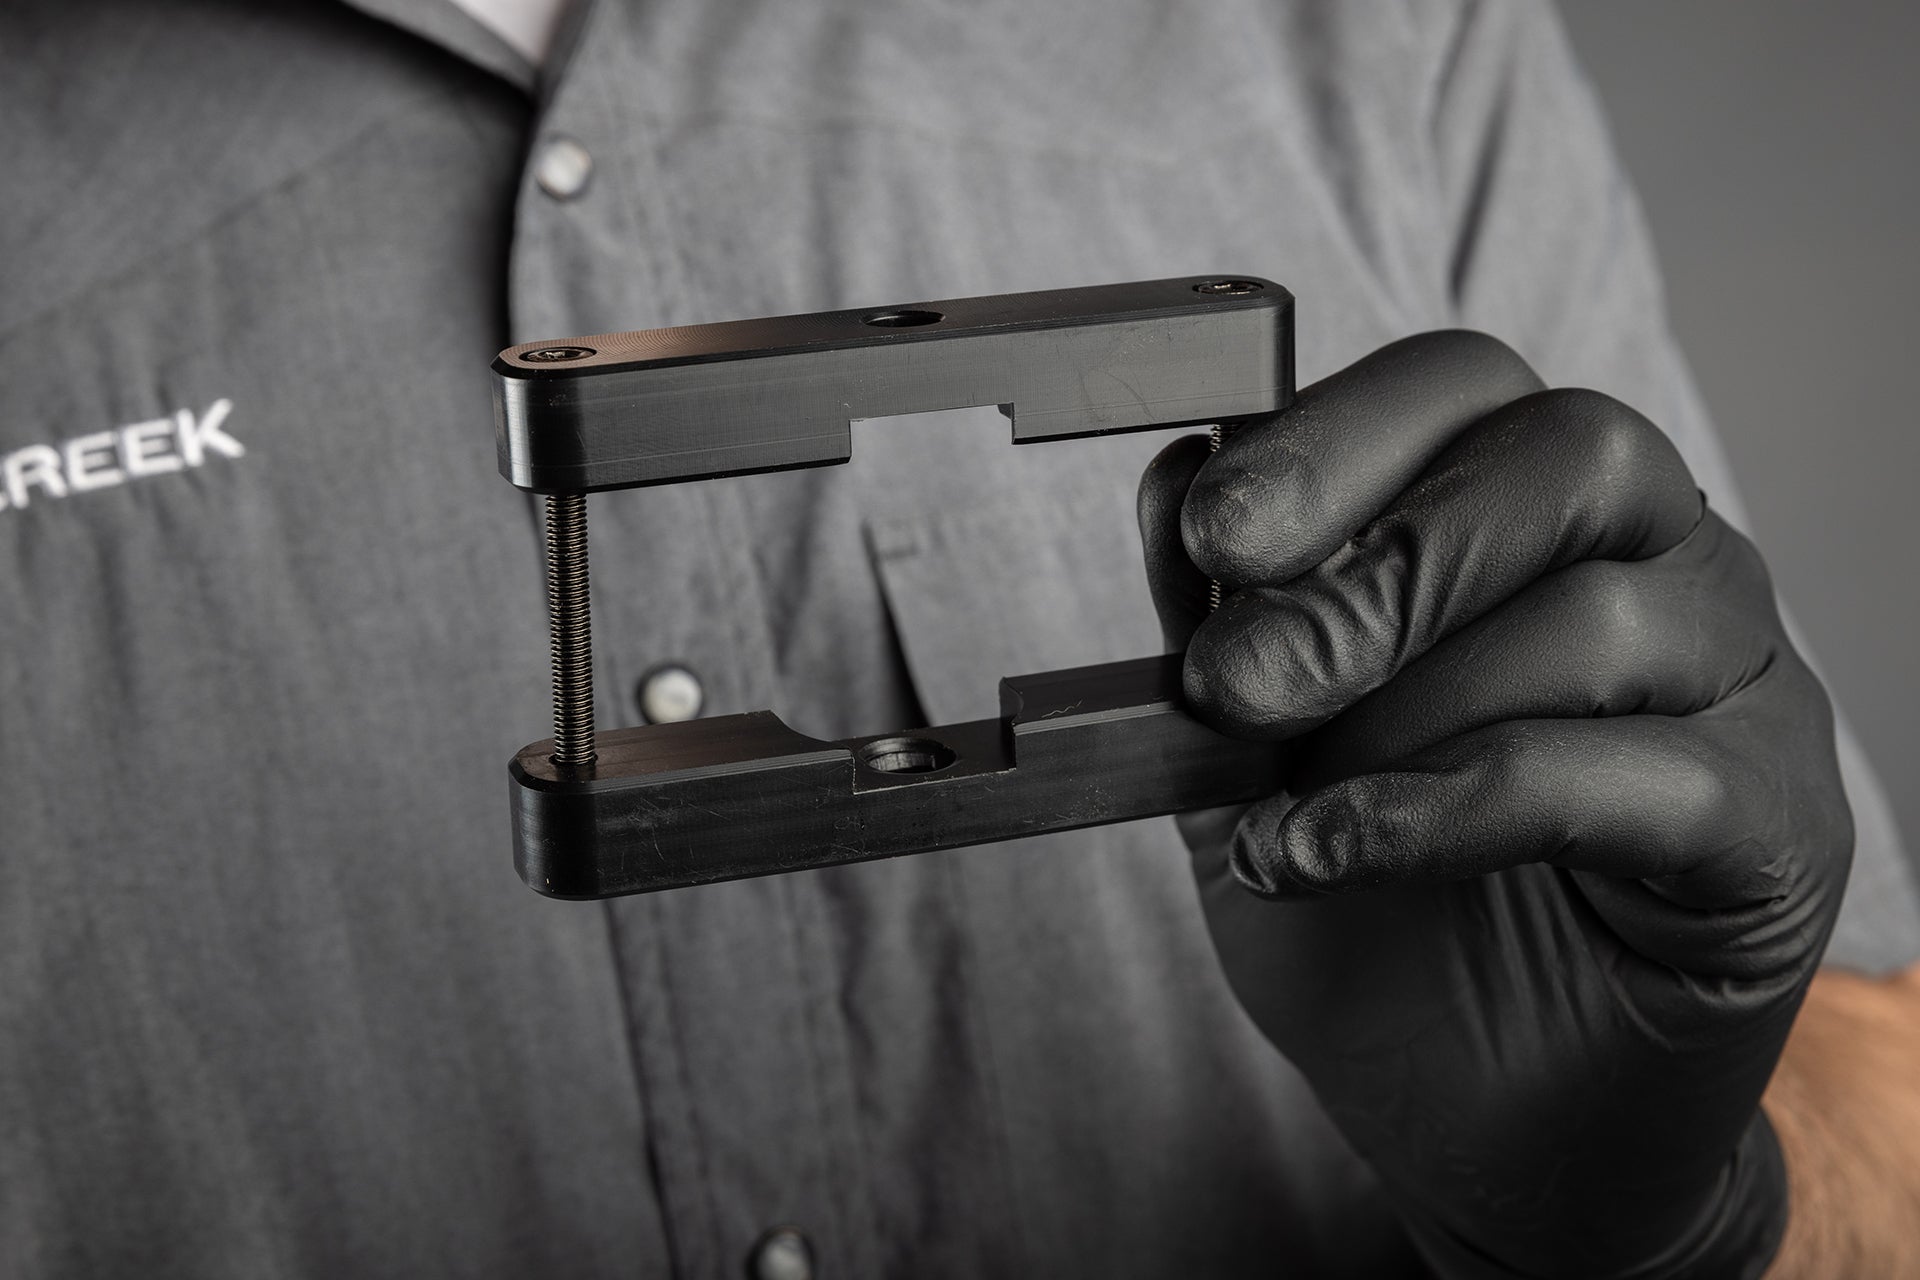
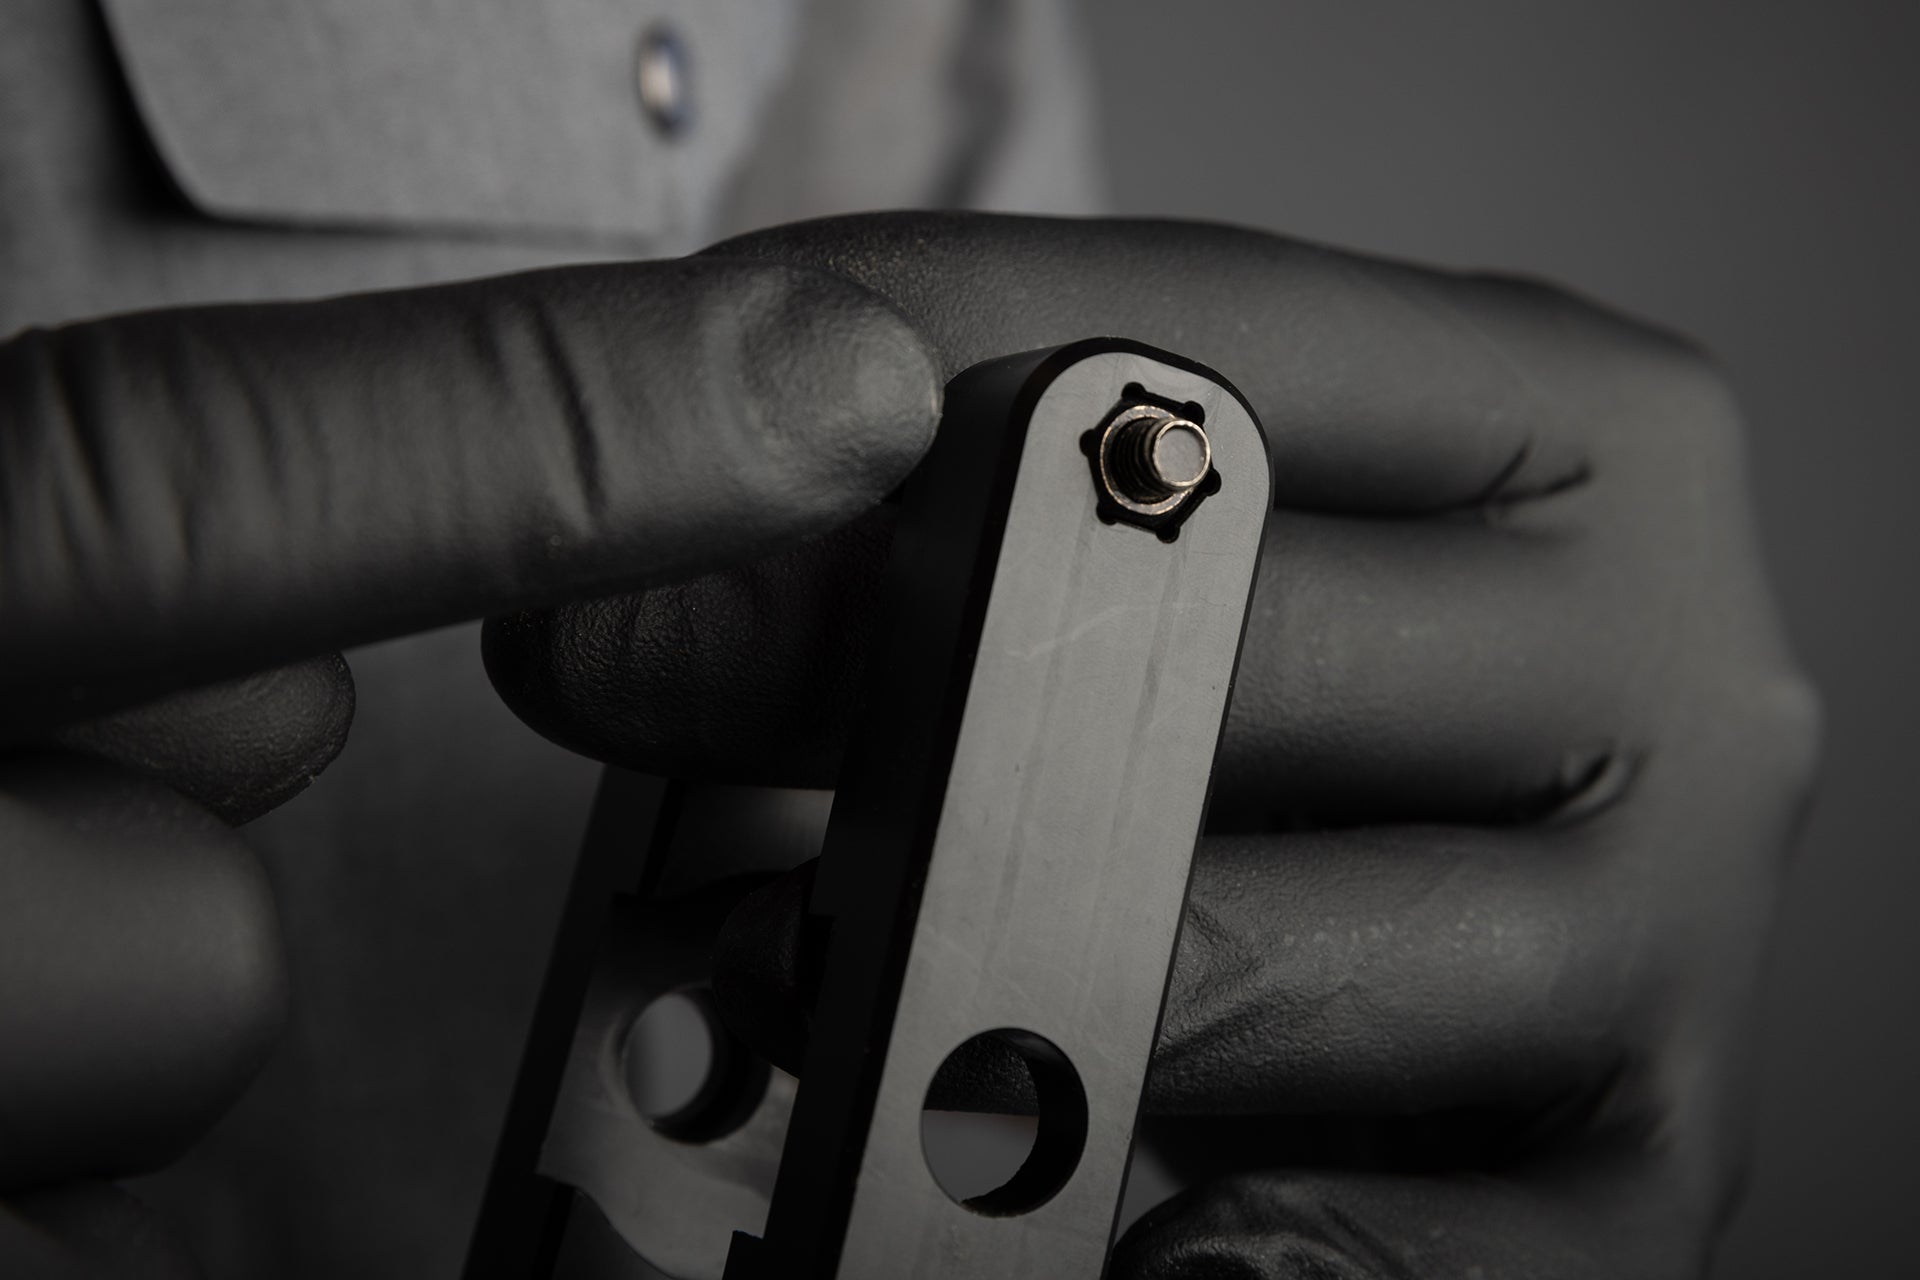
Identify drive side and non-drive side of tool
- Drive side of the tool has larger hole and accepts 8mm nut
- Non-drive side of the tool has smaller hole and accepts 4mm allen bolt
The axle can only be pressed out towards the drive side
Step 3
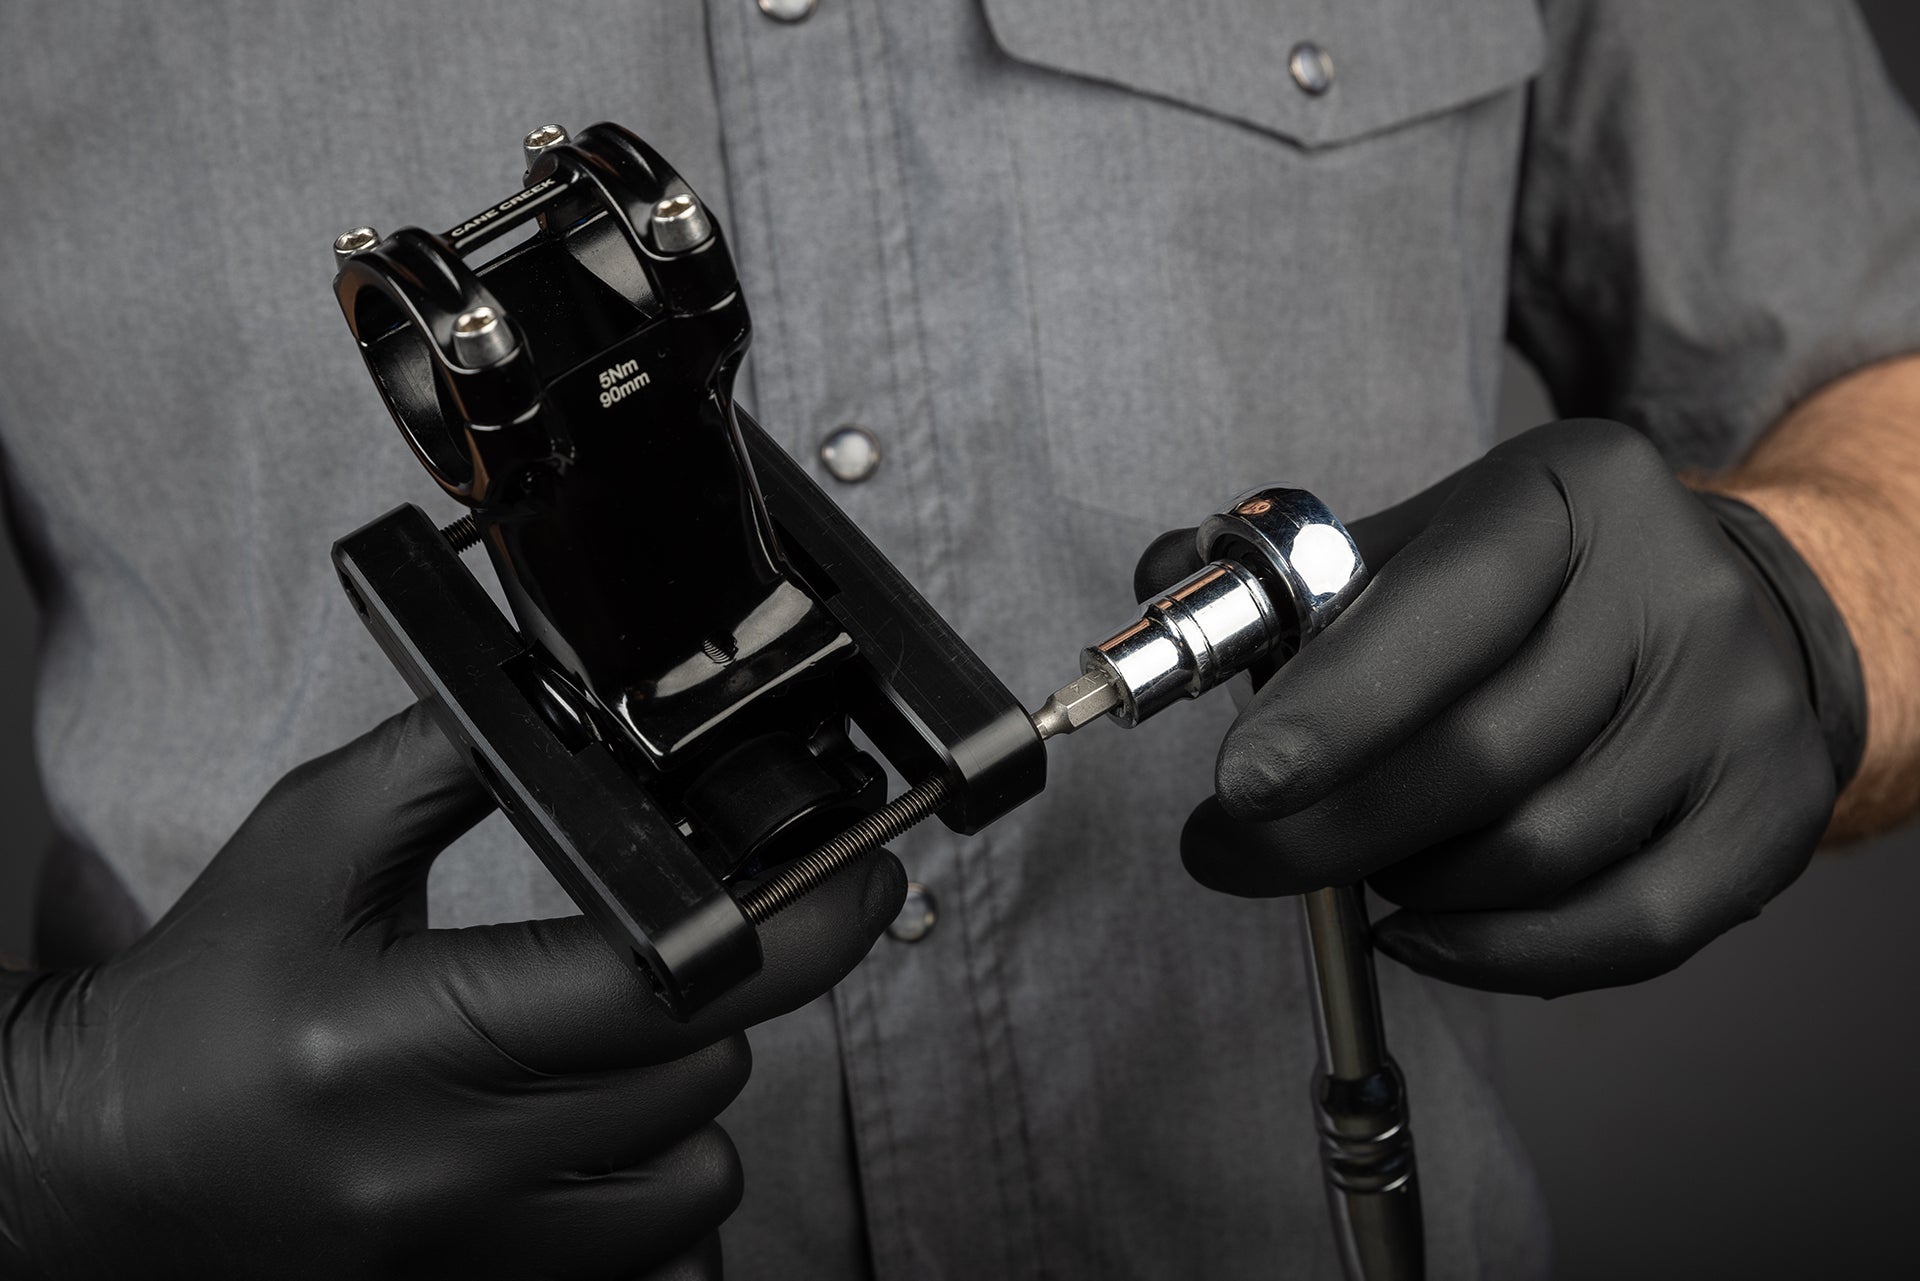
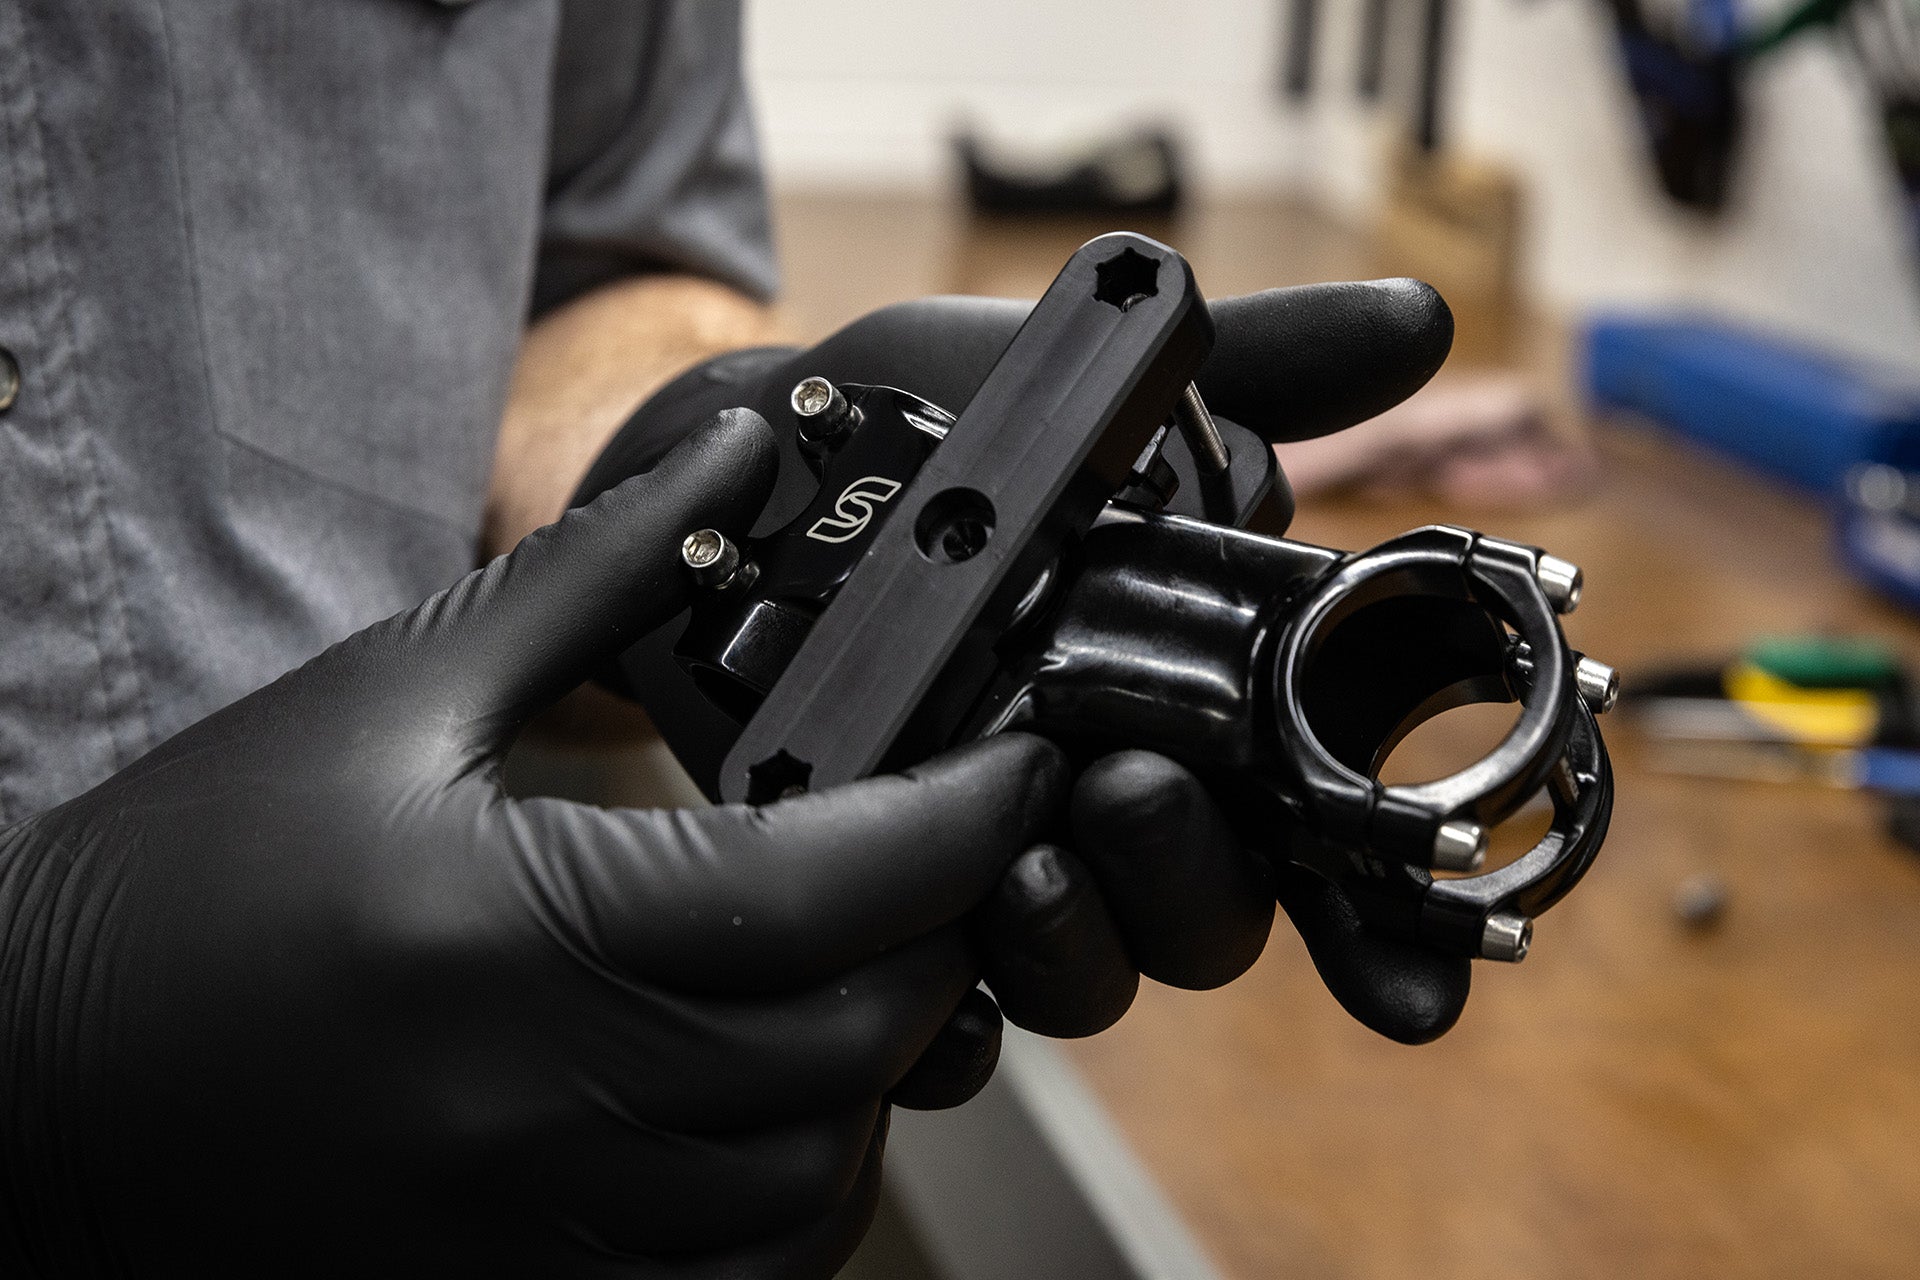
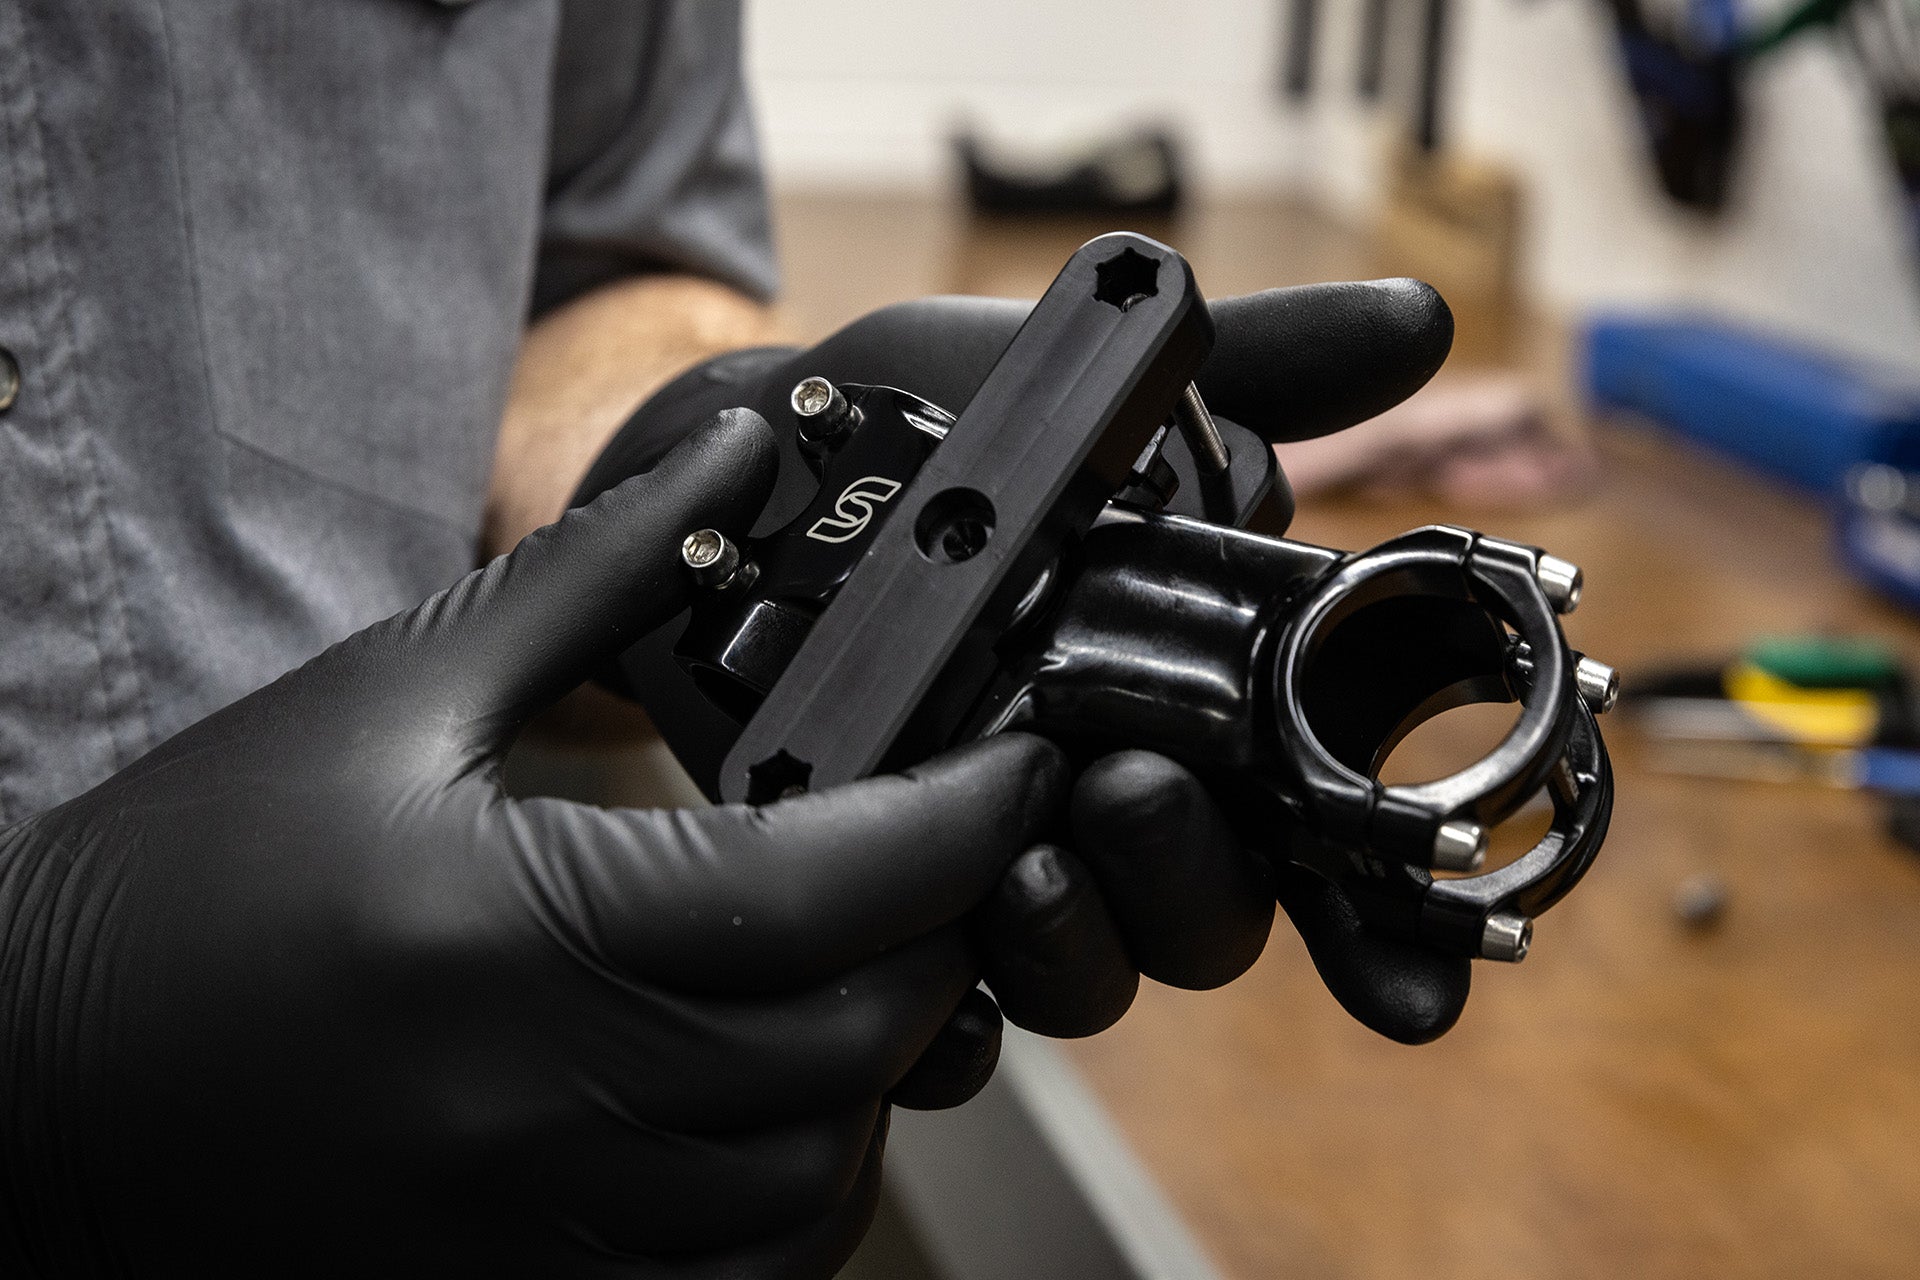
Position tool in place over stem
- Verify drive side & non-drive side of the stem
- Removing one side of the tool will help while positioning tool into place
- Once positioned properly equally tighten tool DO NOT OVER TIGHTEN
Step 4
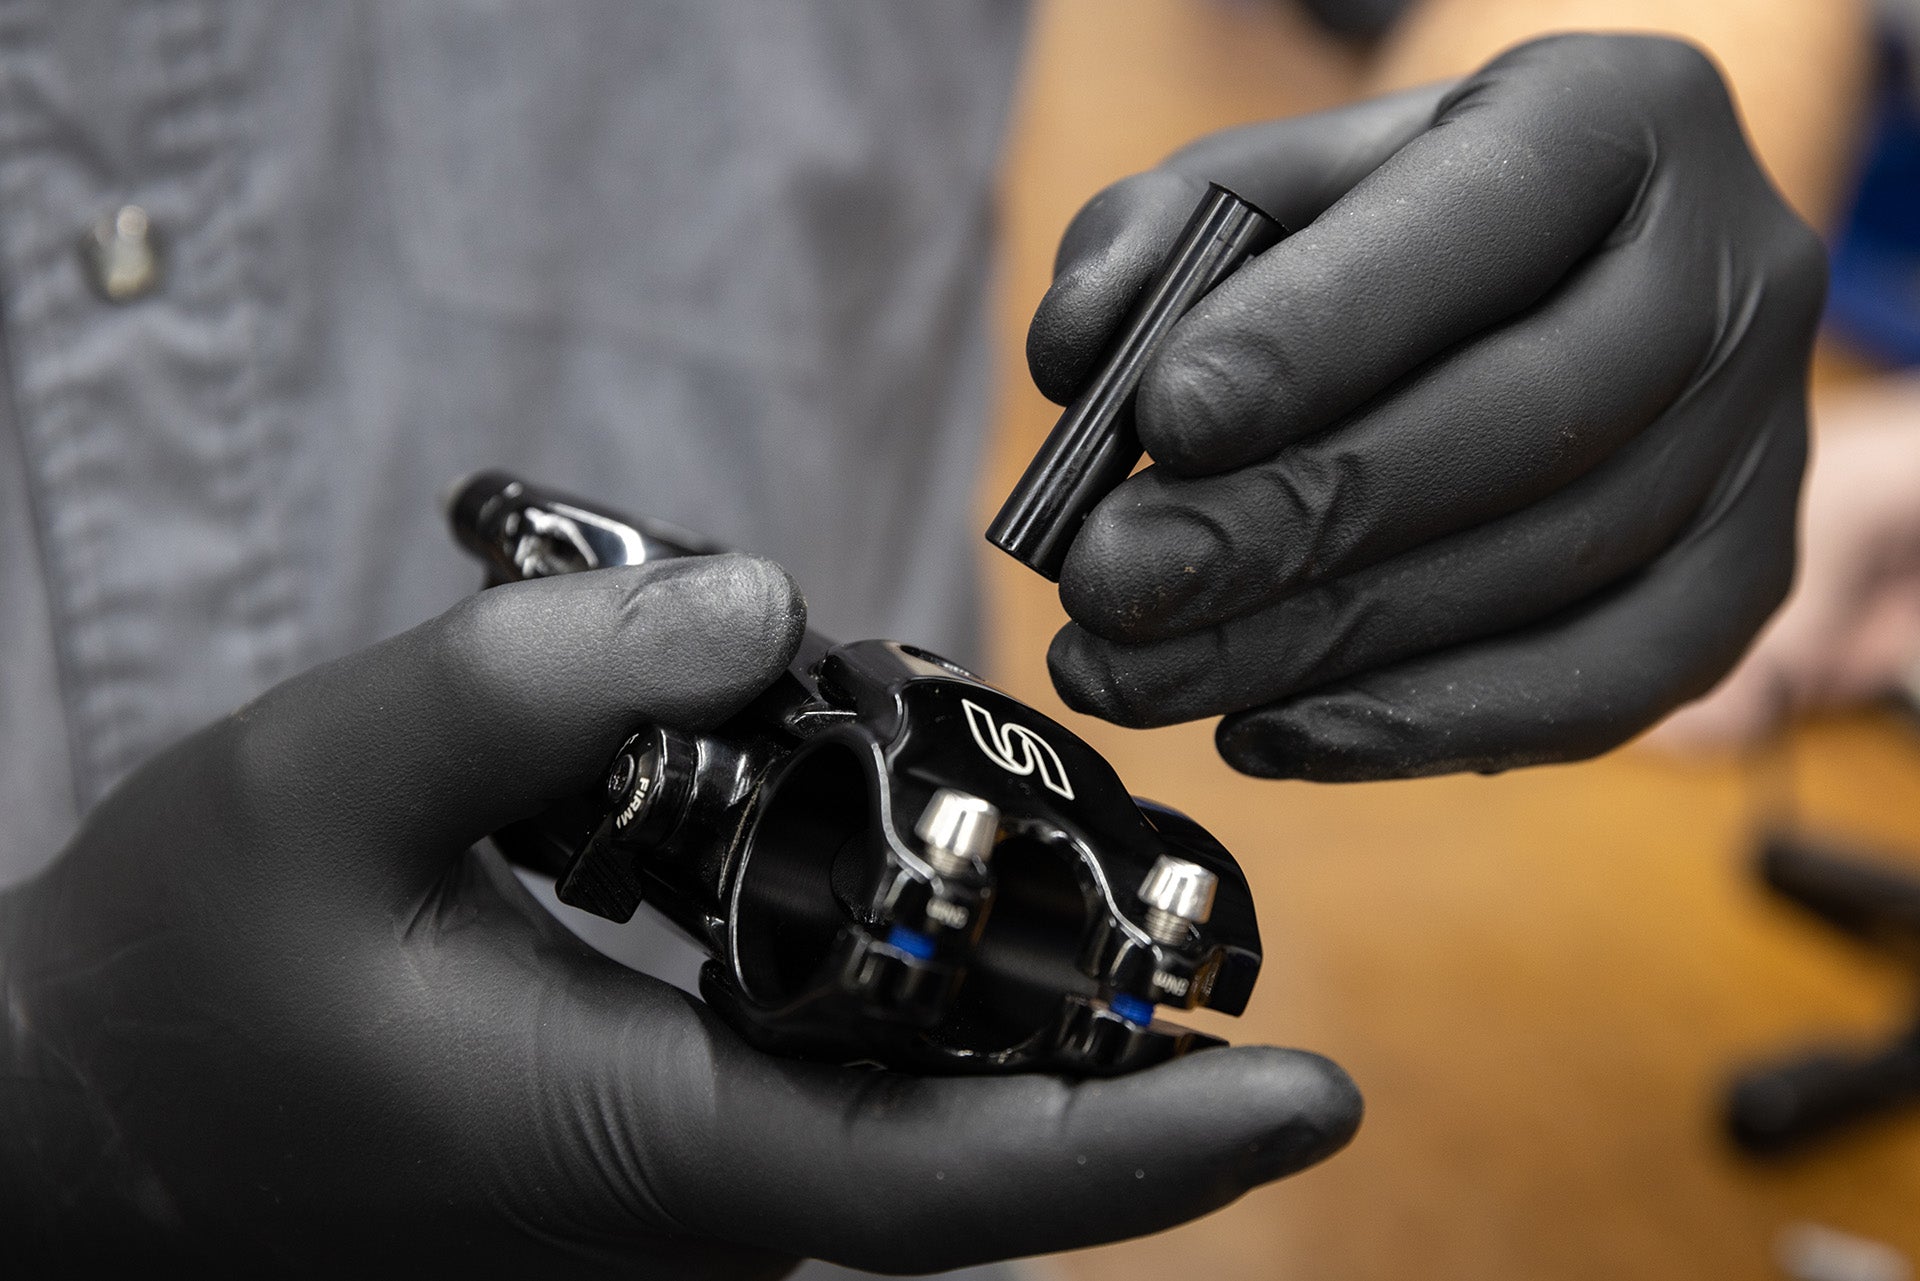
Press and Remove Stem Axle
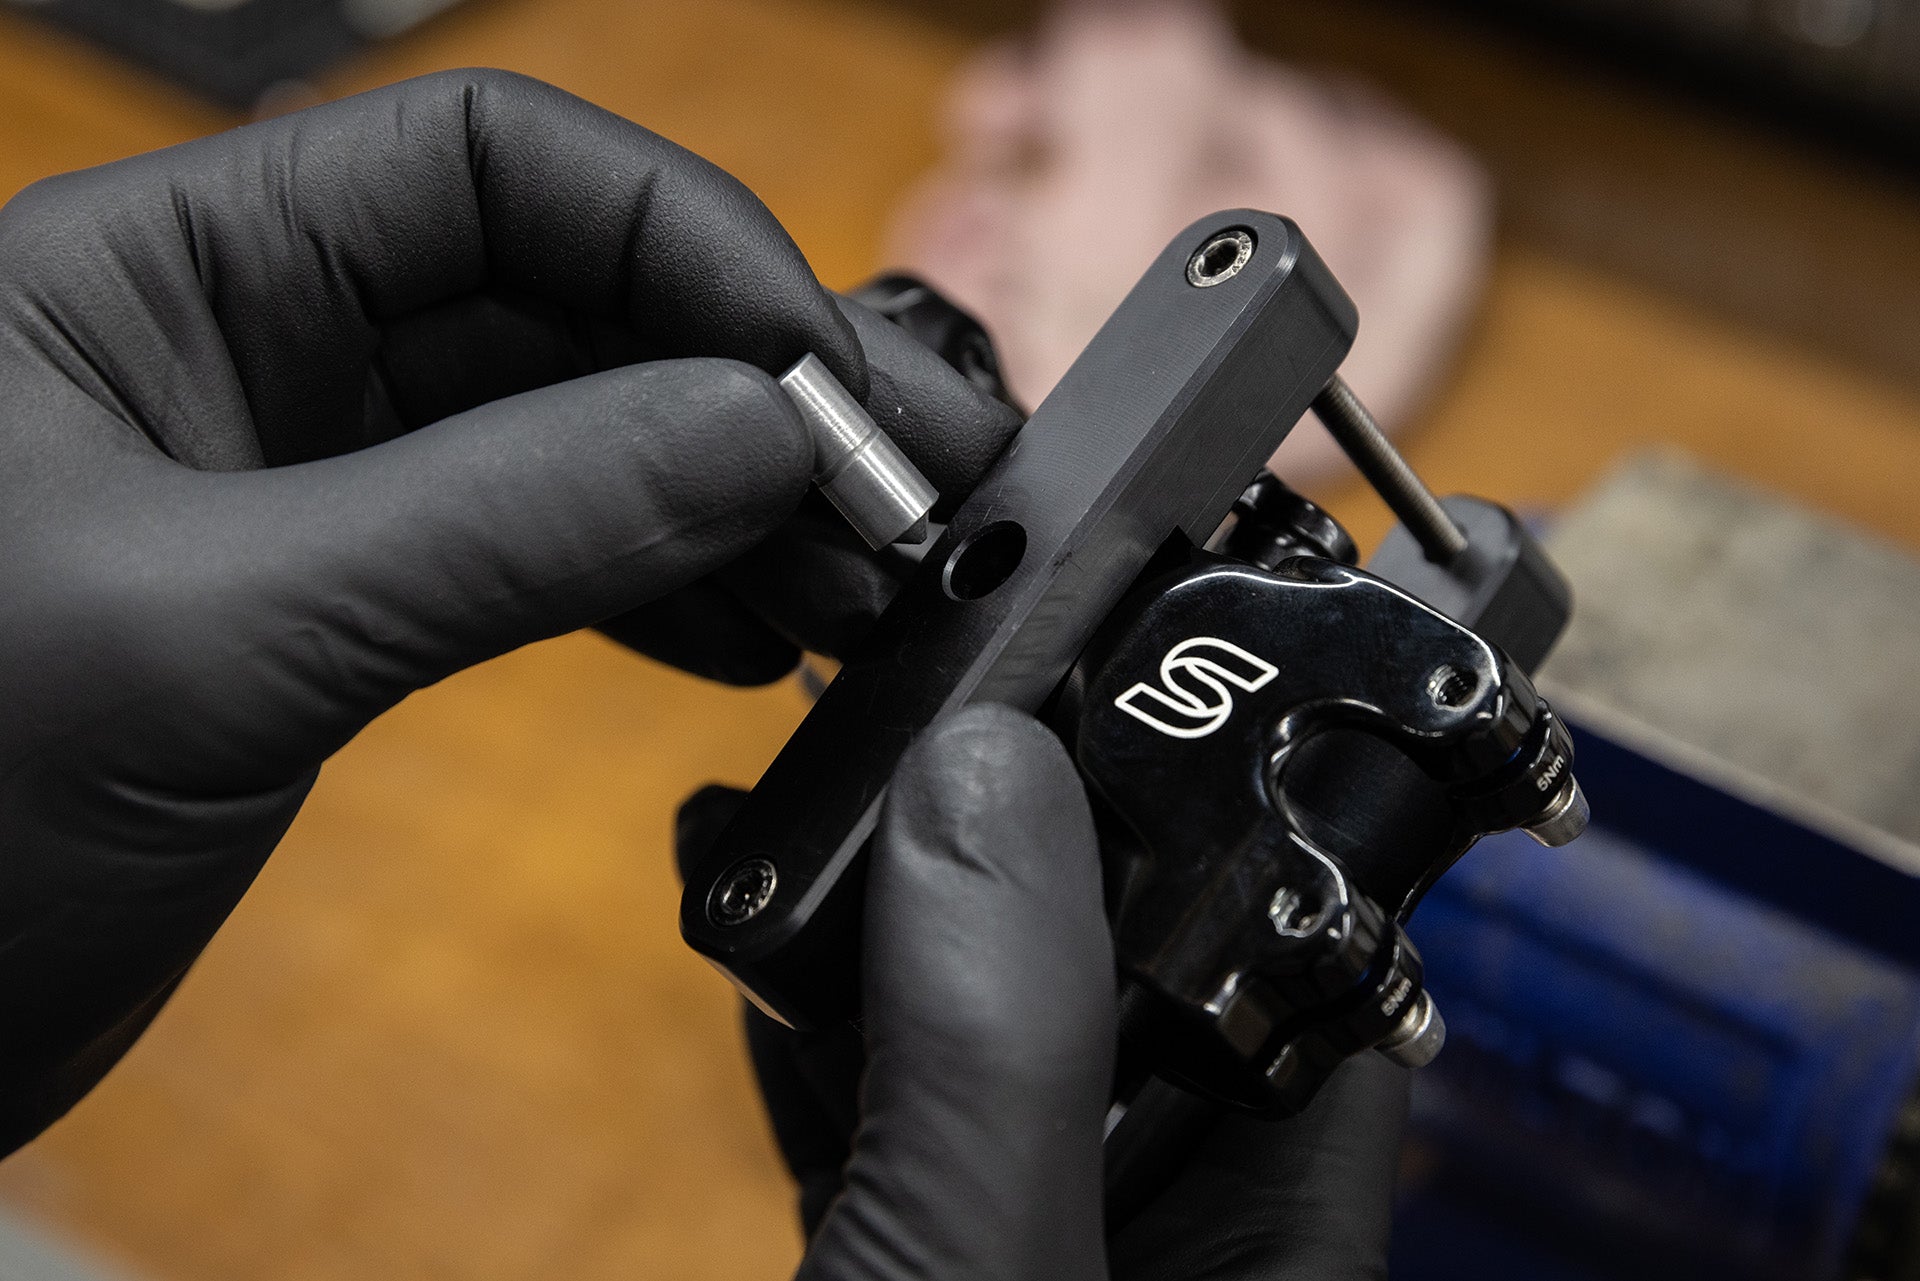
- Pin tool will fit perfectly into non-drive side hole (Use pin side of pin tool to press against stem axle)
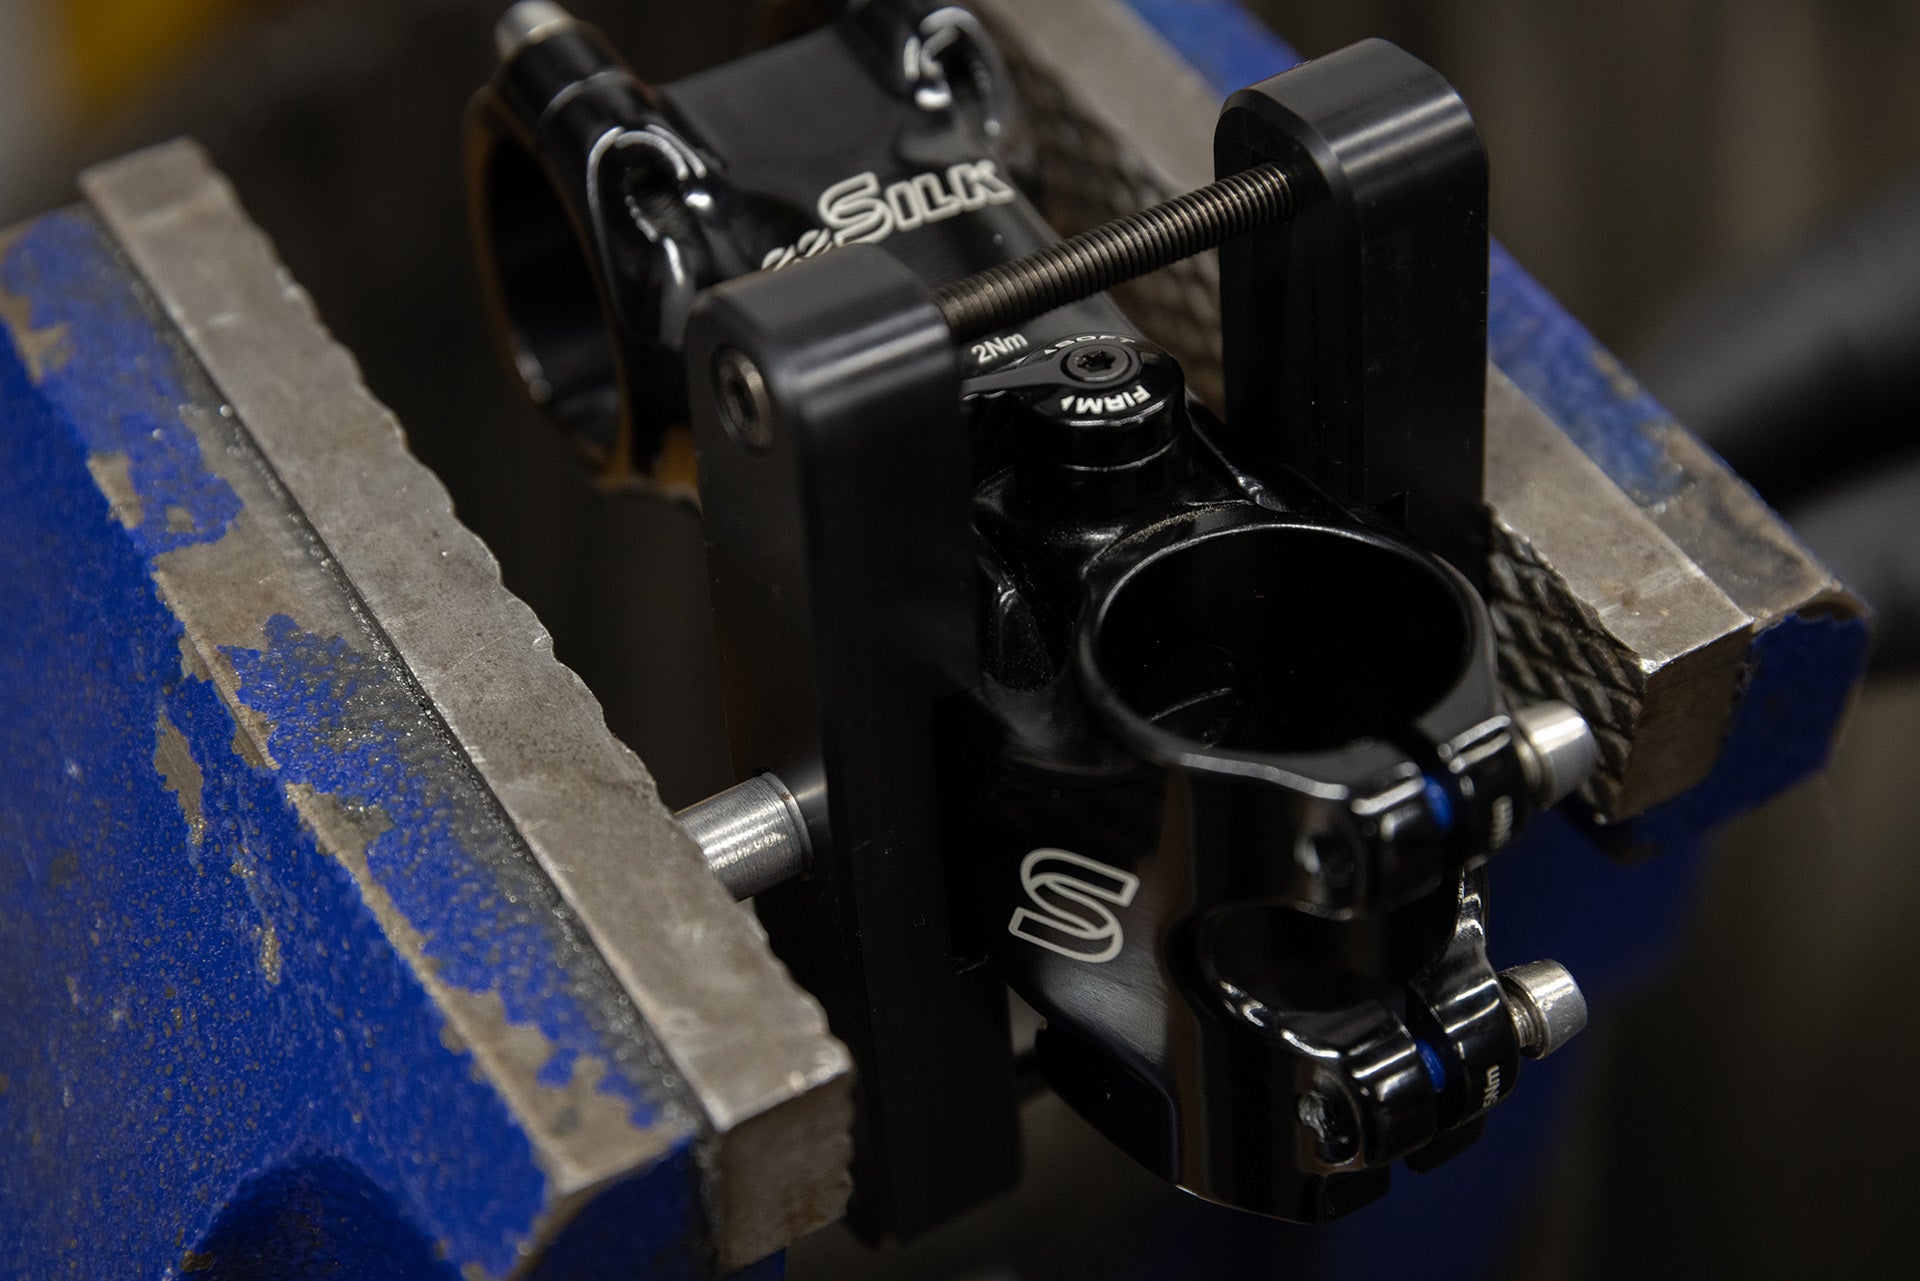
- Position stem in vice
- Tighten vice evenly – driving pin tool into non-drive side of stem
- Axle will be press out toward drive side
Step 5
Remove and install bushings
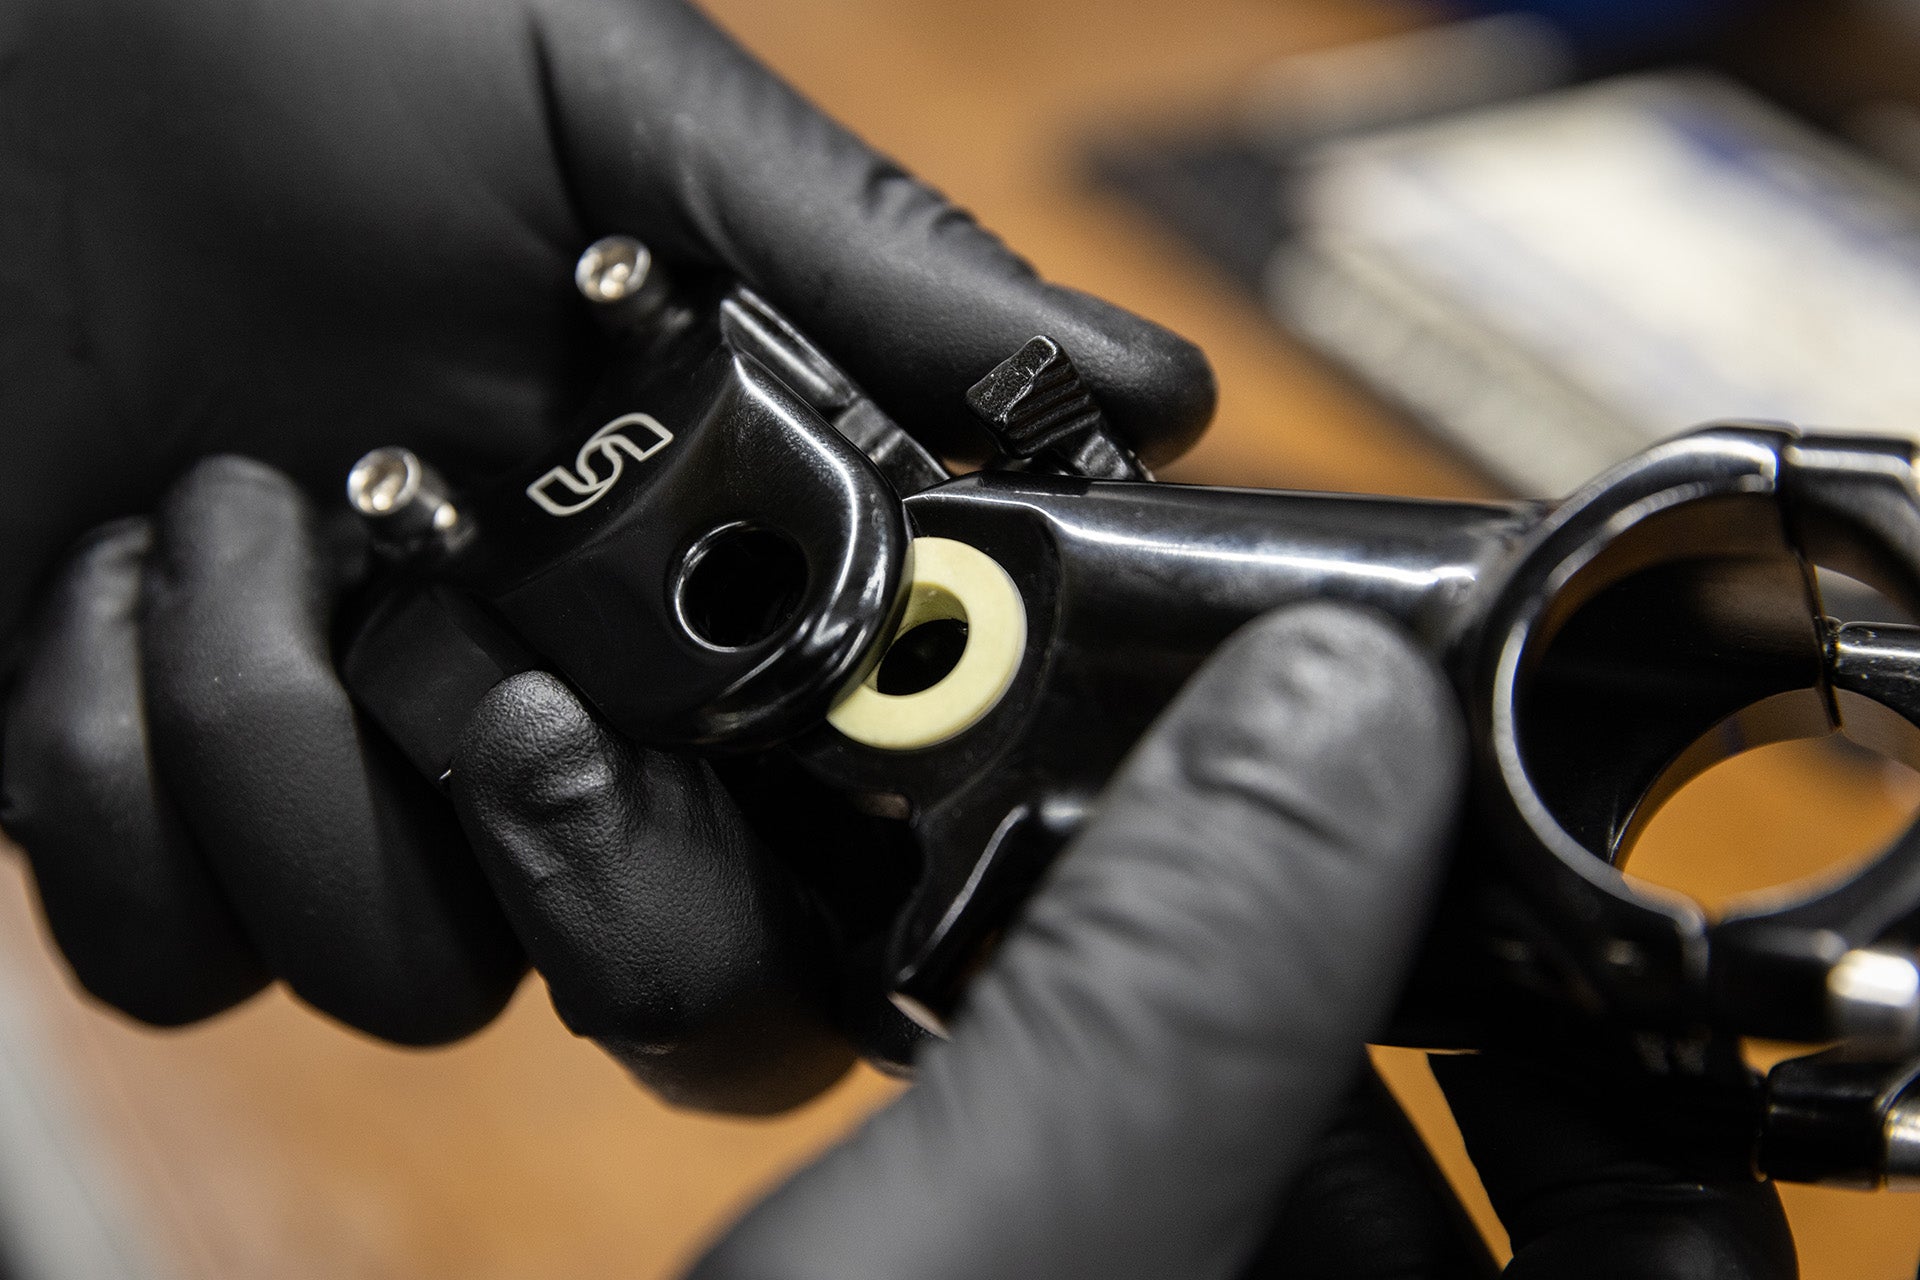
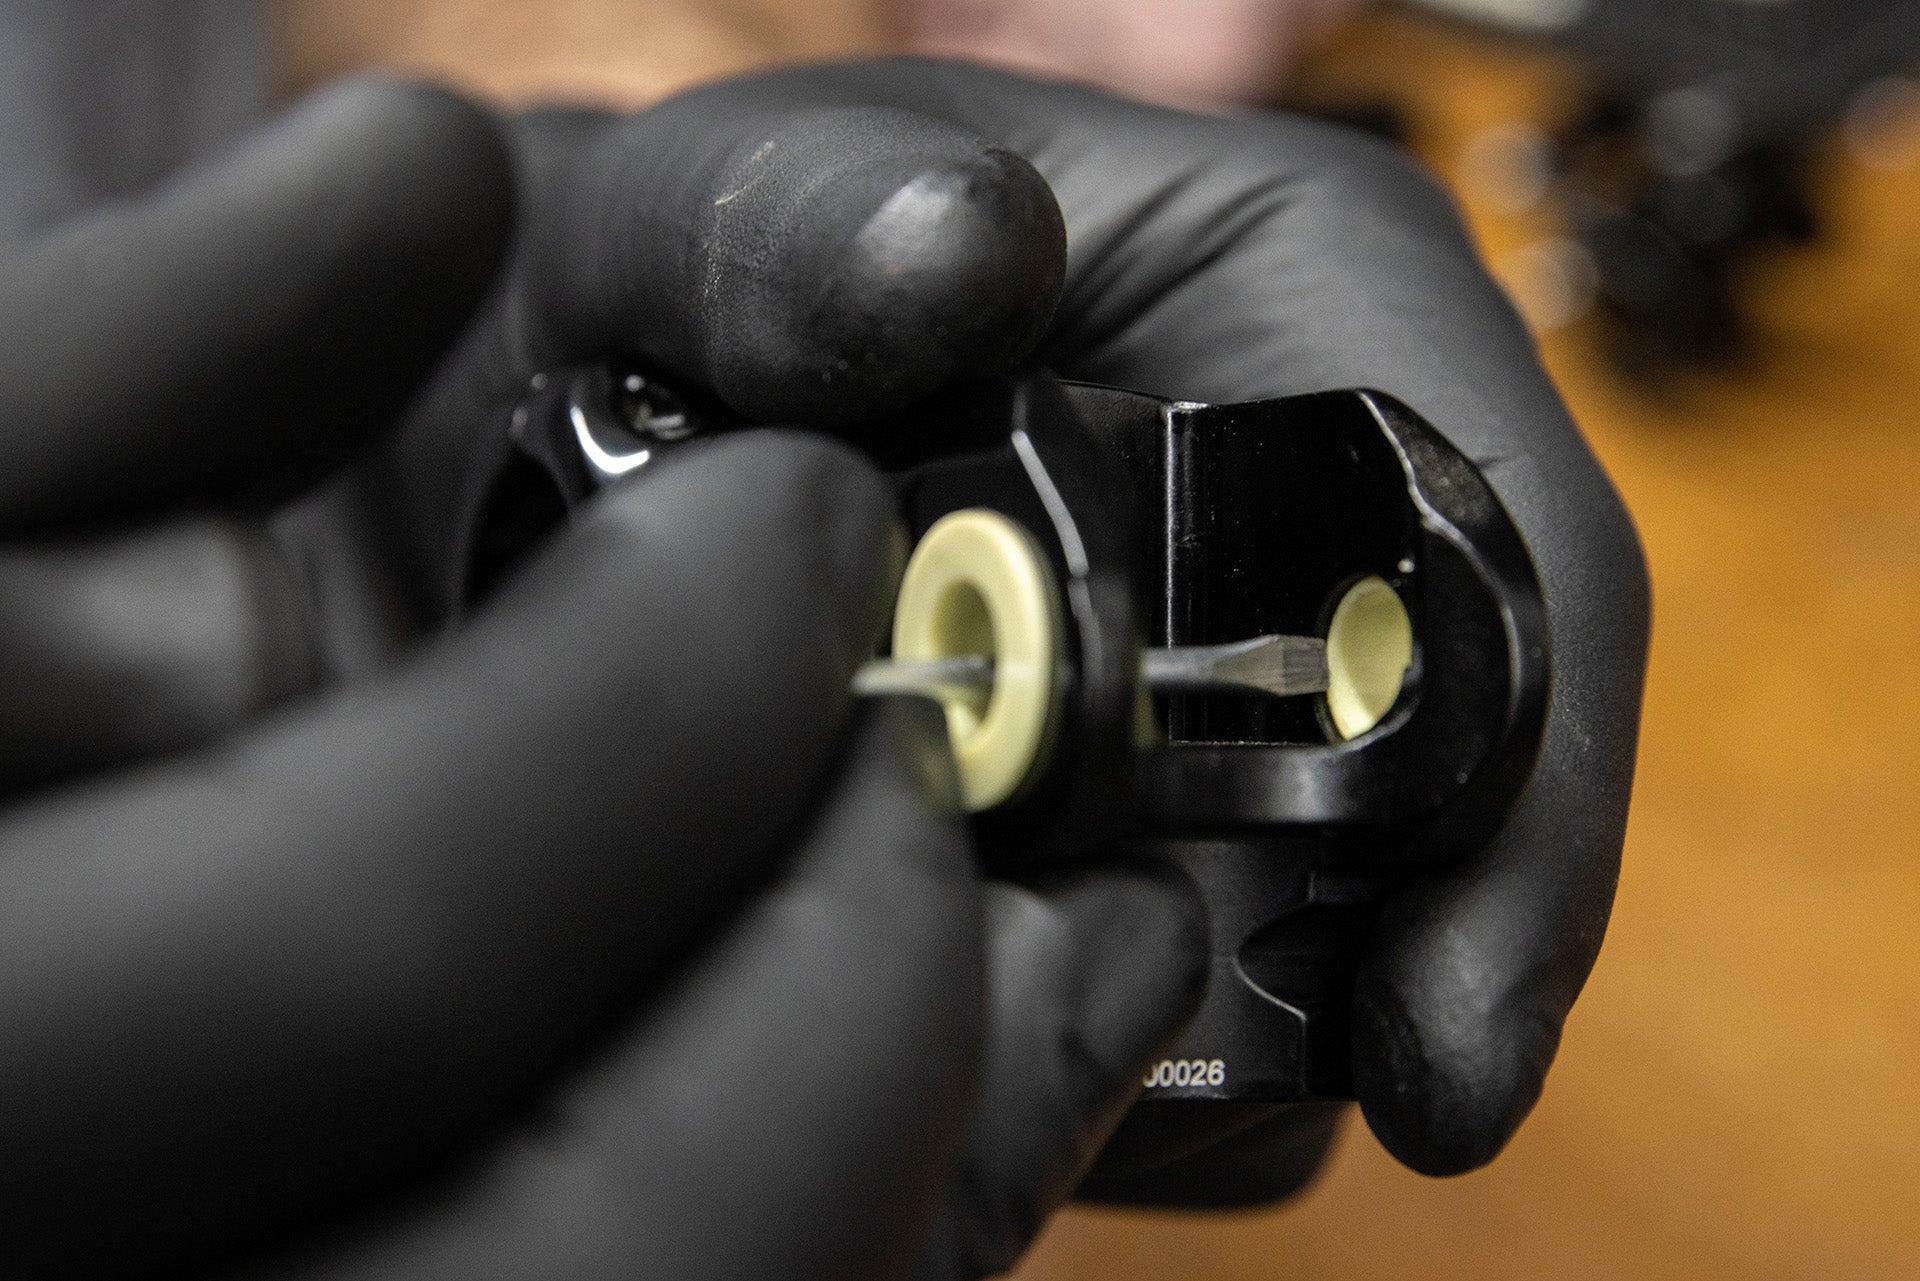
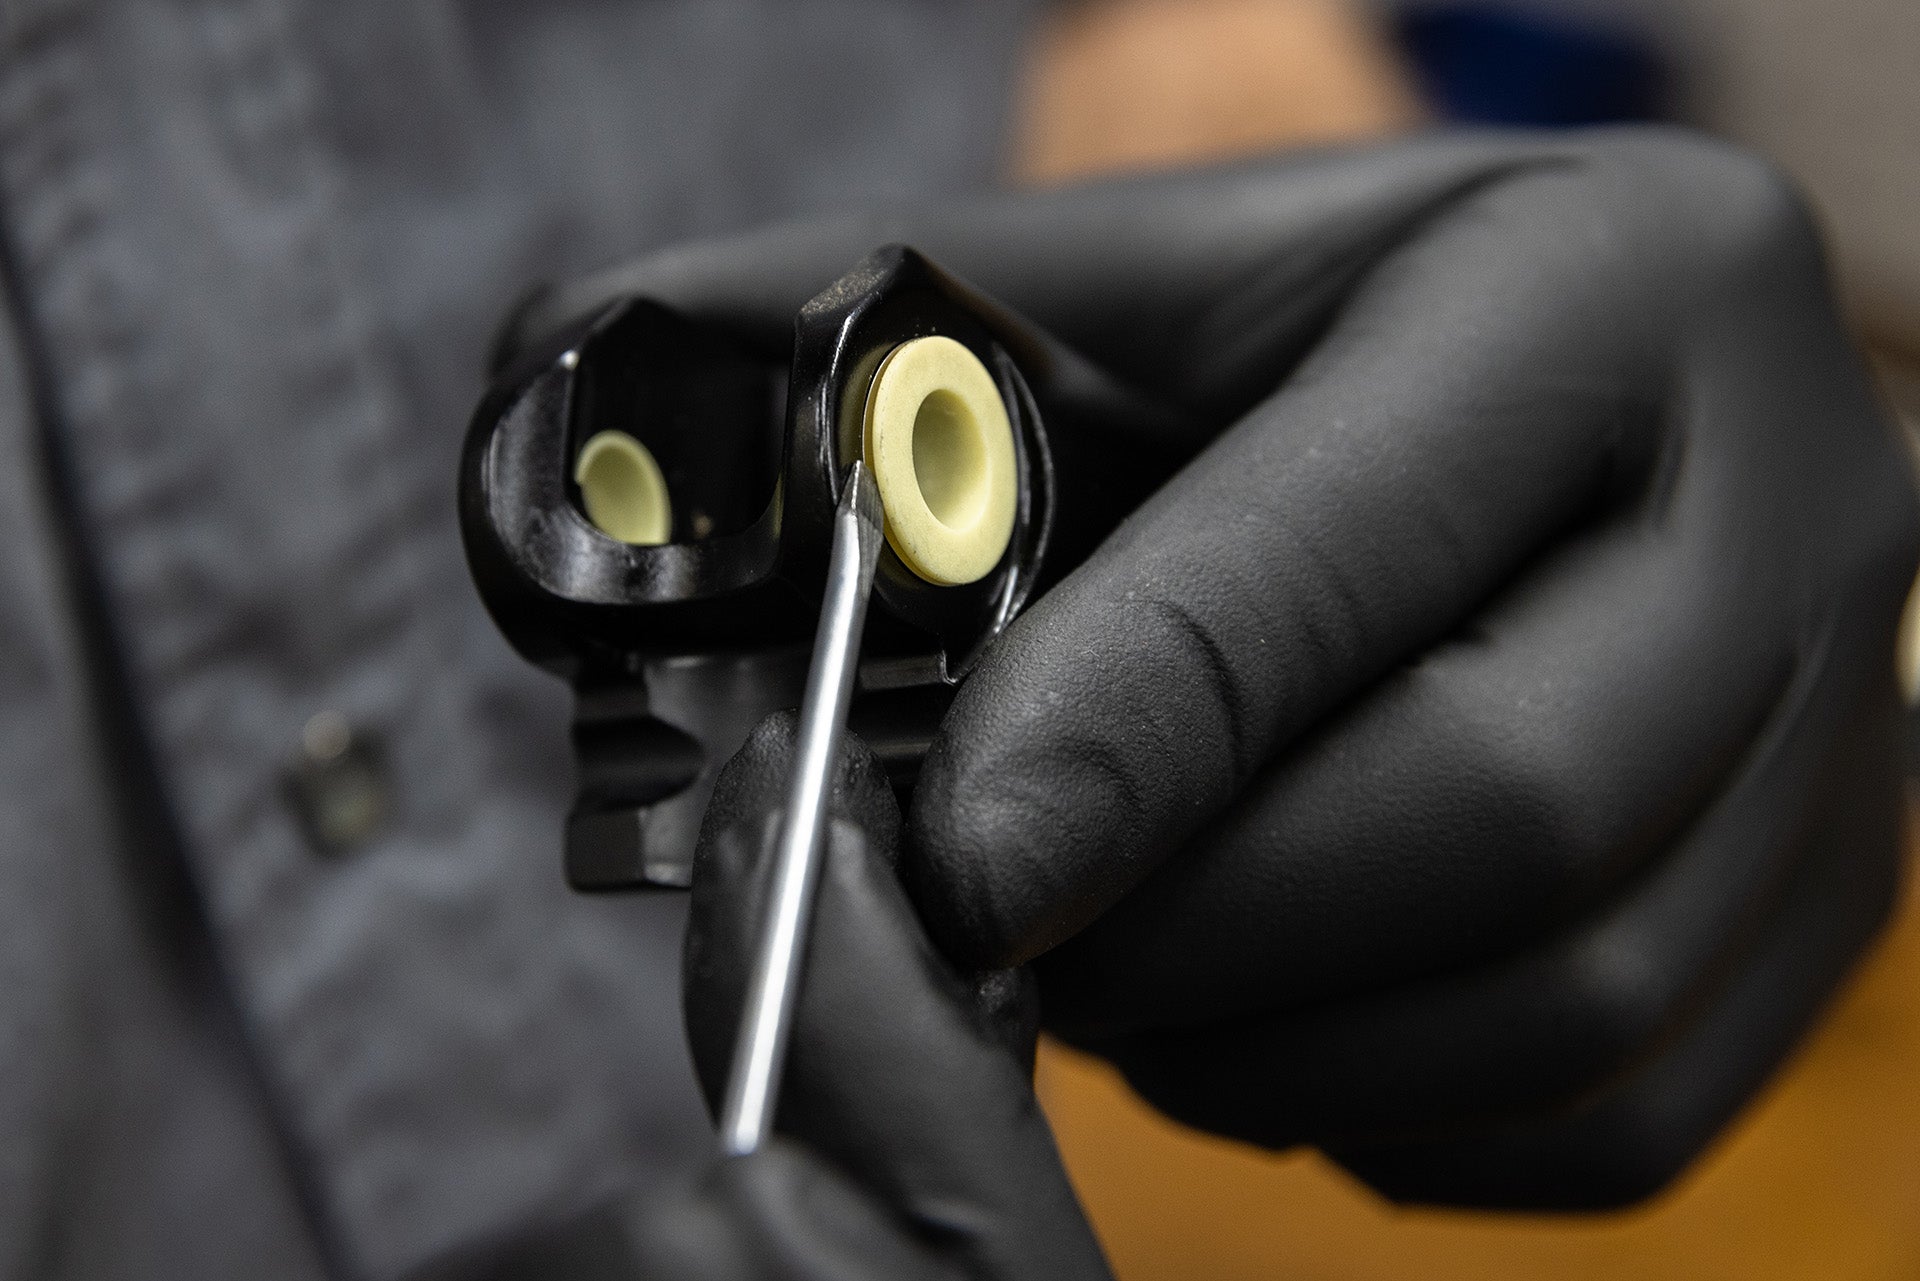
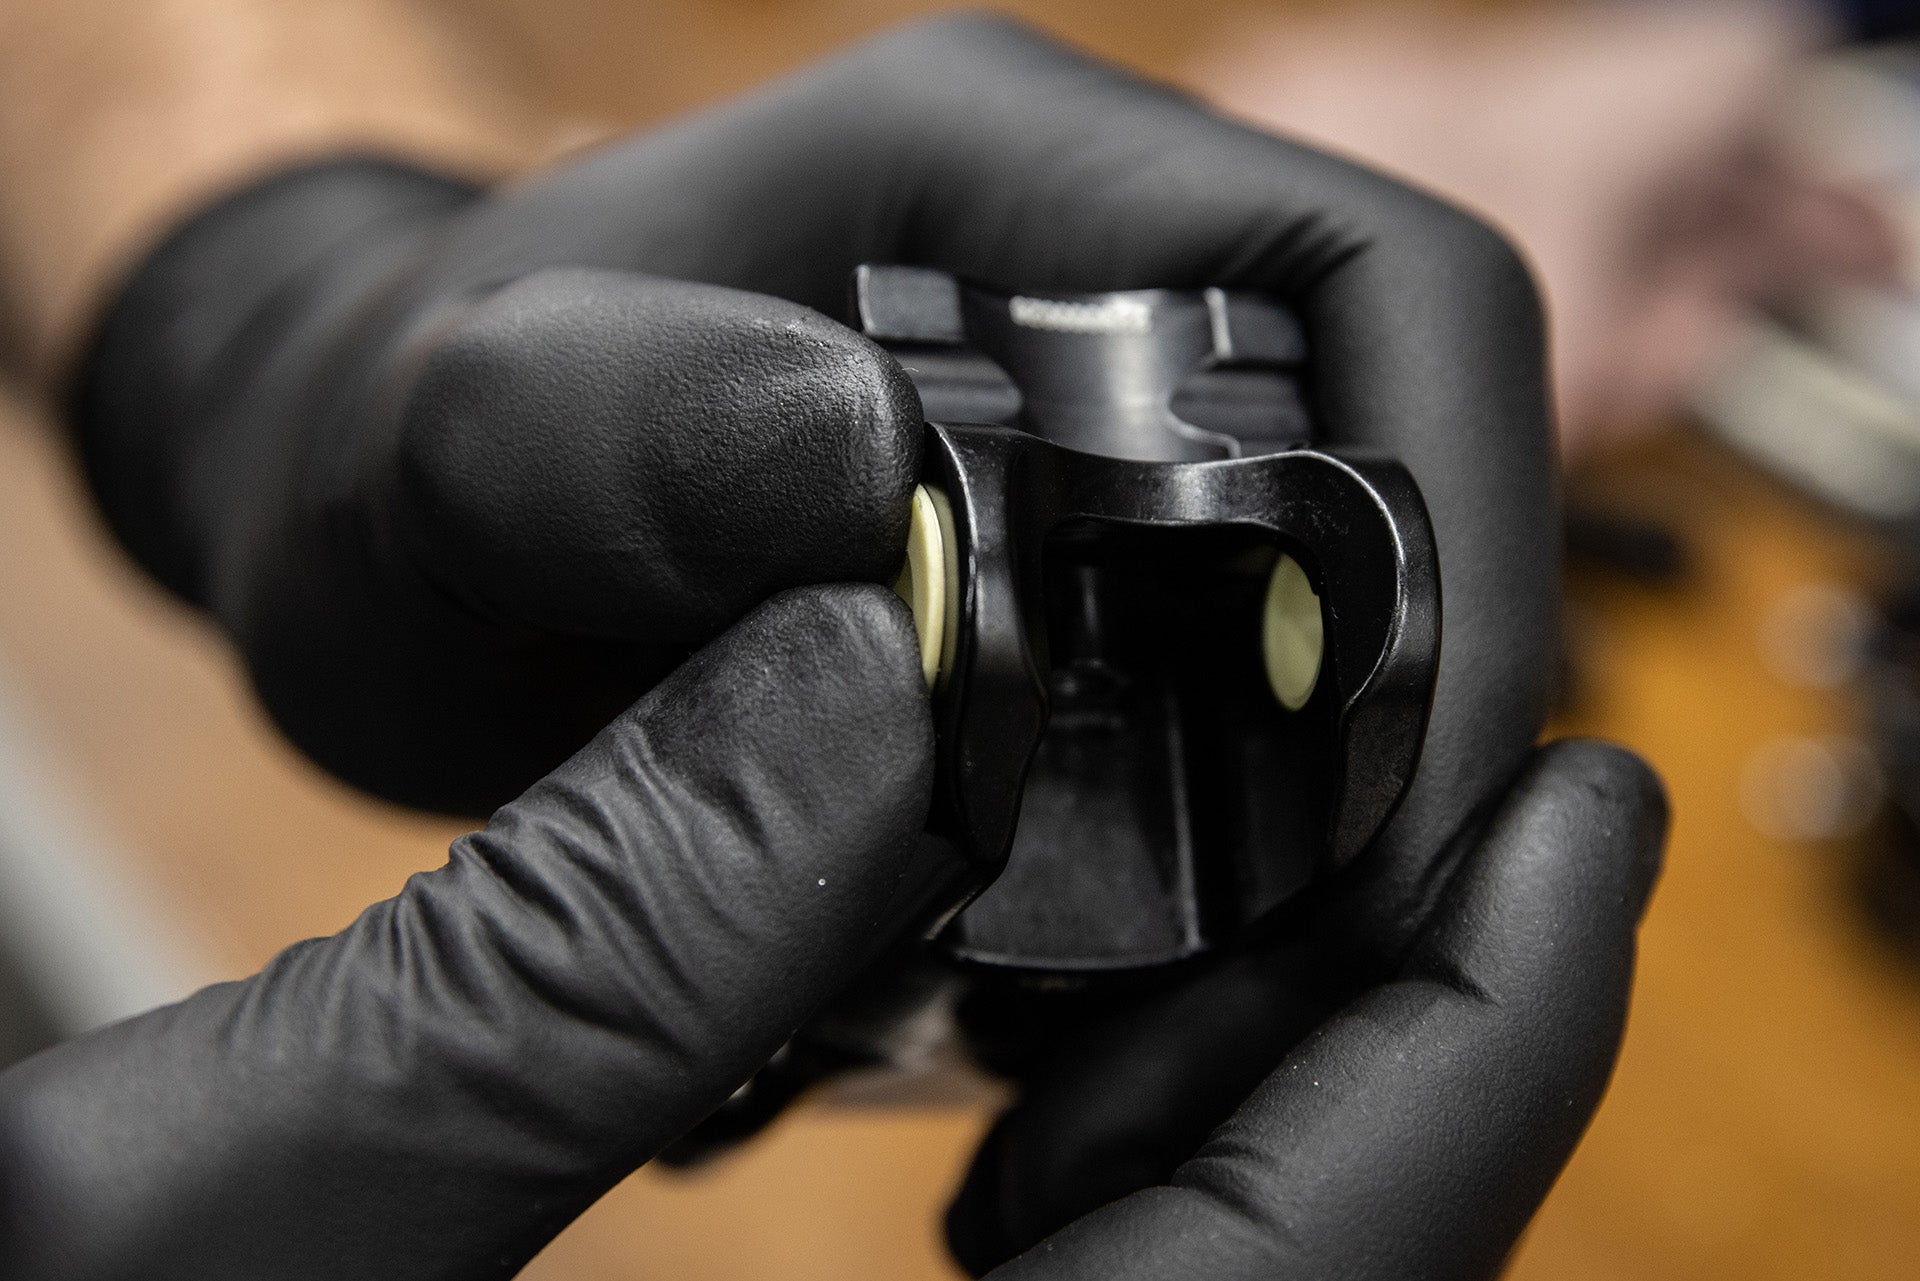
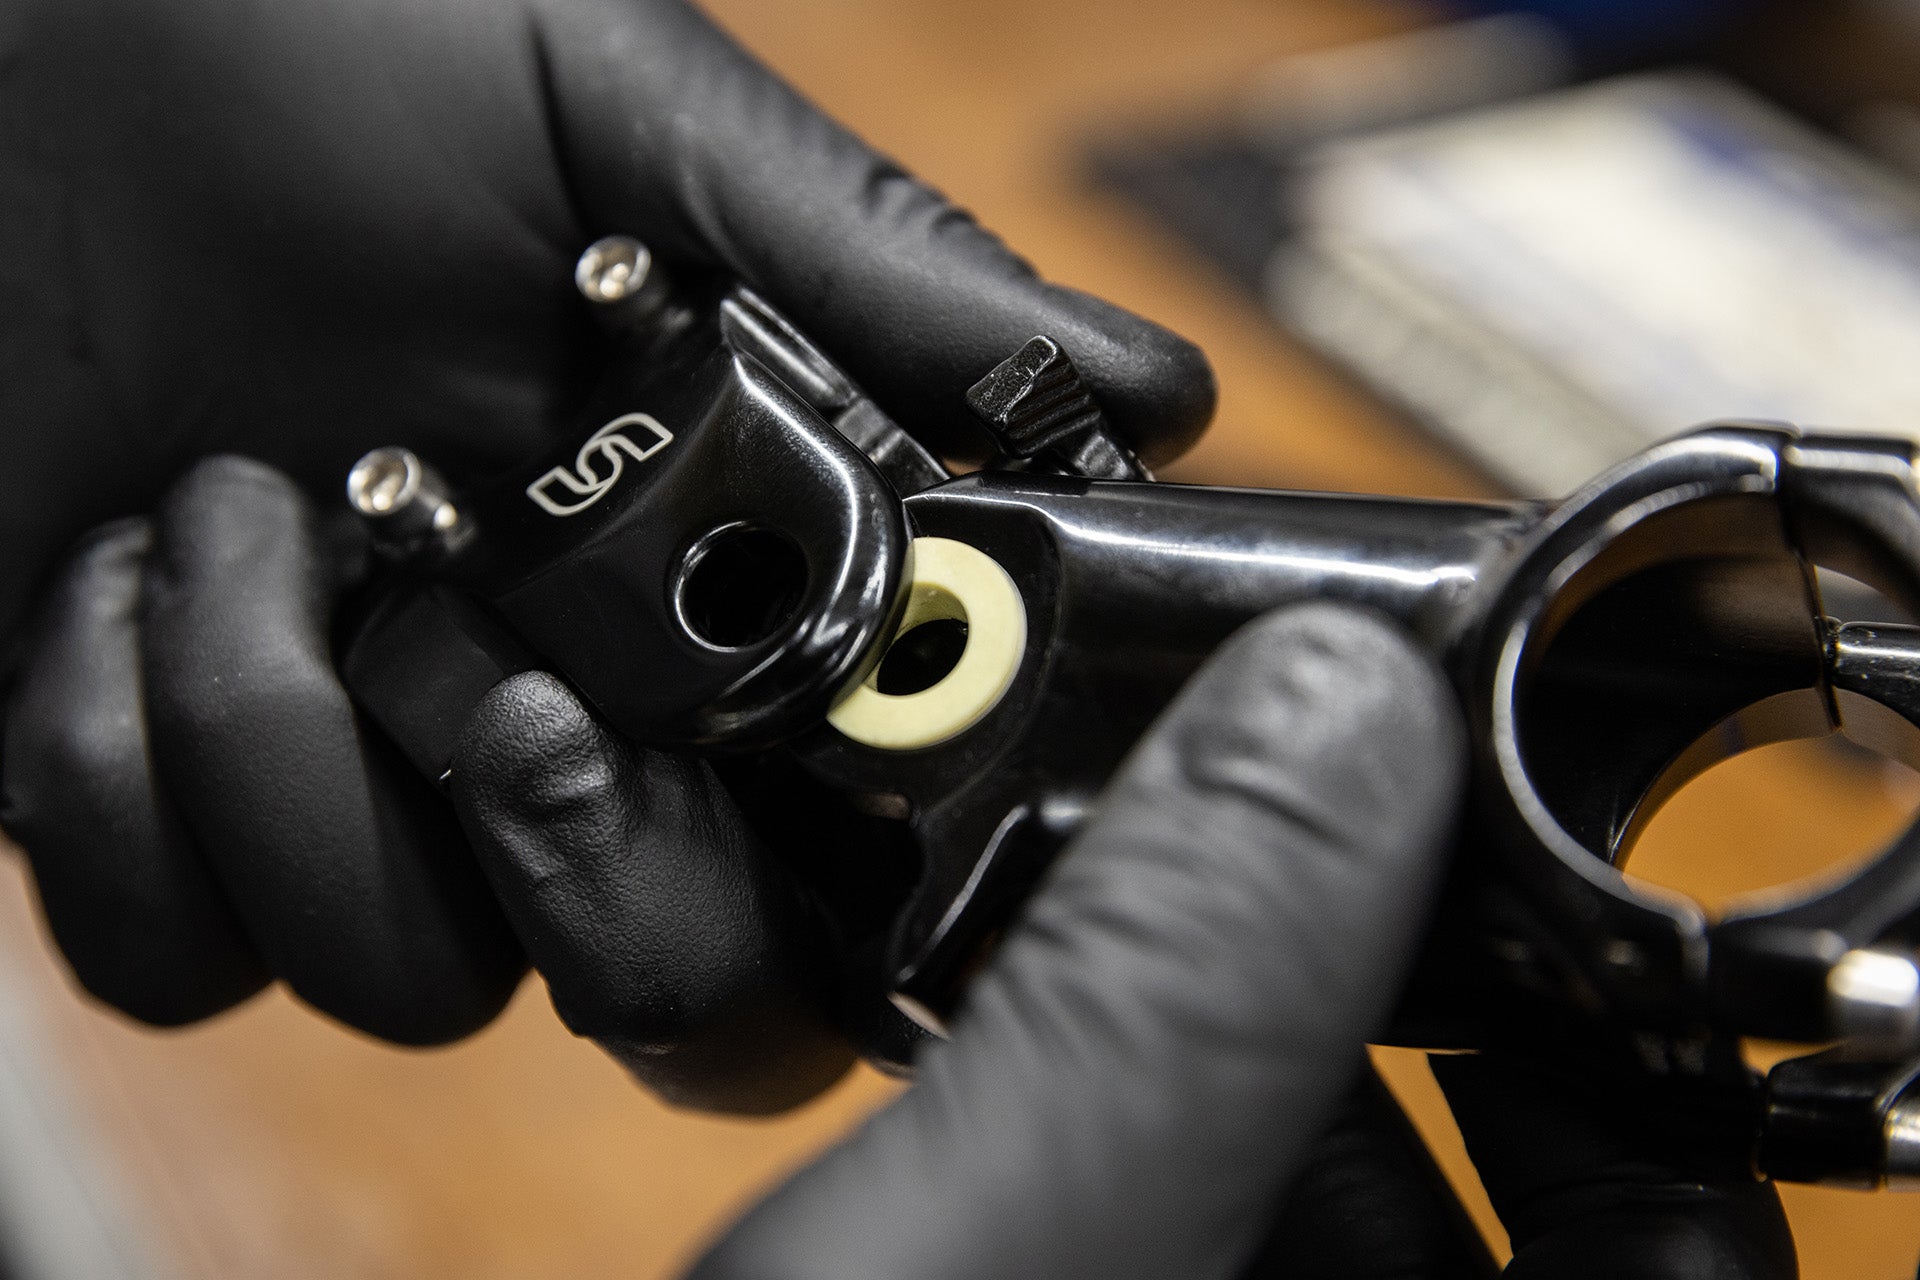
- Separate stem pivot exposing the bushings
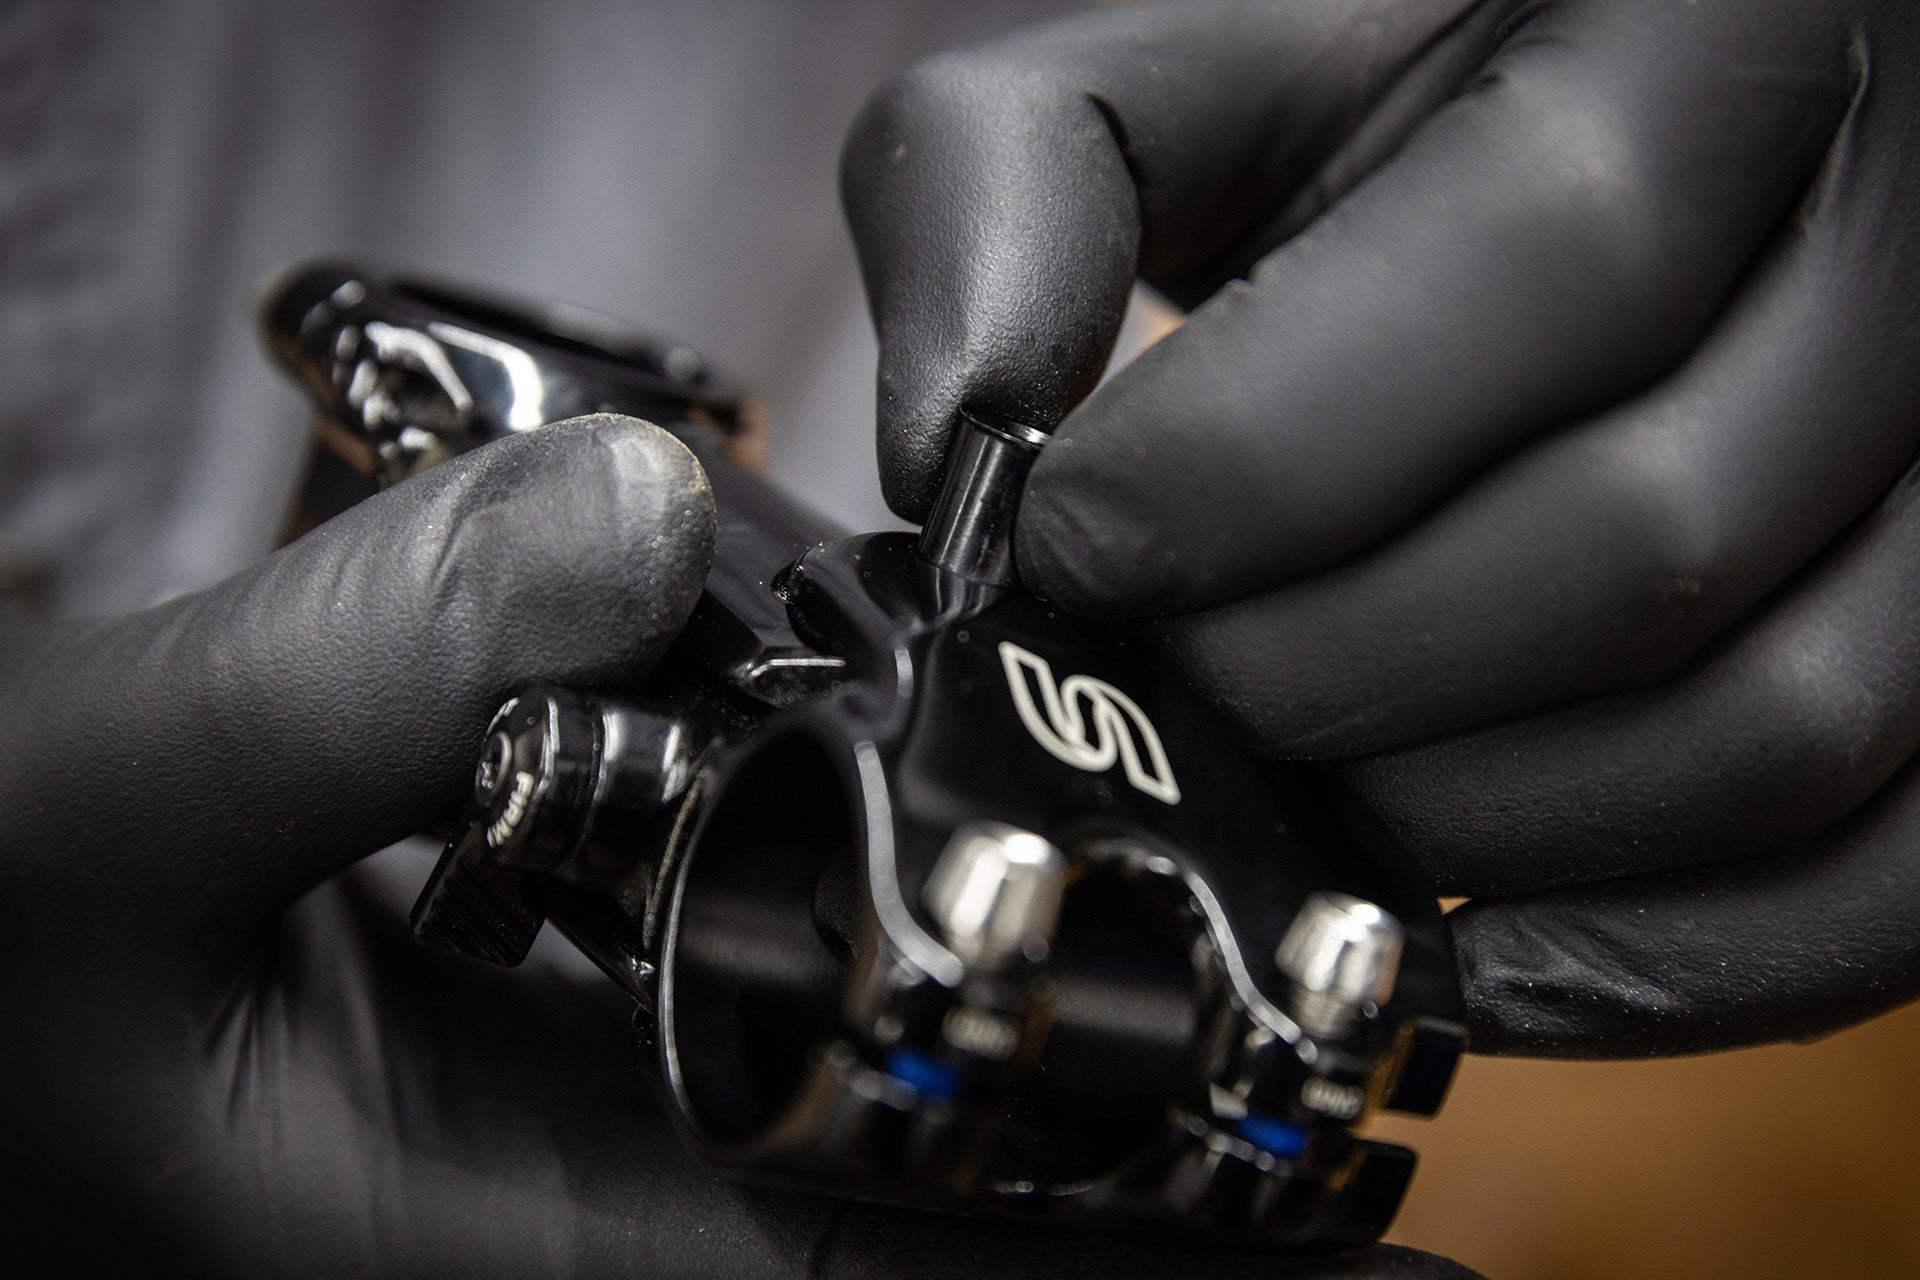
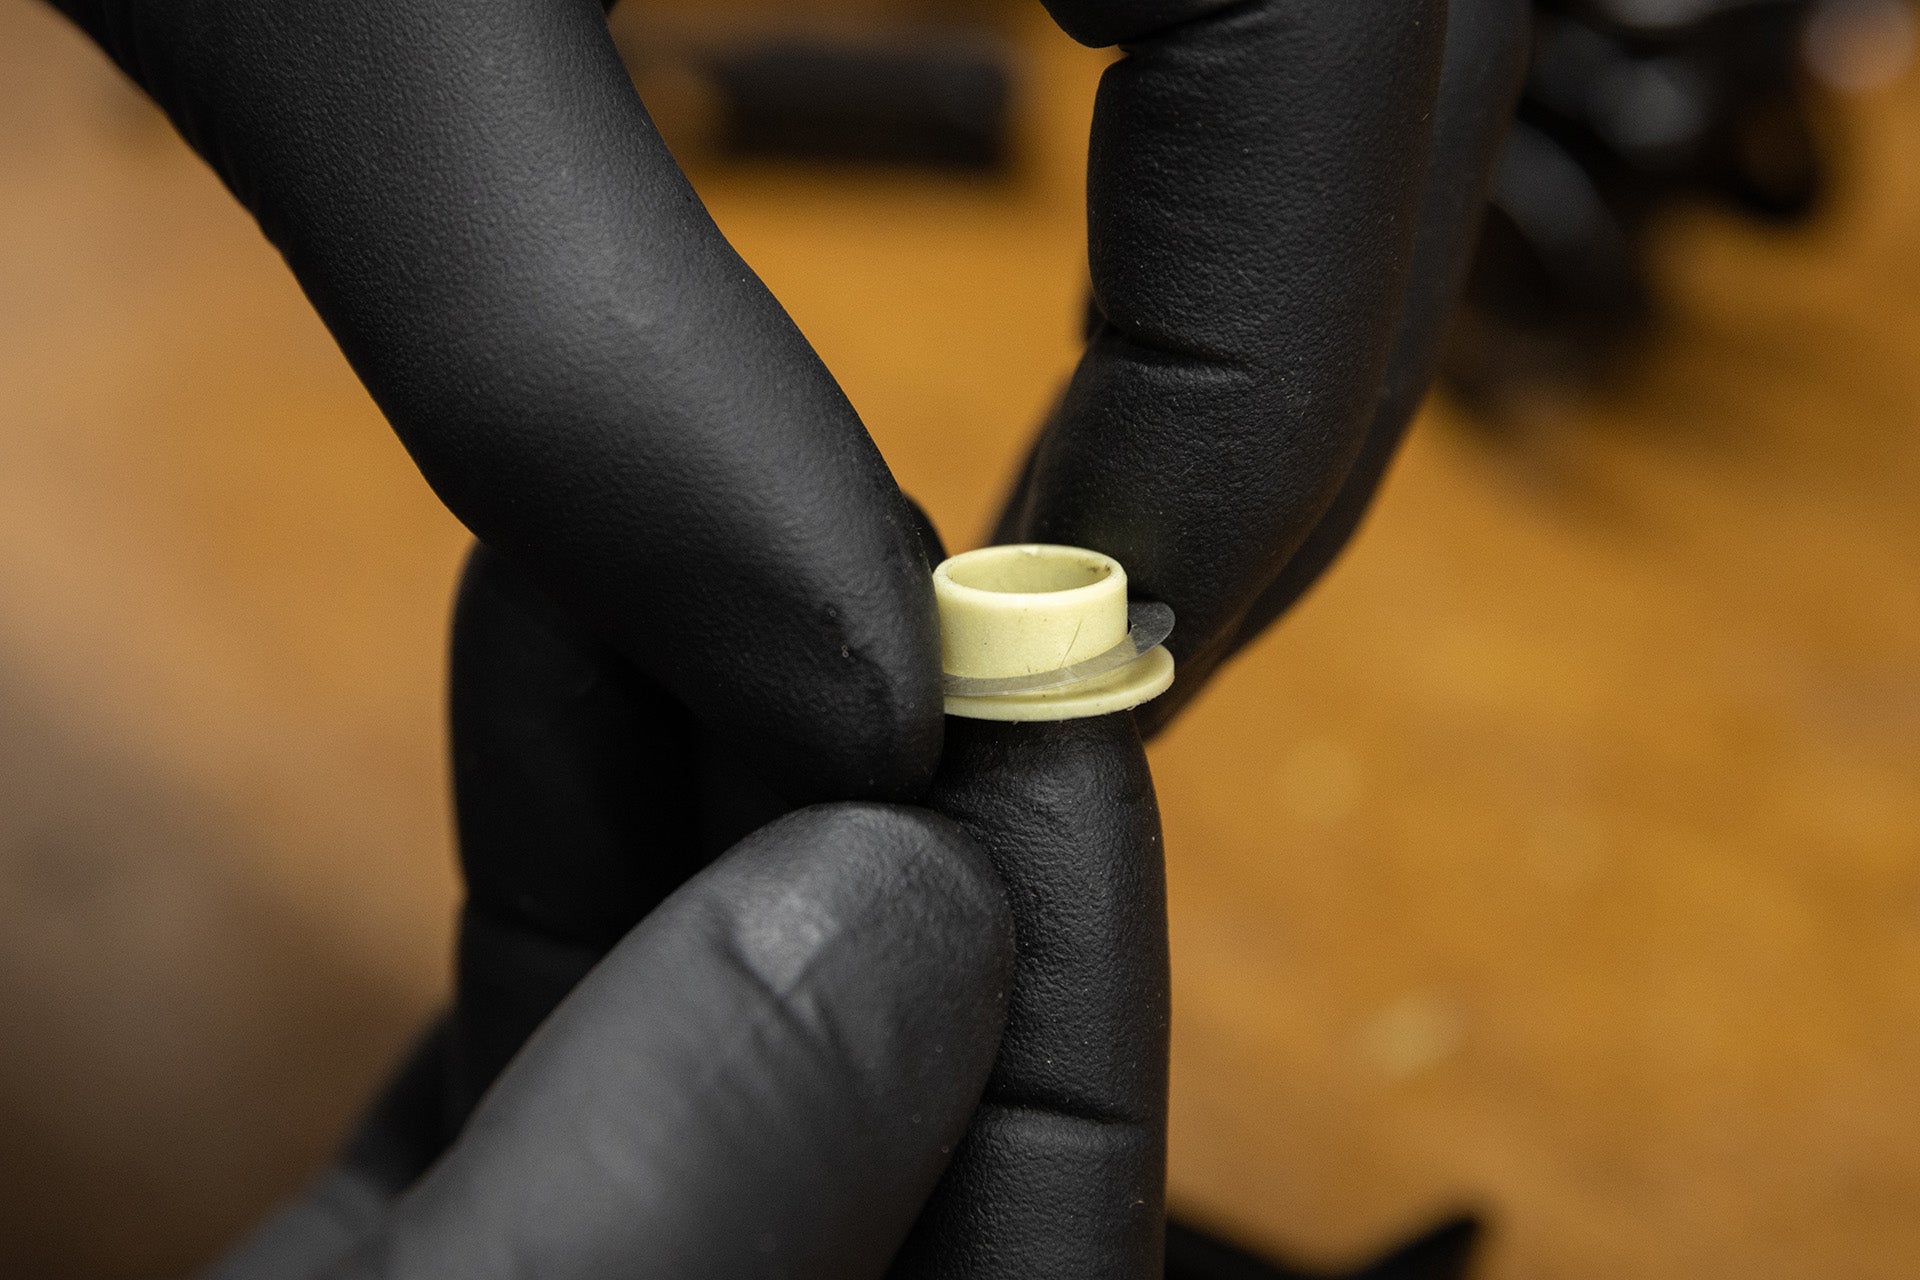
- Using a flat tool (razor / screwdriver) carefully remove bushings
- Install new bushings and washers by press in by hand
Step 6
Servicing the Compliance Switch
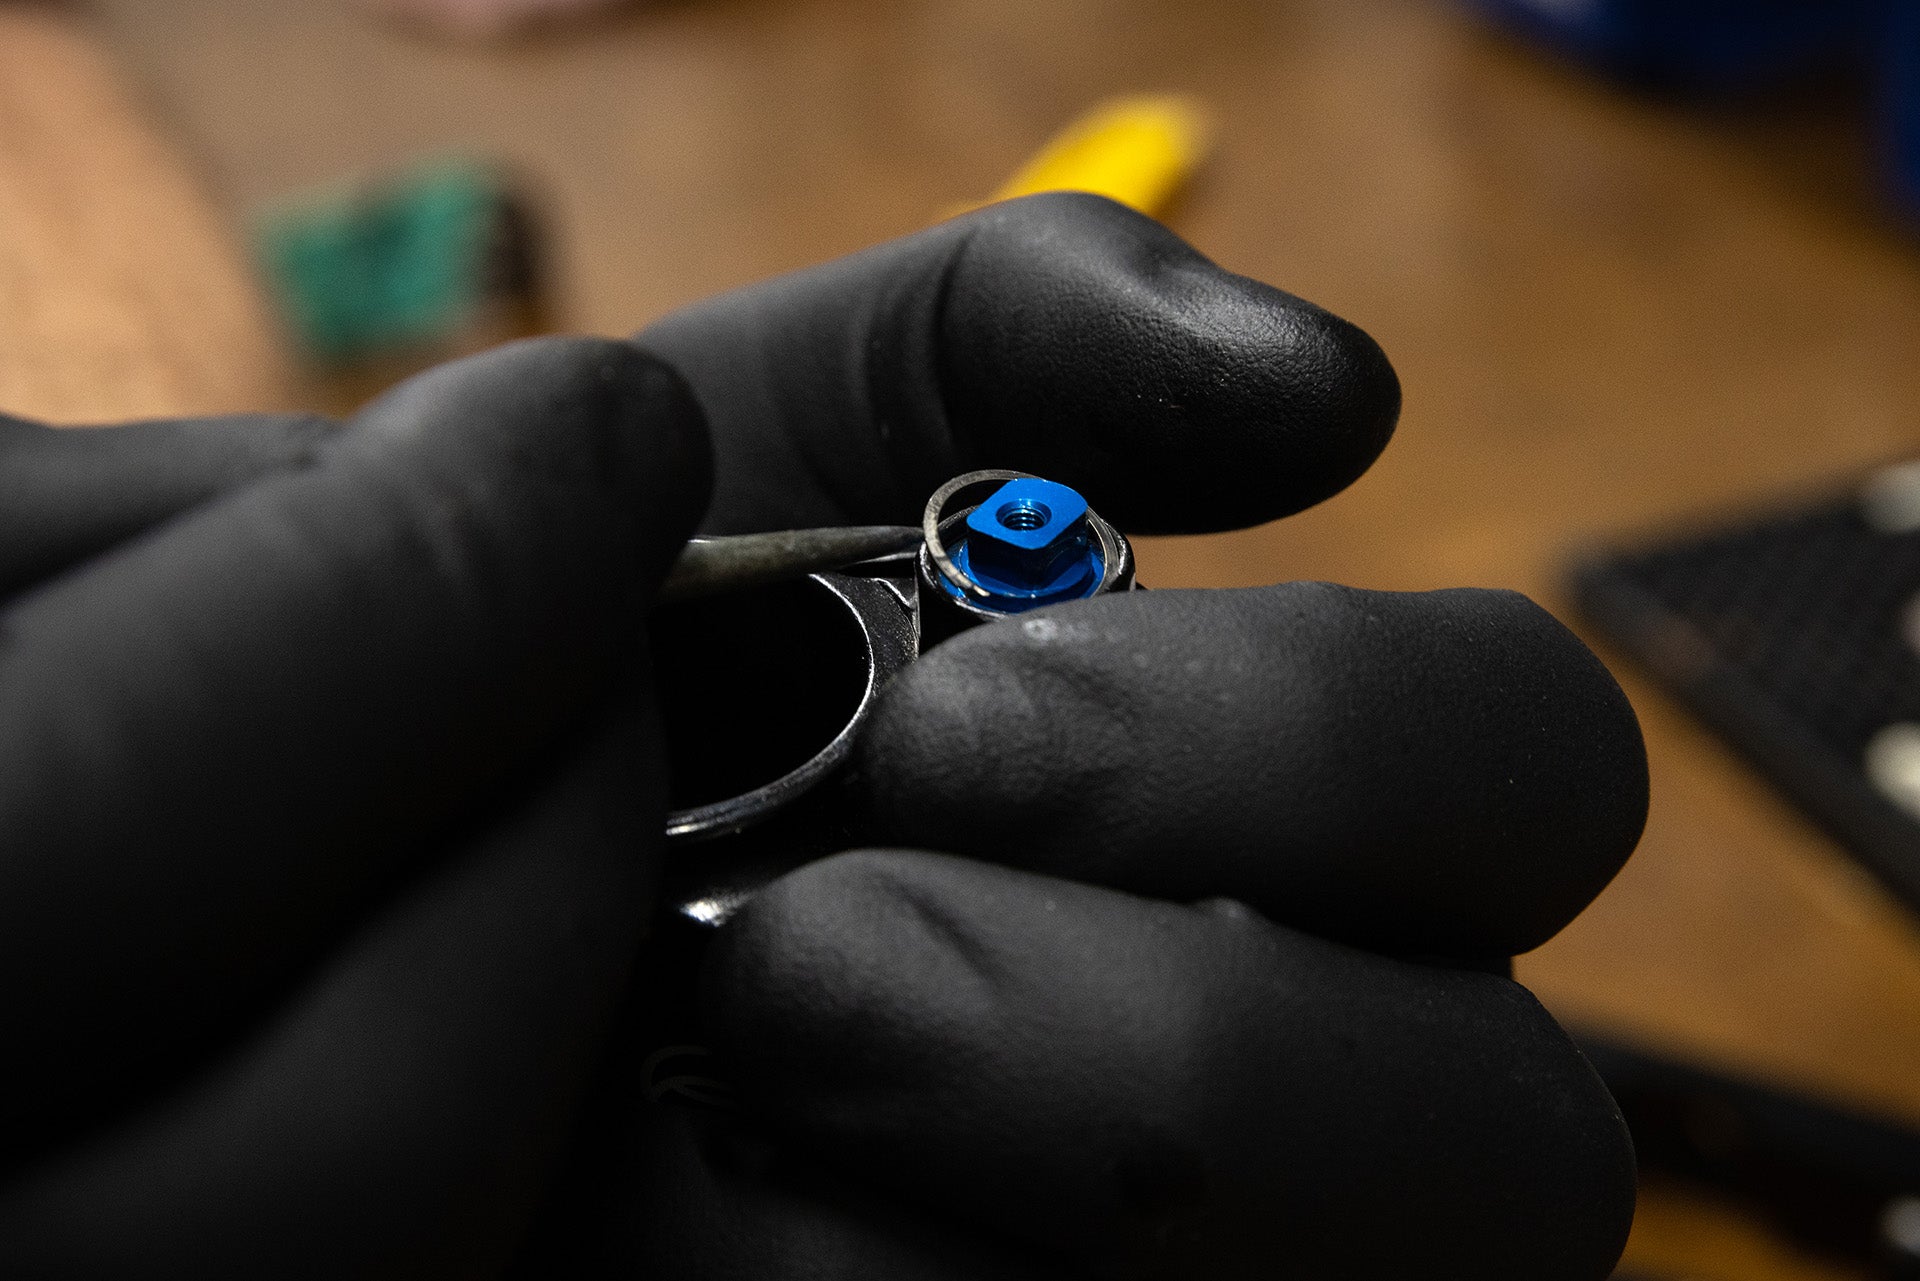
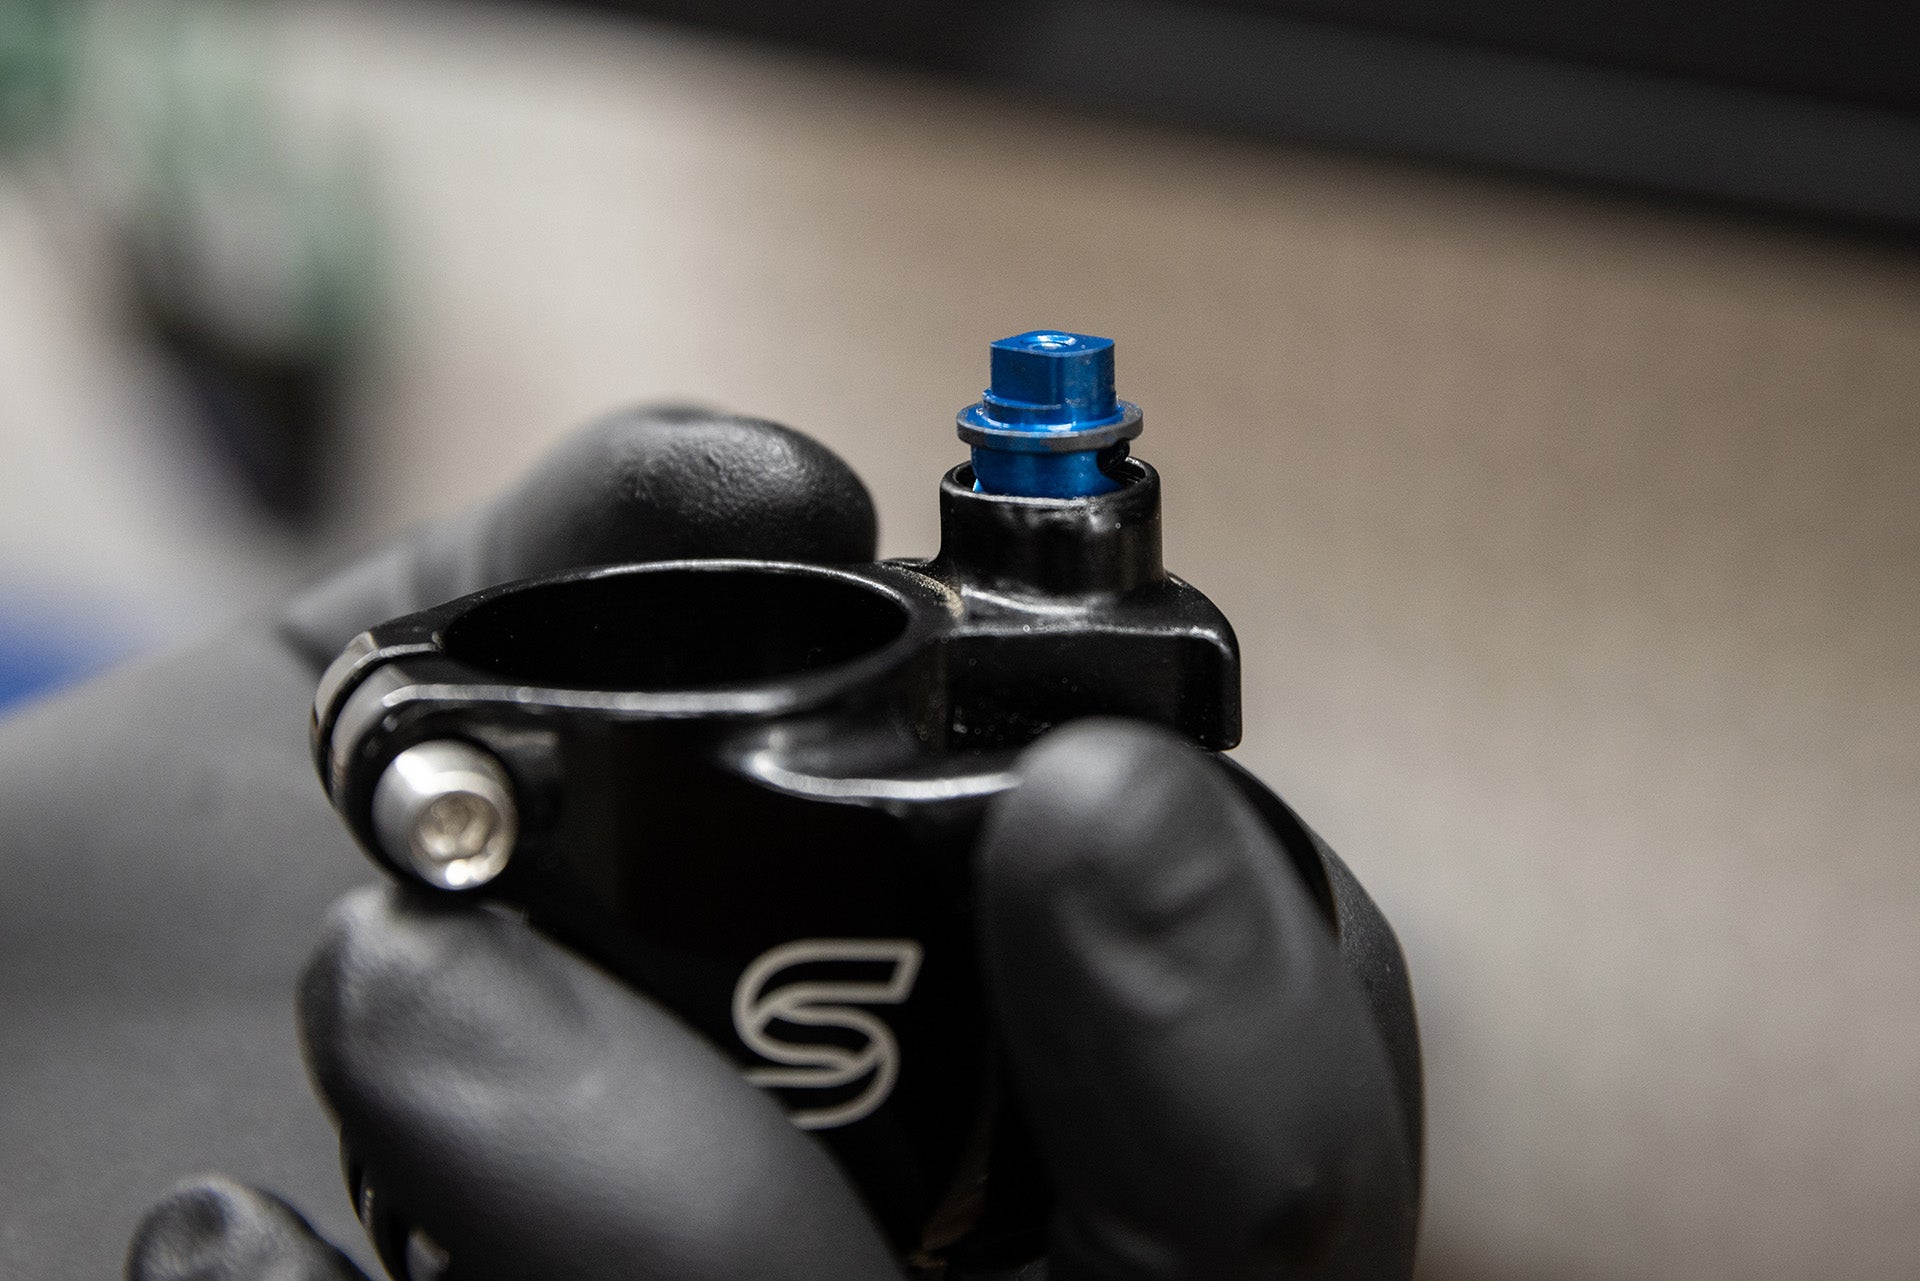
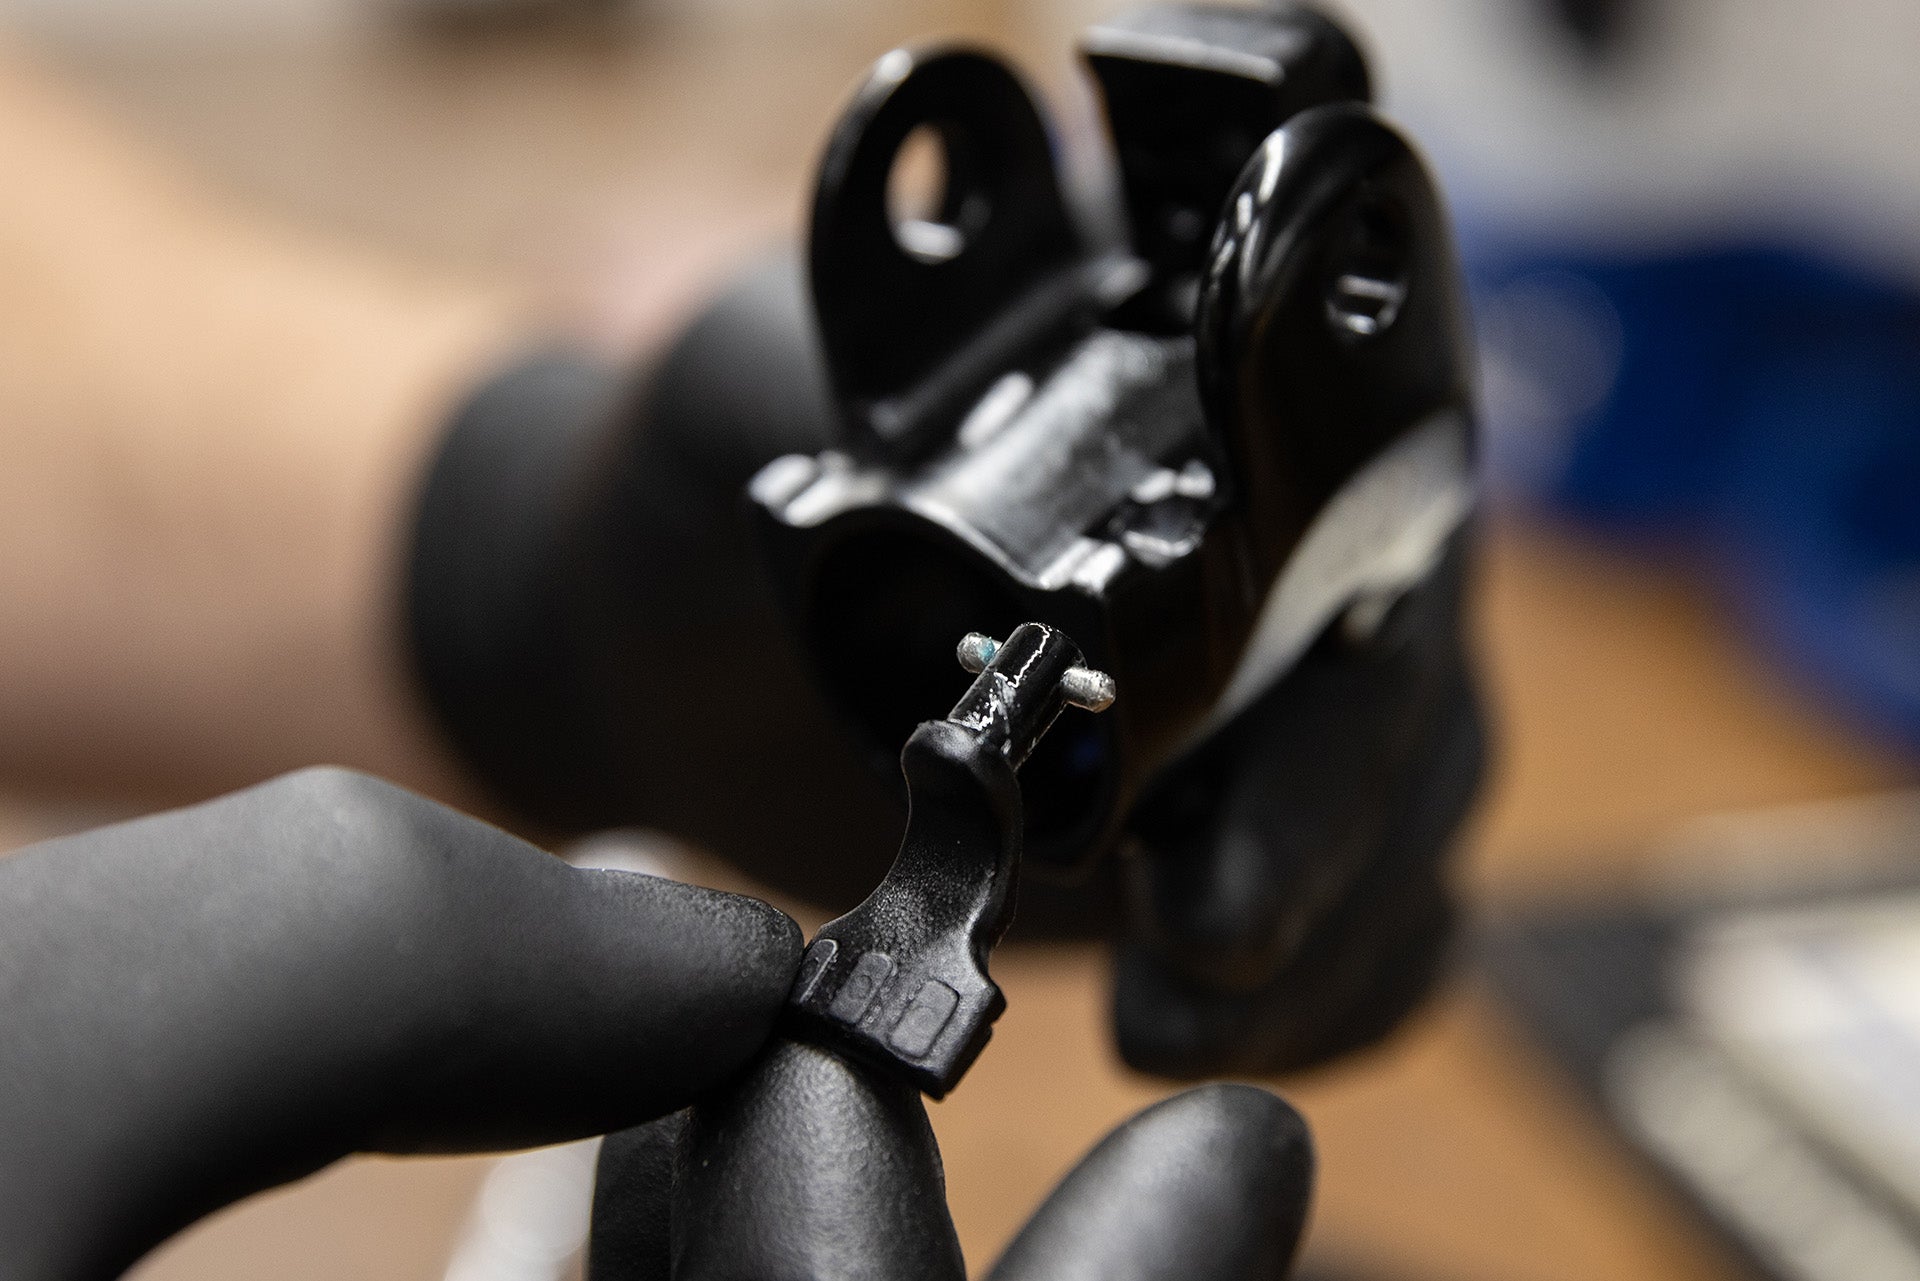
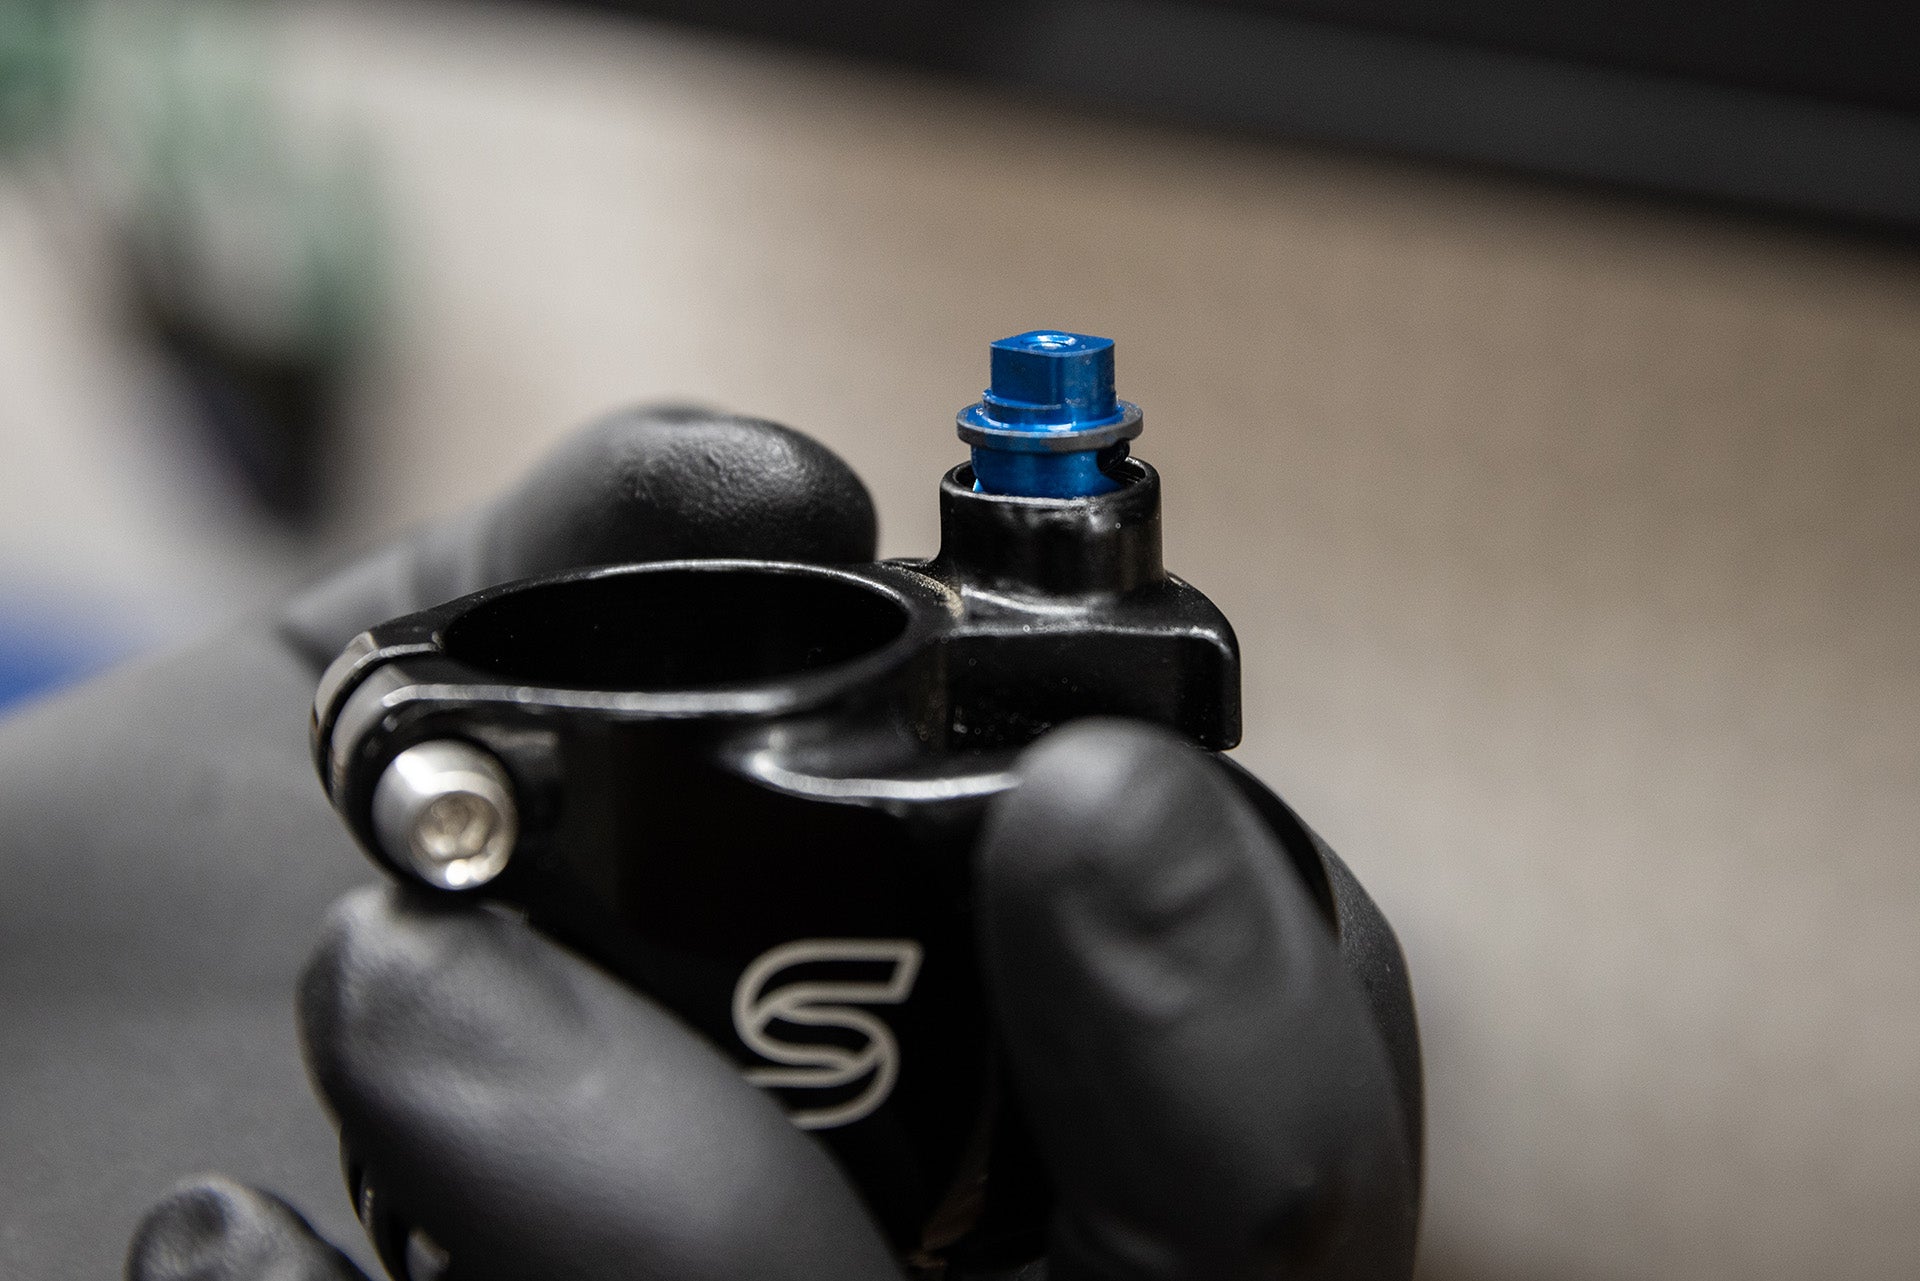
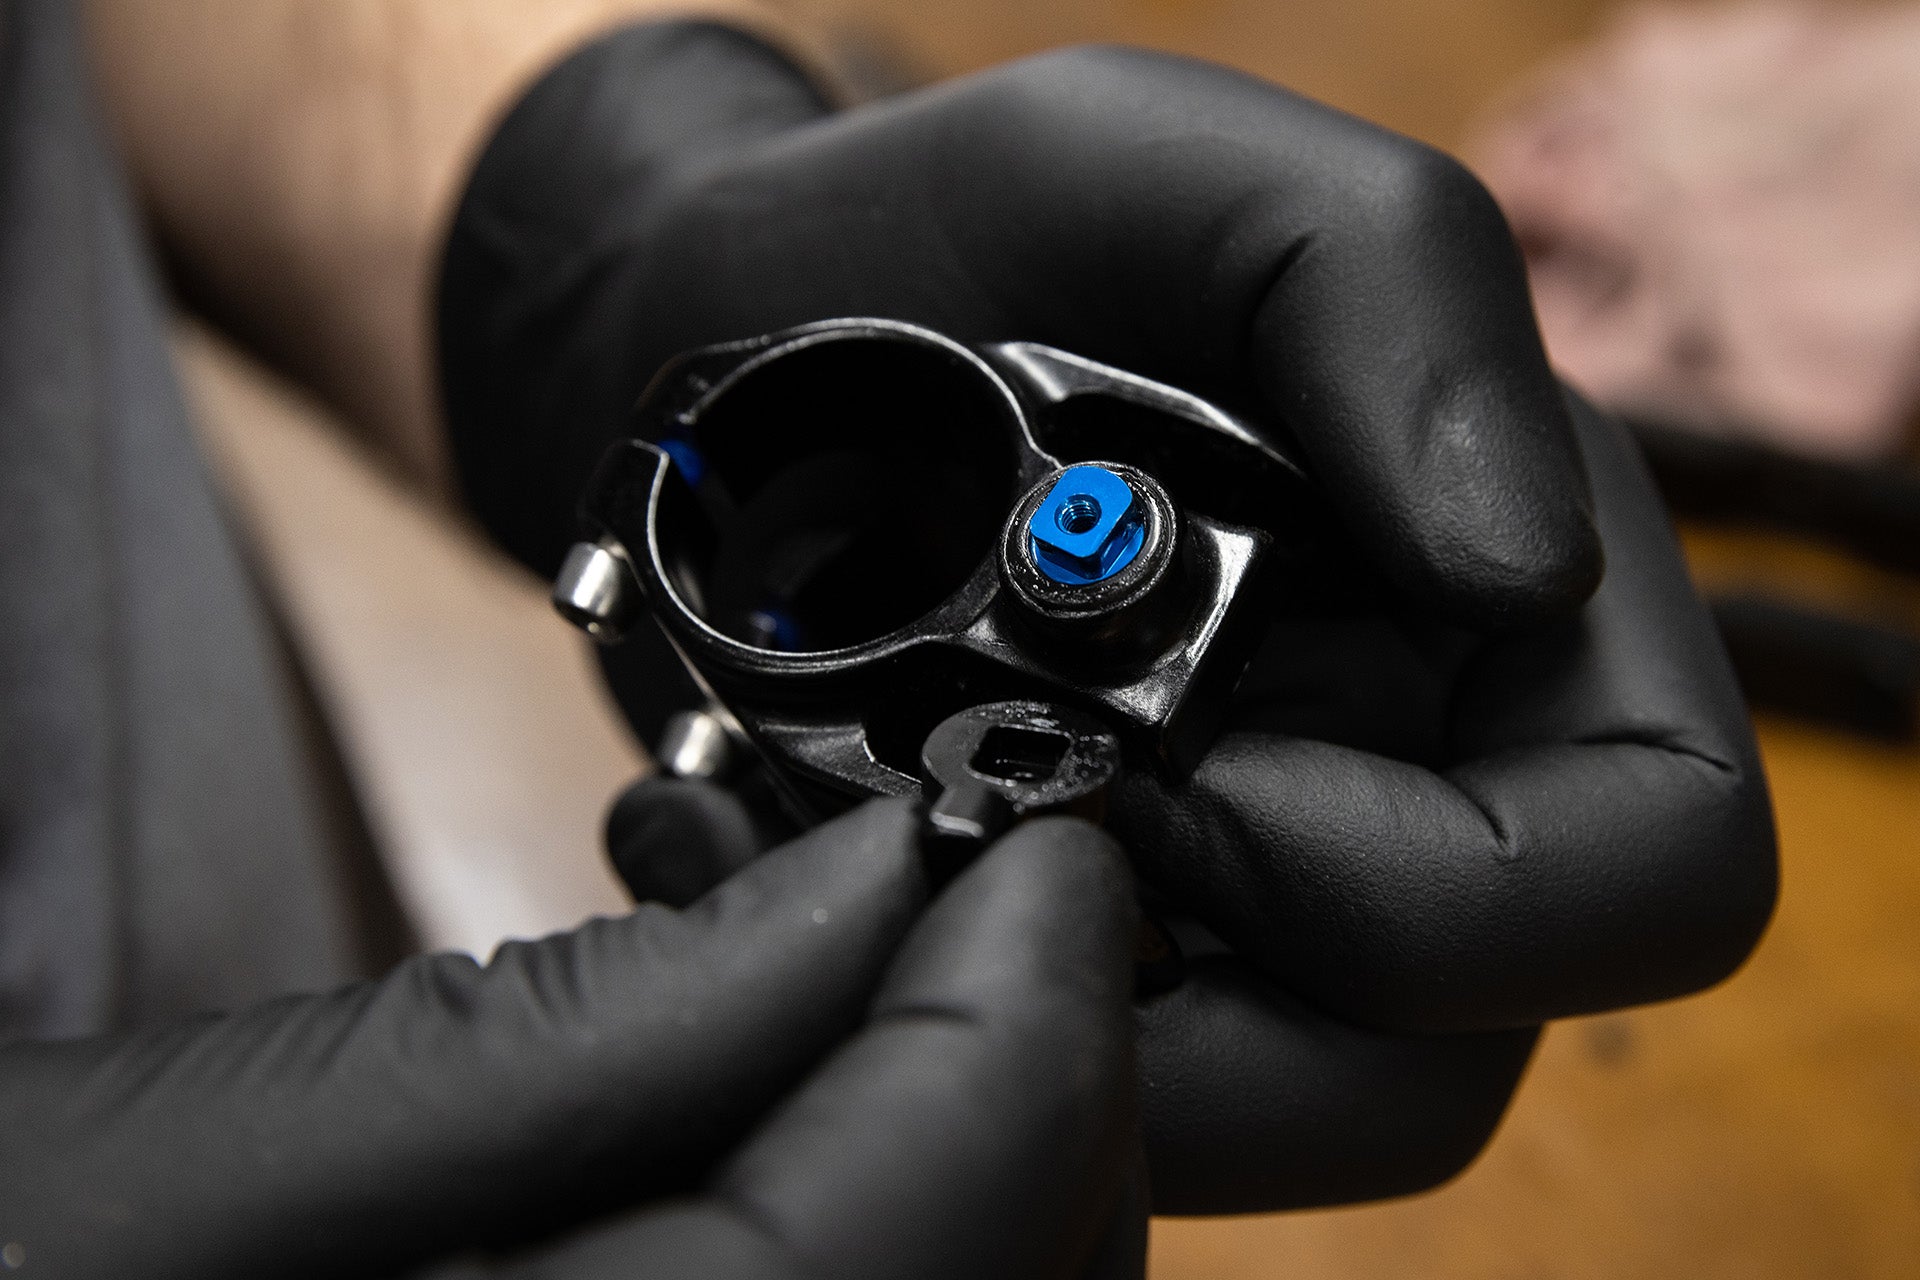
- Use T10 torque wrench to remove compliance switch
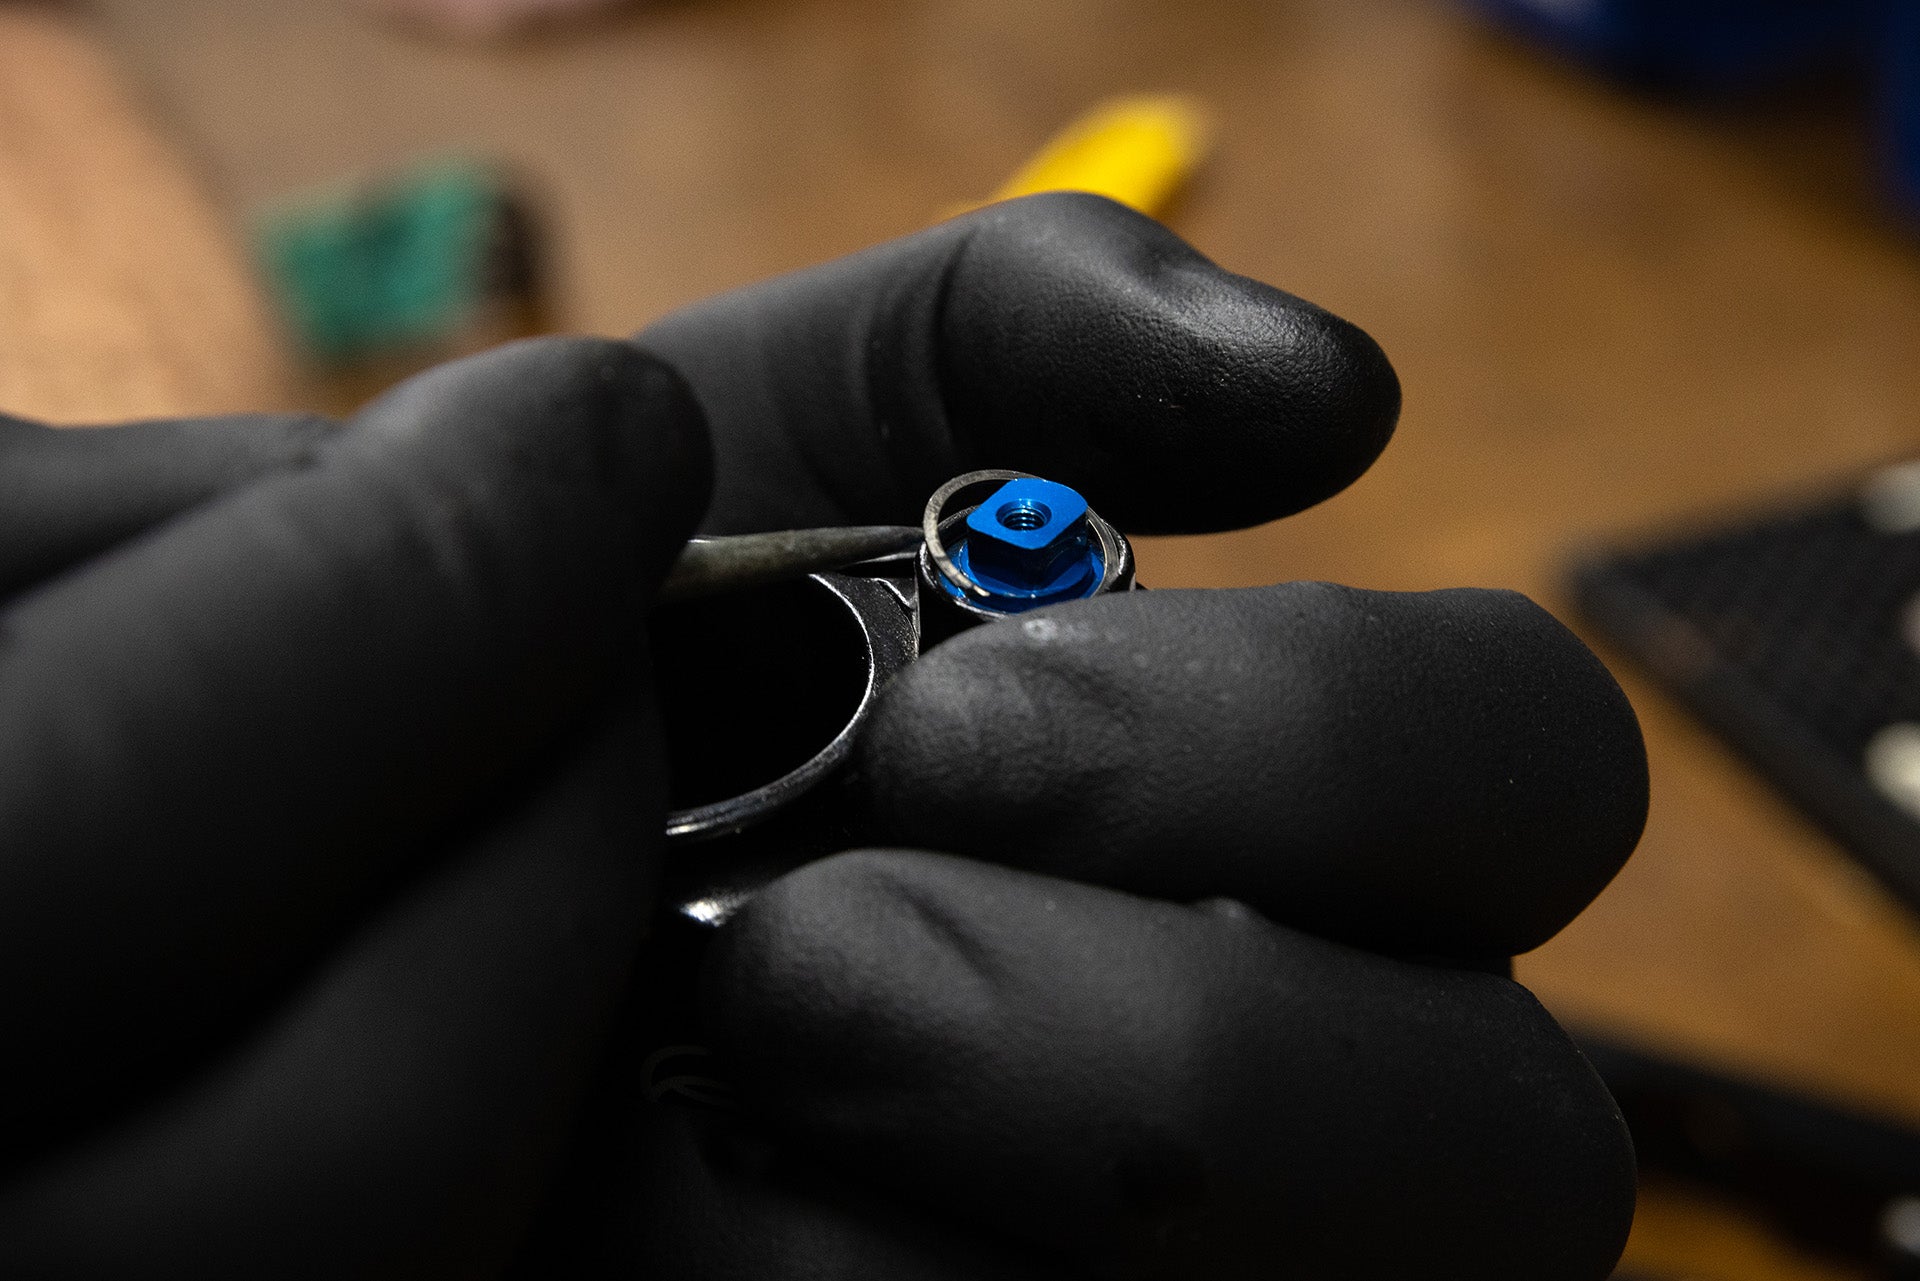
- Remove the O-Ring
- Next use a pick tool to remove the C-Clip
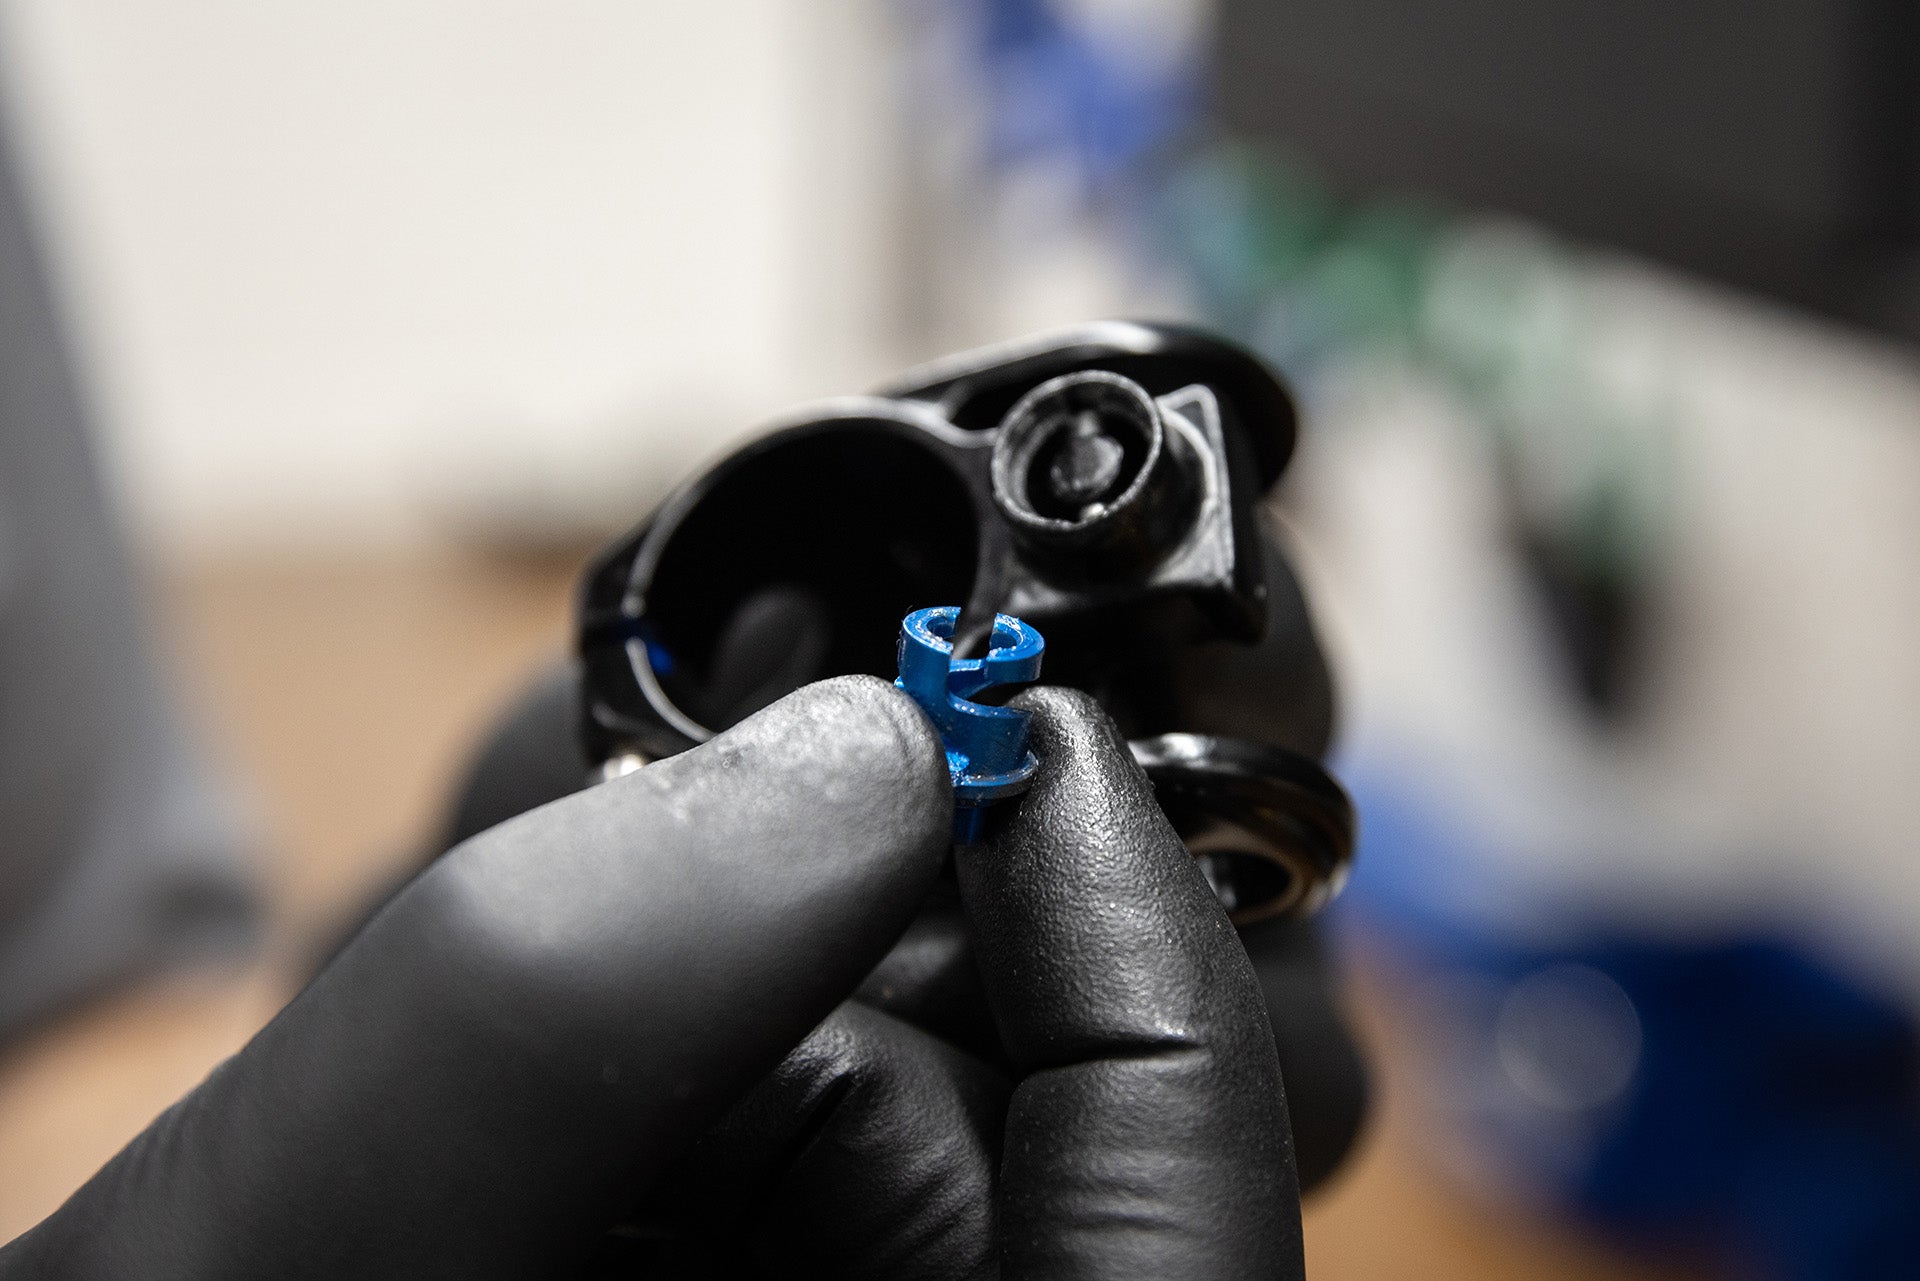
- Remove the Helix Assembly
-Turn to Firm mode (clockwise)
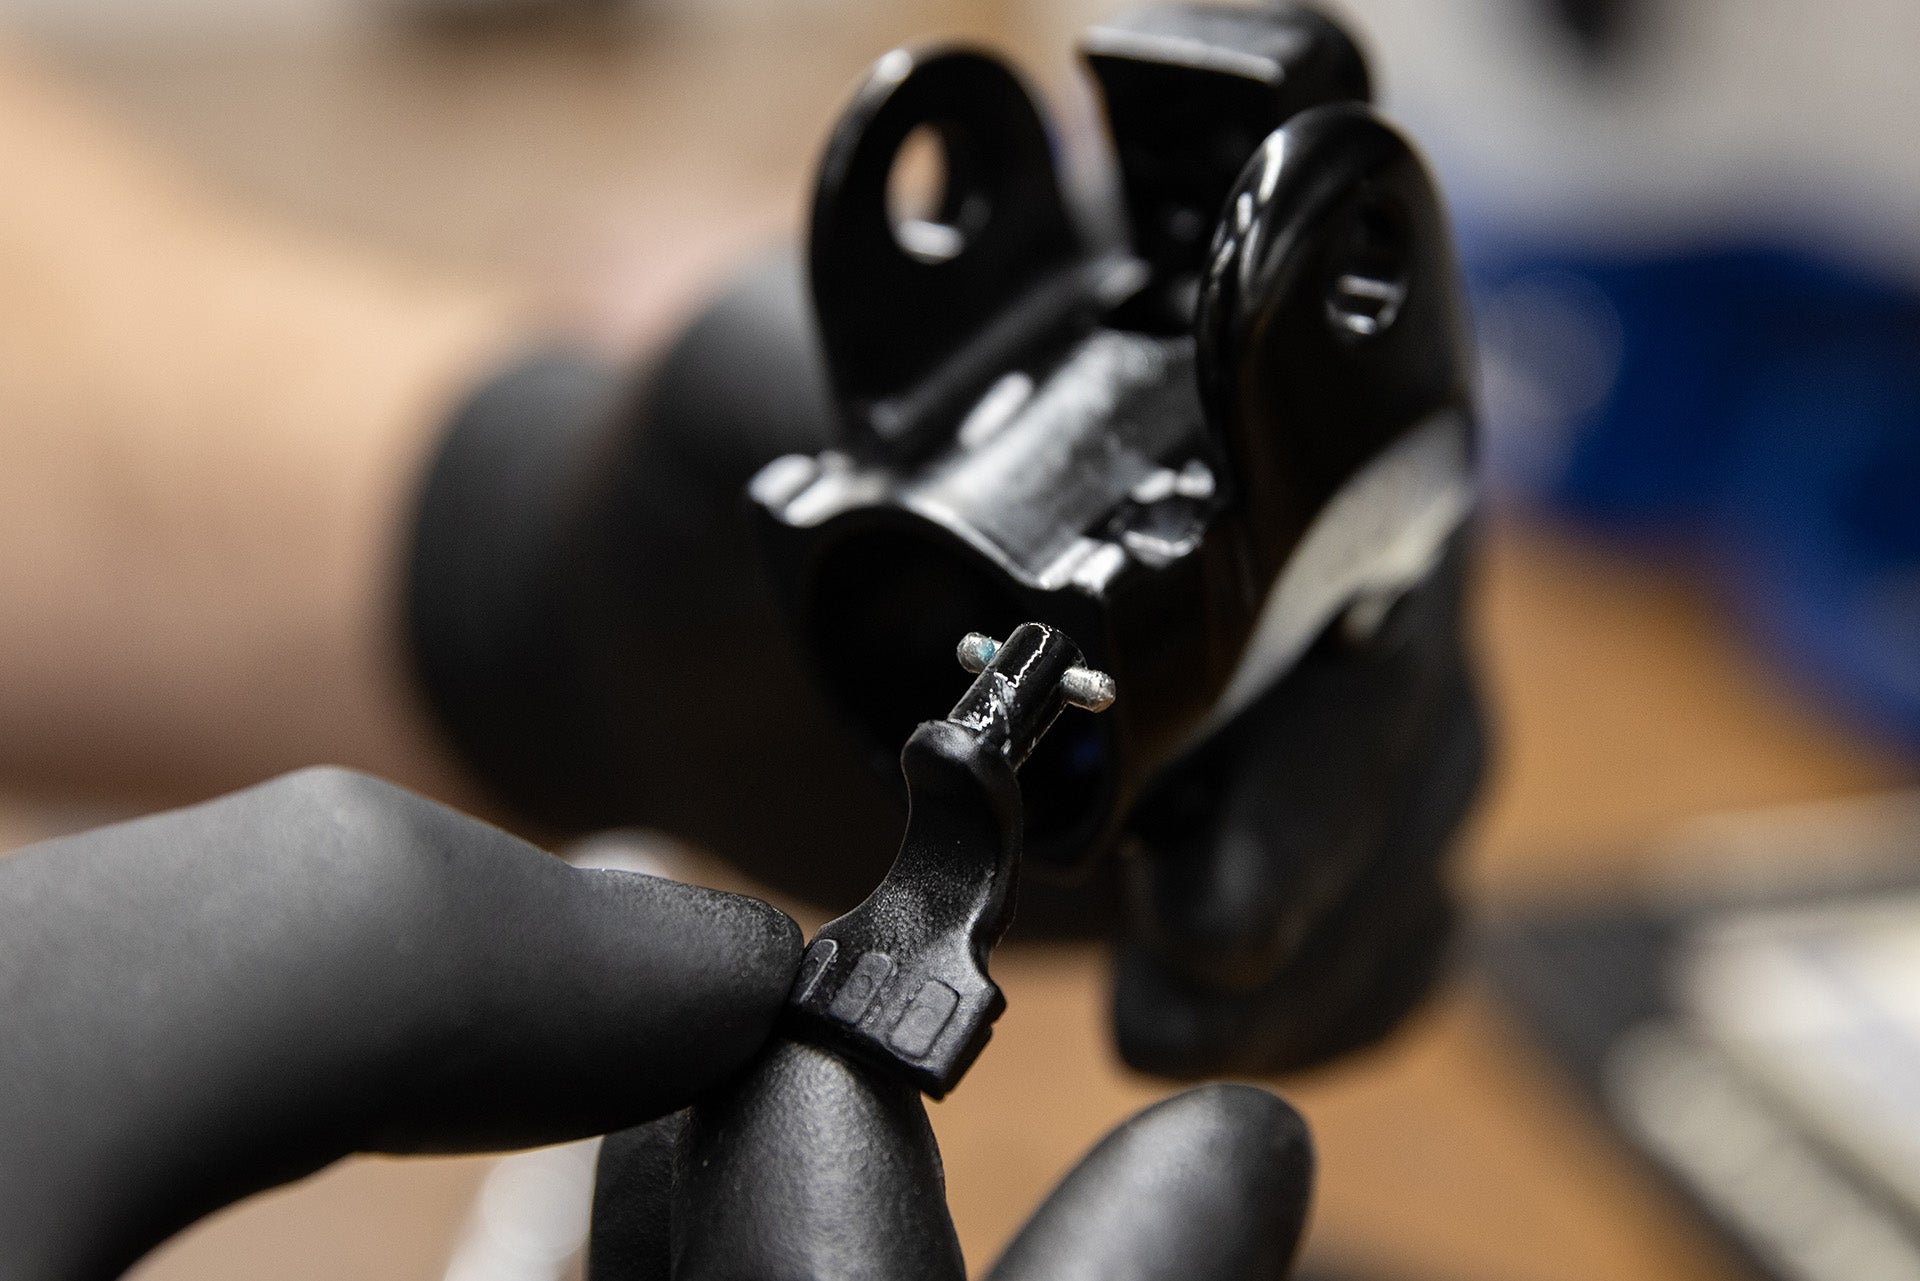
-The Wedge will disconnect from Helix Assembly (careful not to loose the dowel pin in the wedge)
Step 7
Reassembly of Compliance Switch
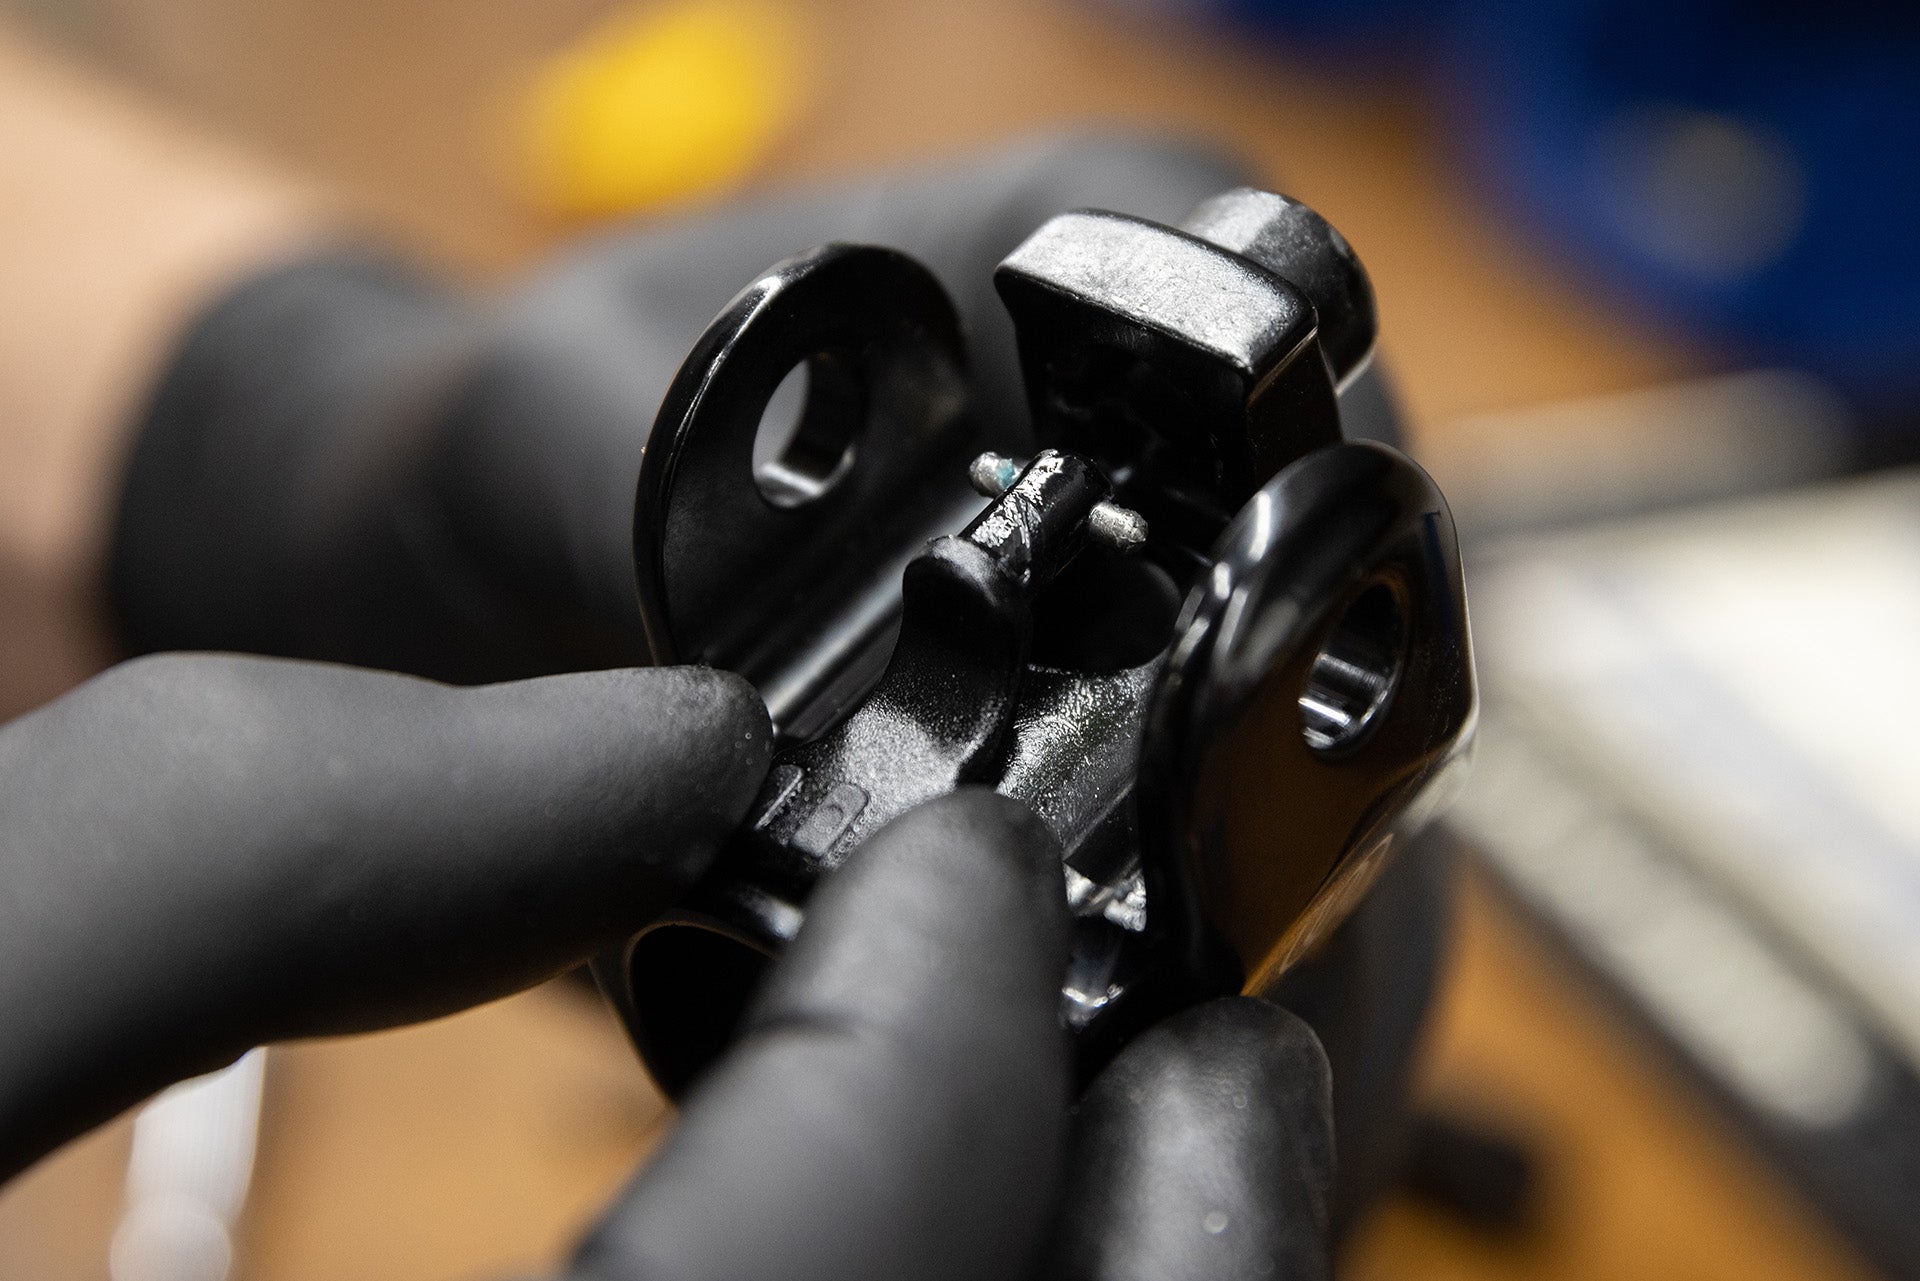
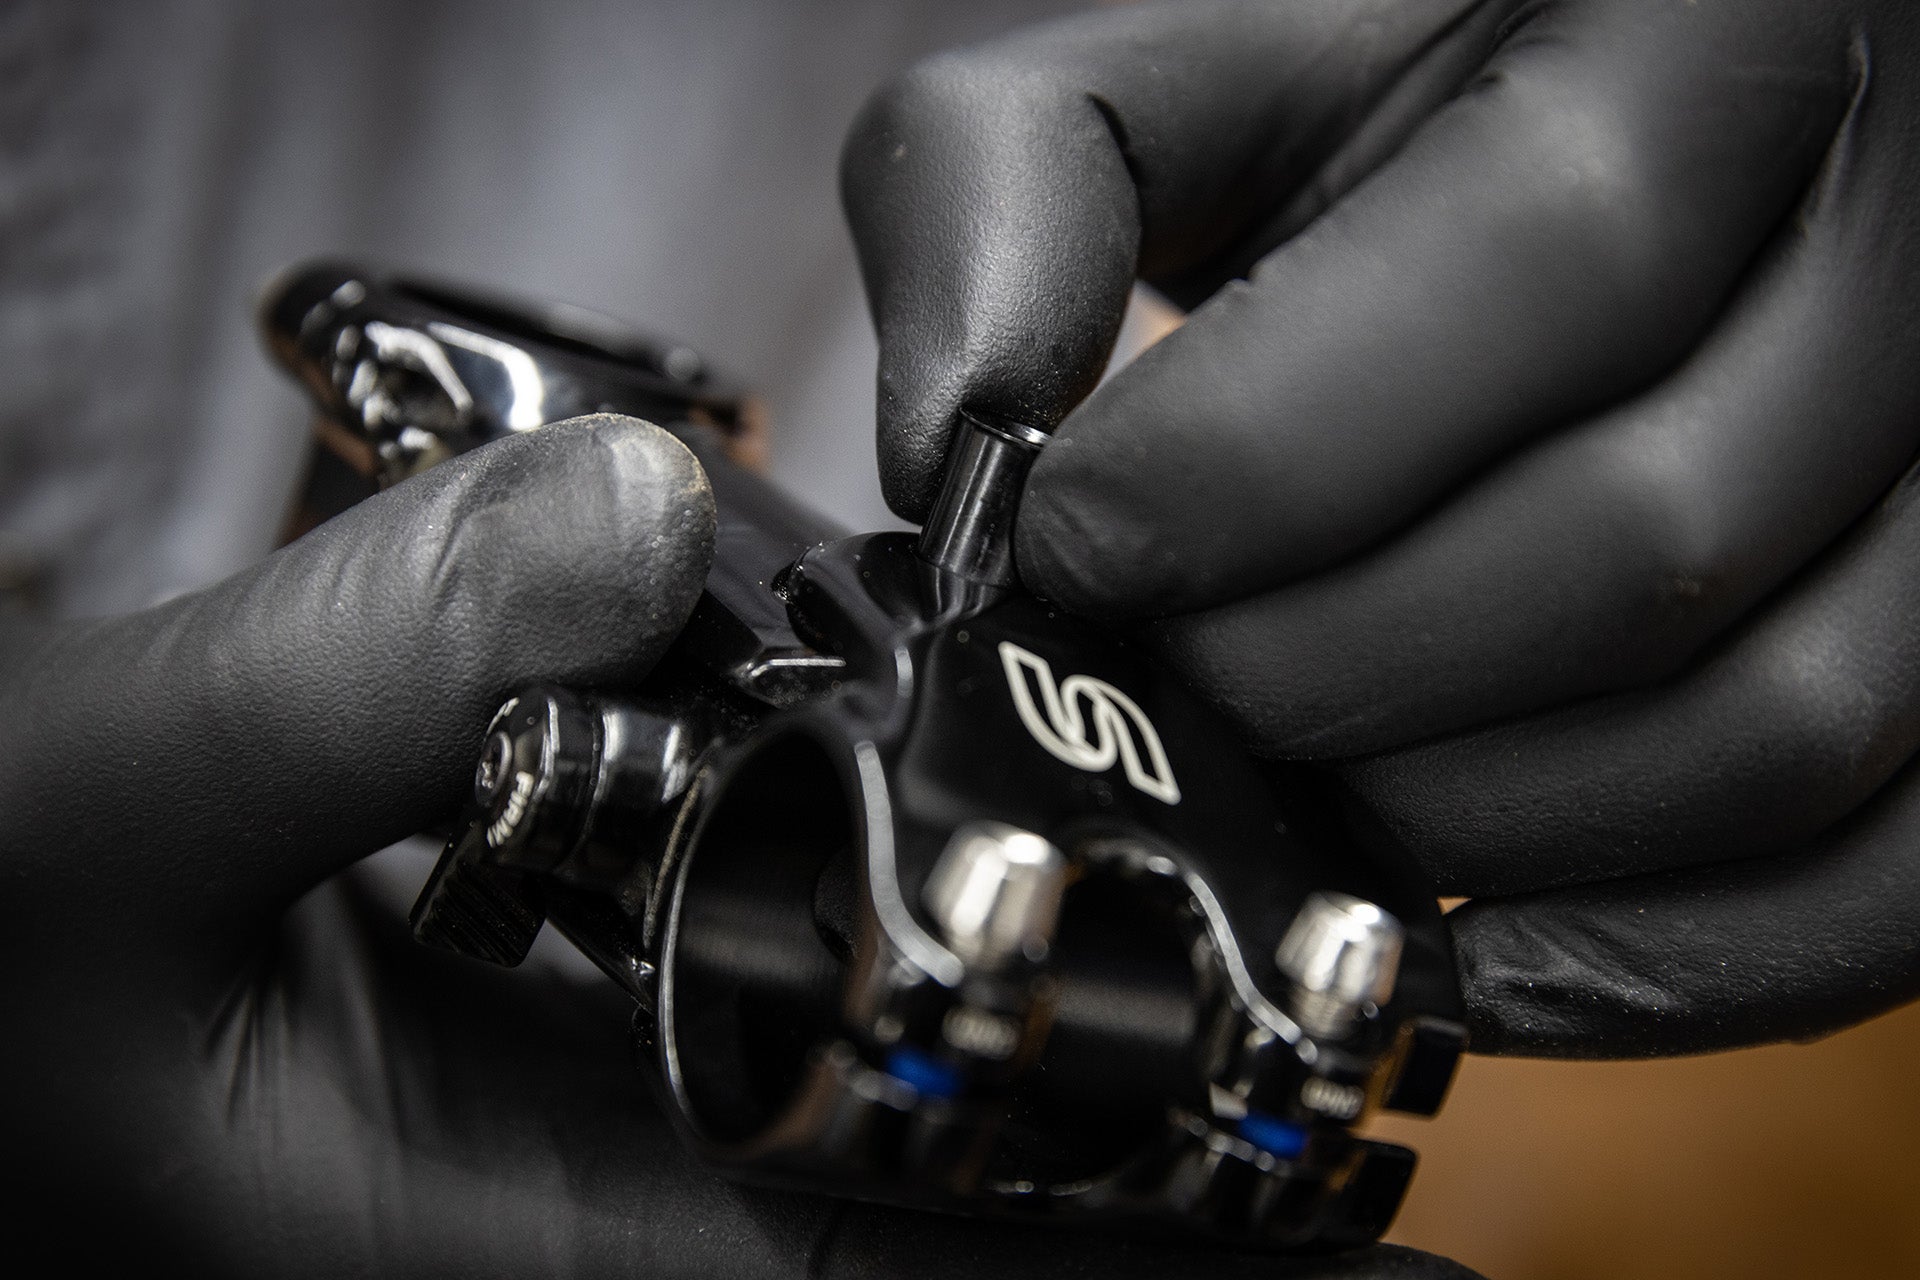
- Install Wedge back into position (with dowel pin)
- Install the Helix assembly onto wedge - Correct orientation of helix is critical - First orientate rounded end of Helix towards drive side then twist Helix into position (Rounded end will face non-drive side when properly seated)
- Reinstall c-clip
- Reinstall o-ring
- Reinstall Compliance Switch
- Tighten T10
Step 8
Pressing axle back into position
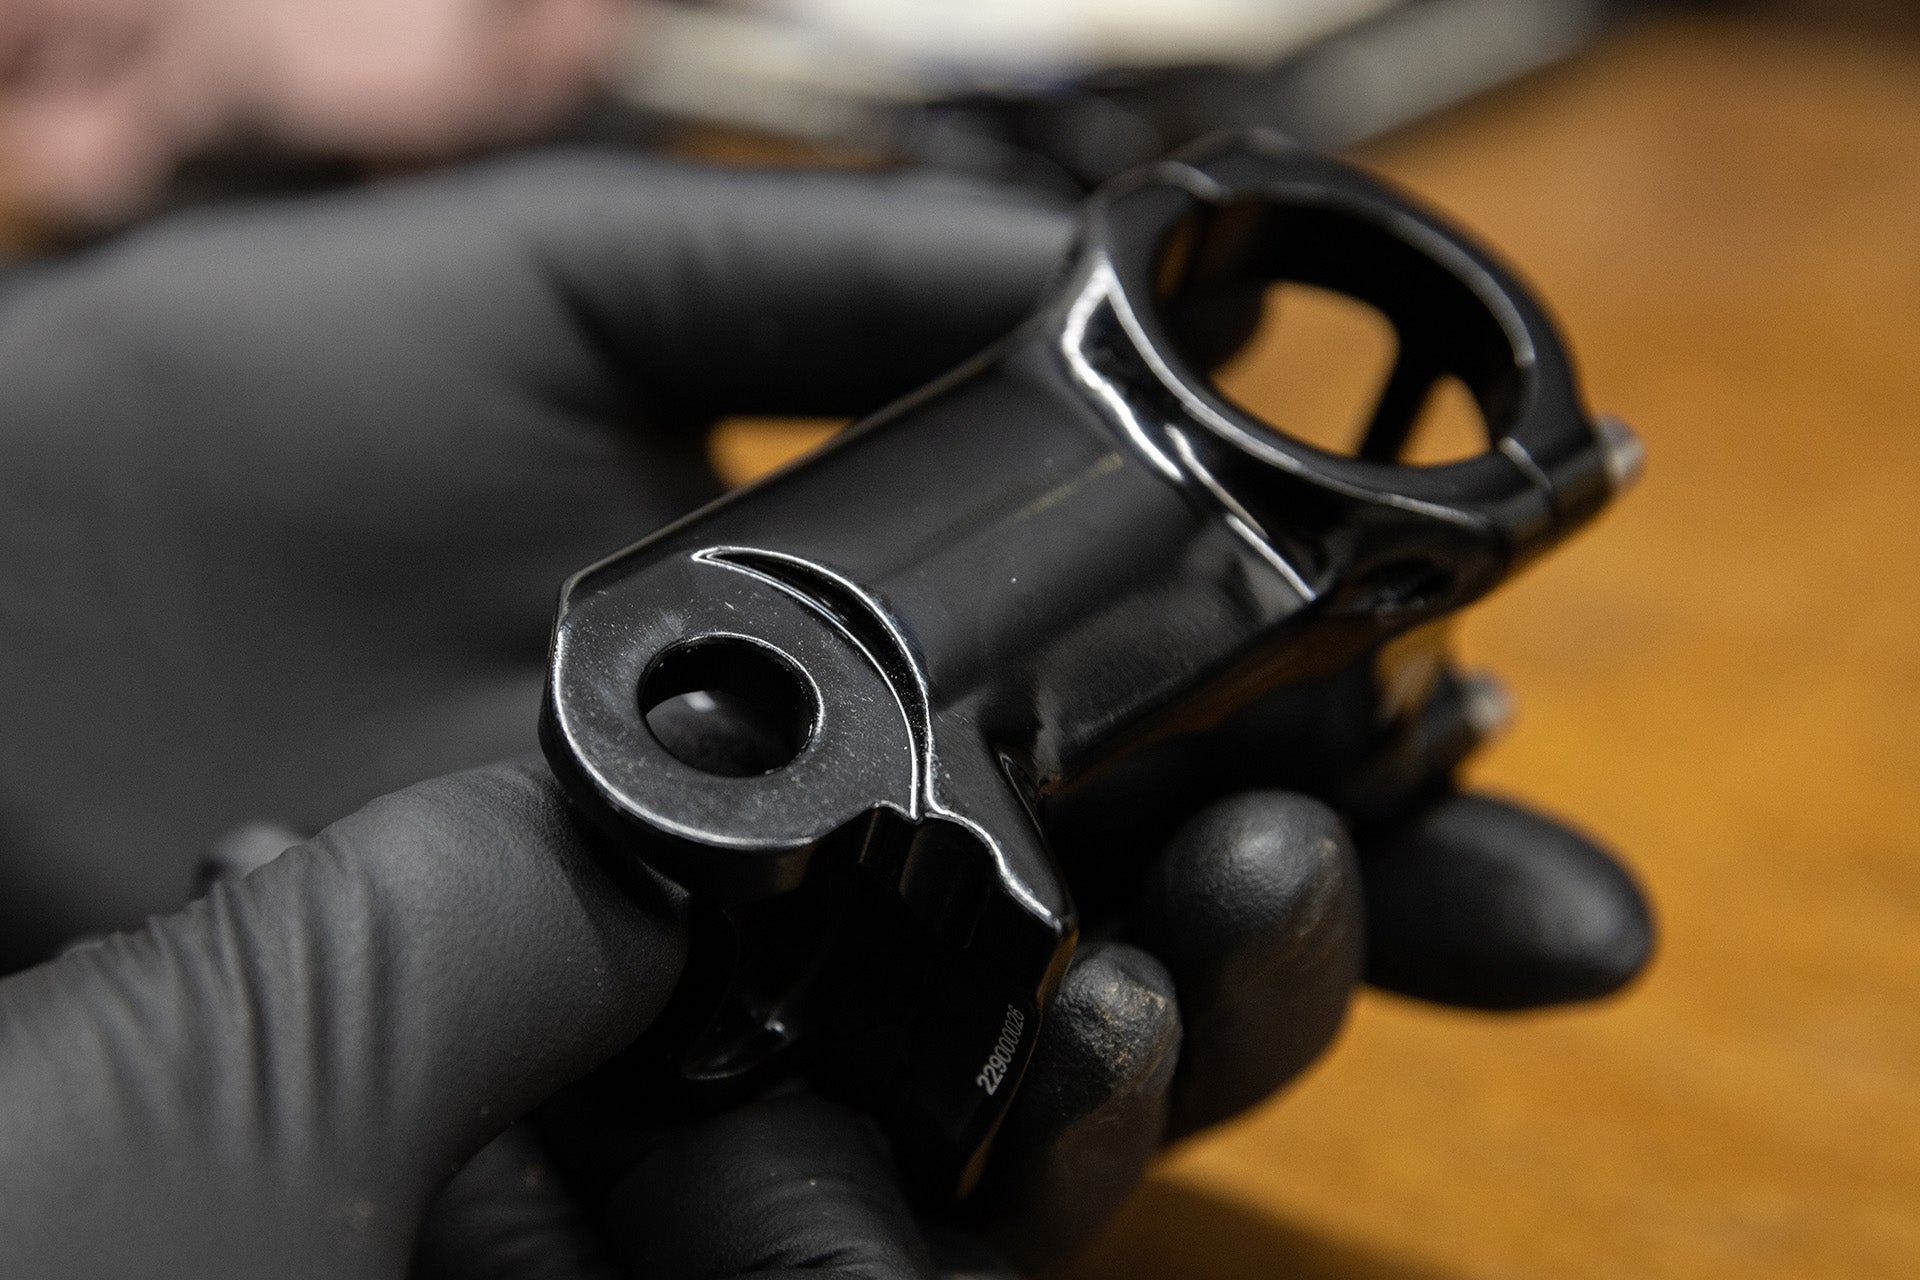
- Place stem body back into position between pivots
- Install axle from drive side -by hand
- Position tool over stem (same as Step 3)
- Position pin tool on drive side (pin side of pin tool towards the axle)
- Place stem and tool into vice
- Press axle into stem by tightening vice
When line on pin tool is lined up with tool the axle is fully seated
Step 9
Reinstall elastomer
- Elastomer can only be install in one orientation. Make sure chosen elastomer rating indication is facing down. Elastomer is marked with “TOP” and should face up toward stem .Curved surfaces should be facing the front of the bike
- While pressing down slightly on the top of the stem, install preload wedge assembly with 4mm hex wrench. Applying downward force to the stem will aid in proper elastomer wedge bolt alignment, failure to do so may result in permanent damage.
Reinstall eeSilk stem on bike and go ride!


